

Note: This article contains affiliate links. If you click on these links and make a purchase, I may earn a small commission at no extra cost to you. This helps support my research and content. Read my full affiliate disclosure here.
Repair Snapshot
Use a mechanic if the vehicle has severe rust, seized suspension bolts, loaded struts that require spring compression, or if you cannot perform a professional alignment afterward.
This article is part of our Suspension and Steering Maintenance & Repair Guides.
Worn suspension components can cause clunks, loose steering, uneven tire wear, poor braking stability, and a rough ride. If your vehicle bounces excessively, wanders on the highway, or makes noise over bumps, the suspension should be inspected before the problem damages tires, steering parts, or alignment angles.
This job ranges from straightforward bolt-on sway bar links to much more involved strut, ball joint, or control arm replacement. The exact steps vary by vehicle, but the inspection process and the overall replacement strategy are similar on most cars, SUVs, and light trucks. Always use your factory service information for torque specs and any model-specific procedures.
What Parts Commonly Wear Out
A suspension system includes several wear items that work together to control wheel movement and keep the tires planted on the road. Some parts fail gradually, while others become loose suddenly after hitting potholes or curbs.
- Shocks and struts wear internally and lose damping, leading to bouncing, nose-diving, and poor control.
- Ball joints can loosen and create clunks, steering play, and dangerous wheel movement.
- Control arm bushings crack or separate, causing wandering, braking pull, and uneven tire wear.
- Sway bar links and sway bar bushings often rattle over bumps and create body roll.
- Tie rod ends and other steering joints may also feel loose, so do not assume every front-end noise is strictly a suspension issue.
On many modern vehicles, replacing a complete control arm assembly is more practical than pressing in bushings or ball joints separately. Likewise, using a complete loaded strut assembly can be safer and faster than transferring the spring and upper mount.
Signs Your Suspension Needs Inspection
Look for symptoms that show up during normal driving, parking lot maneuvers, or a quick visual inspection. More than one symptom usually appears at the same time.
- Clunking, knocking, or rattling over bumps.
- Excessive bouncing after hitting dips or speed bumps.
- Vehicle pulling, drifting, or feeling unstable in corners.
- Steering wheel not returning smoothly after turns.
- Uneven tire wear, especially cupping or feathering.
- One corner of the vehicle sitting lower than the others.
- Visible oil leakage on shocks or struts.
- Loose or vague steering feel.
If the vehicle has severe tire wear or steering looseness, inspect it immediately. A failed suspension or steering joint can become a safety issue very quickly.
How to Inspect Suspension Components
Start with a Road Test
Drive on a smooth road, then over small bumps at low speed. Listen for front or rear clunks, feel for looseness, and notice whether the vehicle bounces more than once after a bump. During braking, watch for nose-dive or pulling. In a safe open area, make a few low-speed turns and listen for popping or binding.
Do a Visual Check on the Ground
Park on a level surface. Check ride height side to side, inspect tire wear patterns, and look behind each wheel with a flashlight. Leaking struts, torn ball joint boots, cracked bushings, and missing sway bar link bushings are all obvious red flags.
Lift the Vehicle Safely
Chock the wheels, loosen lug nuts slightly, lift the vehicle at the correct jack points, and support it securely on jack stands. Never work under a vehicle supported only by a jack.
Check for Looseness
With the wheel off the ground, grab the tire at the 12 and 6 o’clock positions and rock it in and out. Movement here may indicate a worn ball joint or wheel bearing. Then hold the tire at 3 and 9 o’clock and check for play that can point to tie rod or steering looseness. Have a helper watch the joints while you move the wheel.
Use a pry bar gently under the tire or against the control arm to load the suspension. Excessive movement in a ball joint or bushing usually becomes easier to see this way. Compare both sides, because a mildly worn part is easier to identify when the opposite side is tight.
Inspect Common Wear Points
- Shocks or struts: look for oil leakage, dented housings, broken mounts, or collapsed bump stops.
- Ball joints: check for torn boots, grease loss, rust dust, and vertical or lateral play.
- Control arm bushings: look for cracking, separation, or off-center movement of the inner sleeve.
- Sway bar links: inspect for loose sockets, torn boots, or broken studs.
- Sway bar bushings: look for splitting, flattening, and polished areas where the bar has been moving.
If you find wear in one component, inspect the rest of that axle carefully. Suspension parts often wear together, and replacing only the loudest failed part may leave the handling problem unresolved.
Tools That Make This Job Easier
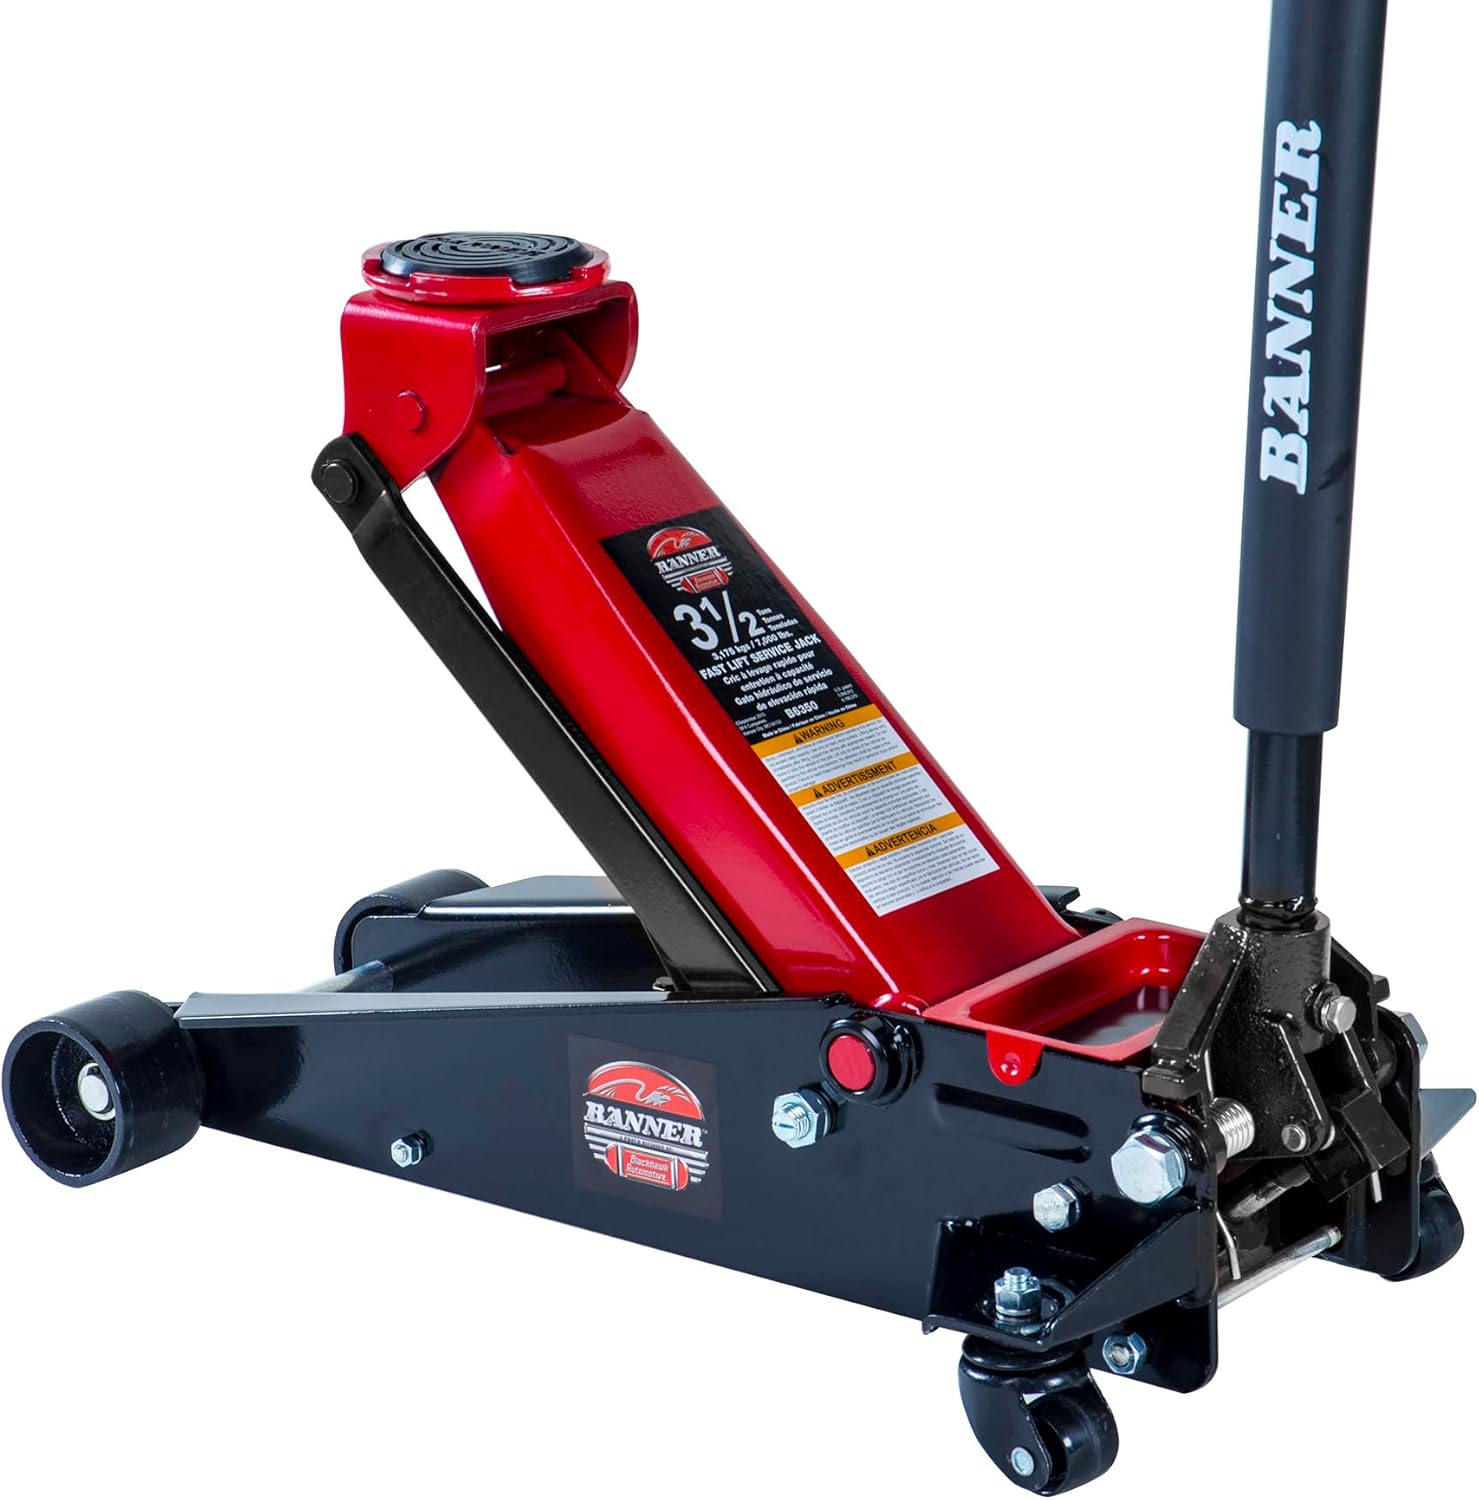

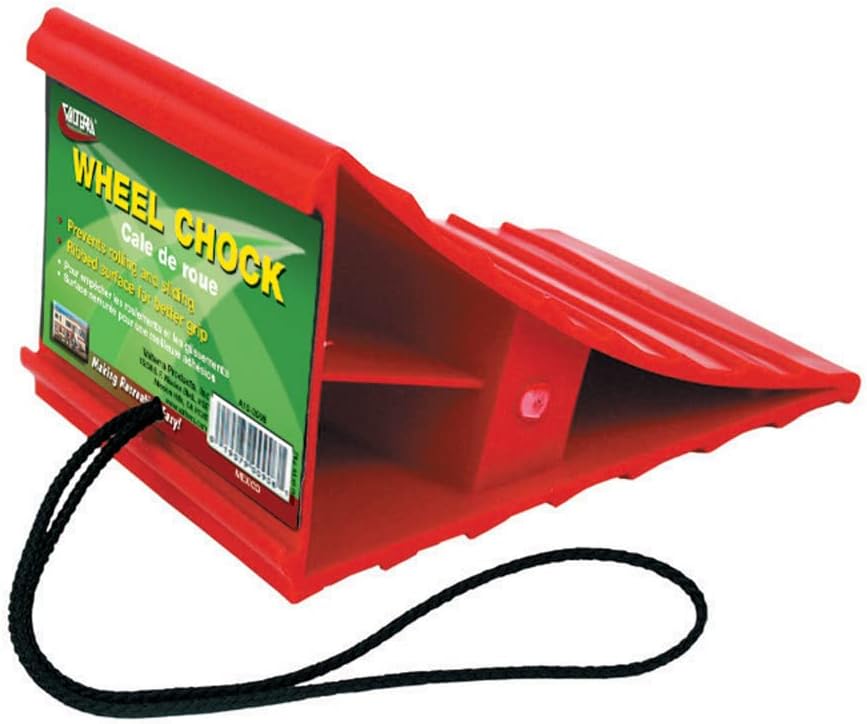
Before You Replace Anything
Identify exactly which parts are worn and decide whether you are replacing individual components or complete assemblies. On a DIY job, complete assemblies often save time and reduce risk.
- Buy parts by VIN or exact trim, engine, drivetrain, and suspension package.
- Replace left and right shocks or struts in pairs for balanced ride and control.
- Consider replacing sway bar links, mounts, and hardware while everything is apart.
- Get new one-time-use nuts, pinch bolts, or prevailing-torque fasteners if your manual calls for them.
- Plan for an alignment anytime you replace struts, control arms, or other parts that affect wheel angles.
Spray penetrating oil on visible nuts and bolts before you begin, especially on rust-belt vehicles. Mark cam bolt positions and strut-to-knuckle positions with paint, but remember these marks only help reassembly and do not replace a proper alignment.
General Removal Procedure
The exact order varies, but most suspension replacement jobs follow the same basic workflow. Work on one side at a time if you need the opposite side as a visual reference.
- Loosen the lug nuts slightly, raise the vehicle, support it securely on jack stands, and remove the wheel.
- Support the control arm or knuckle as needed so parts do not drop suddenly when fasteners are removed.
- Disconnect any brackets attached to the suspension component, such as brake hose brackets, ABS wire clips, or ride height sensor links.
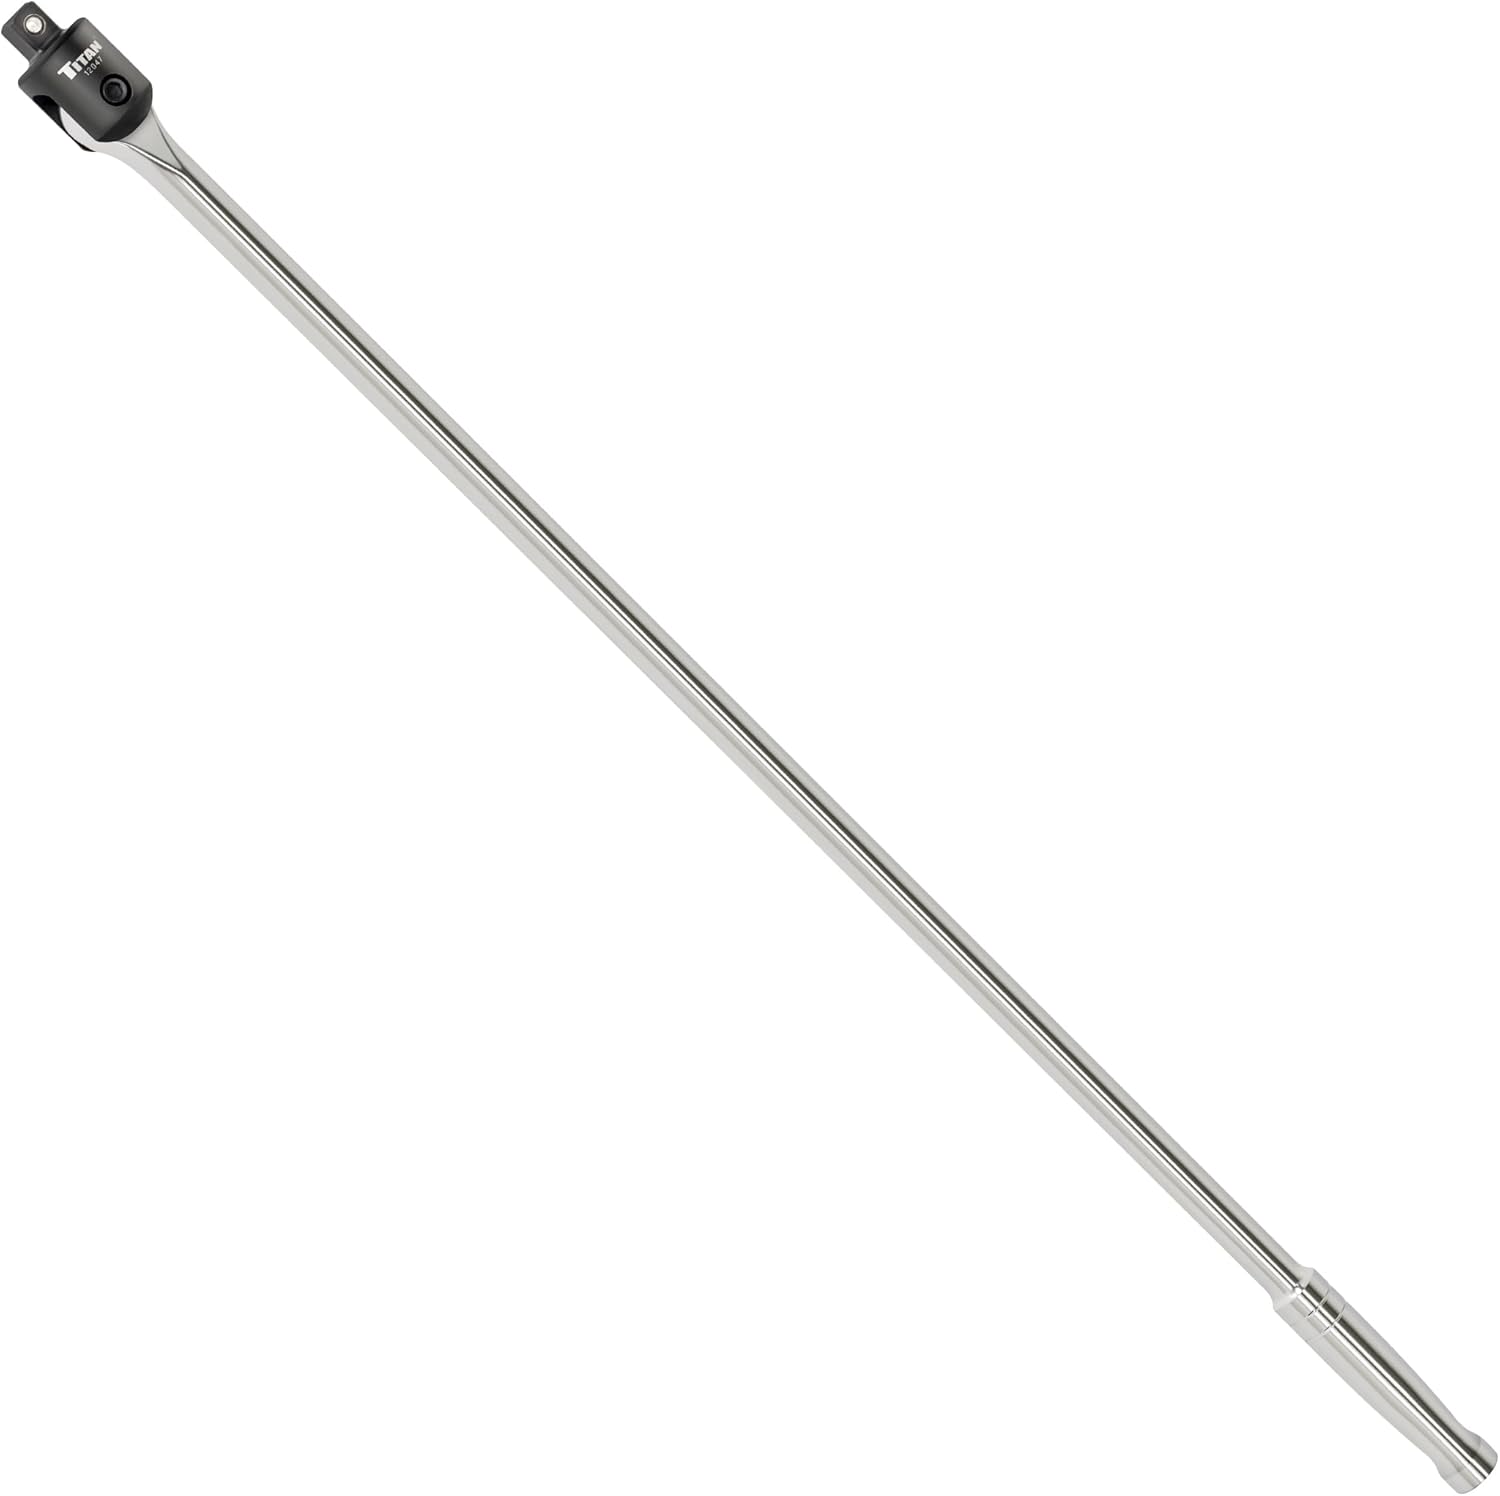
- Remove the fasteners for the worn part. Use a breaker bar, penetrating oil, and hand tools carefully to avoid rounding hardware.
- Separate tapered joints only with the correct method for your vehicle. Avoid striking aluminum knuckles directly unless service information allows it.
- Remove the component and compare it side by side with the replacement part before installation.
If a joint stud spins while loosening the nut, hold the stud with the appropriate hex or Torx fitting if the design provides one. On heavily rusted vehicles, seized bolts can turn a simple repair into a major project, especially on lower control arm pivots and strut pinch bolts.
Replacing Shocks and Struts
Shock Replacement Basics
Rear shocks are often the simplest suspension replacement. With the axle or control arm supported, remove the lower mounting bolt and upper mounting hardware, then swap in the new shock. Tighten hardware to spec and make sure any bushings and washers are installed in the correct order.
Strut Replacement Basics
Front struts usually require more disassembly. Remove brackets from the strut body, disconnect sway bar links if they attach to the strut, support the knuckle, remove the lower strut-to-knuckle bolts, and then remove the upper strut mount nuts from the strut tower. Hold the strut as the last nut comes off so it does not fall.
If you are using a loaded strut assembly, install it as a complete unit, loosely start the top nuts, align the knuckle, install the lower bolts, and torque everything to specification. This is the safest DIY route.
If you are transferring the spring to a bare strut, extreme caution is required. A compressed coil spring stores enough energy to cause severe injury. Unless you have a high-quality spring compressor, experience using it, and factory instructions, do not attempt this step at home.
Replacing Control Arms and Ball Joints
Control Arm Assemblies
Many control arms include pre-installed bushings and sometimes a ball joint. Support the knuckle, separate the ball joint from the steering knuckle if required, then remove the control arm pivot bolts and the arm itself. Compare the old and new arms carefully, including bushing orientation, bracket shape, and ball joint stud size.
Important Bushing Tightening Rule
Do not fully torque most rubber-bushed control arm pivot bolts while the suspension hangs at full droop. Final tightening usually must be done at normal ride height. If you tighten them with the suspension hanging, the bushings can preload and fail early, and the vehicle may sit incorrectly.
Ball Joint Replacement
Some ball joints bolt in, while others are pressed into the control arm or knuckle. Bolt-in ball joints are usually straightforward. Press-in ball joints require a ball joint press, the correct adapters, and careful support of the control arm or knuckle. If the joint is riveted from the factory, the rivets must be drilled or cut out and replaced with supplied hardware.
After the ball joint is installed, torque the mounting fasteners and stud nut to spec and install a new cotter pin where required. Never loosen a castellated nut to align the cotter pin hole; tighten it to the next slot instead.
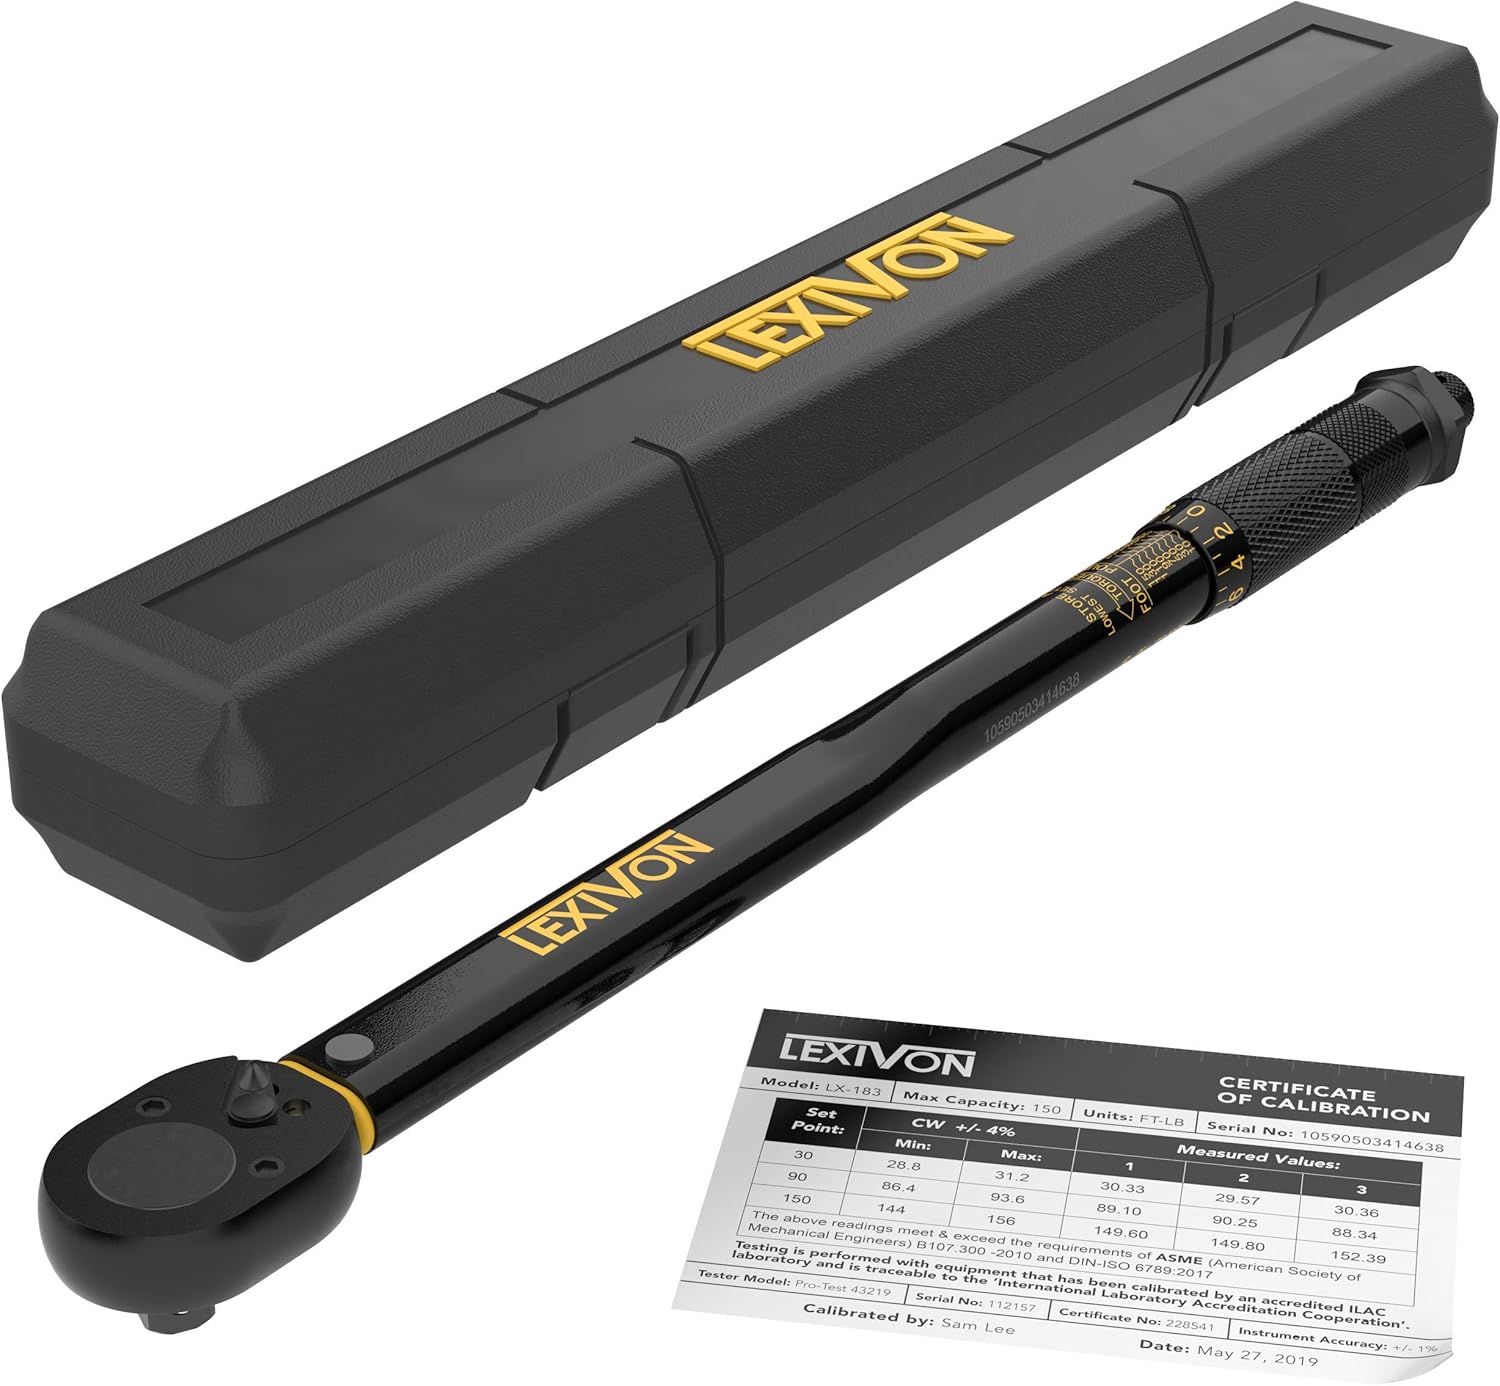
Recommended Tools for This Job

Replacing Sway Bar Links and Bushings
Sway bar links and frame bushings are common sources of rattles and are often good DIY jobs. With the suspension supported, remove the link nuts from the sway bar and control arm or strut. Some studs need to be held with a hex key or Torx bit while the nut is turned.
For sway bar bushings, remove the bushing bracket bolts, open the old bushing, and install the new one in the same position, usually with the slit facing a specific direction. Light silicone-based lubricant may be allowed on some designs, but check the part instructions.
Do not over-tighten sway bar link or bushing hardware. These small fasteners can strip or break more easily than larger control arm or strut bolts.
Reassembly, Torque, and Final Checks
Reassembly is where many suspension jobs go wrong. Double-check fastener locations, bracket routing, and torque values before the wheel goes back on.
- Start all fasteners by hand to avoid cross-threading.
- Reconnect brake hose brackets, ABS wiring clips, and sensor links exactly as originally installed.
- Torque major suspension fasteners with the vehicle supported correctly per service instructions.
- If bushings require ride-height tightening, support the suspension with a jack until it is at normal loaded position before final torque.
- Reinstall the wheel and torque lug nuts in a star pattern.
After the repair, bounce the vehicle lightly to help it settle. Verify that brake hoses are not twisted, ABS wires are not stretched, and no hardware contacts the wheel or tire. If you replaced struts, control arms, ball joints, or any camber/caster-related hardware, schedule an alignment immediately.
Test Drive and Post-Repair Inspection
Start with a slow test drive around the block. Listen for new noises, check steering wheel centering, and make sure the vehicle brakes straight. Then increase speed gradually and drive over a few mild bumps.
If anything feels unstable, stop and recheck your work. A steering wheel that is off-center, a vehicle that pulls, or fresh suspension noise after replacement usually means a fastener is loose, a part is misaligned, or an additional worn component was missed.
It is also a good idea to recheck accessible fasteners after a short drive if the service manual or part manufacturer recommends it.
When DIY Makes Sense and When It Does Not
DIY suspension work makes sense when the parts are easy to access, the hardware is in reasonable condition, and the job does not involve dangerous spring compression or heavy pressing work. Sway bar links, some rear shocks, and some complete control arm assemblies are realistic home-garage repairs.
A professional is the better choice when the vehicle has extensive rust, aluminum suspension parts that can be damaged easily, seized cam bolts, or struts that require spring transfer. It is also smart to use a shop if you do not have a torque wrench, safe lifting equipment, or access to an alignment rack after the repair.
Key Takeaways
- Inspect the entire axle assembly because worn shocks, bushings, joints, and links often fail together.
- Use loaded strut assemblies when possible to avoid the hazards of compressing coil springs at home.
- Do final torque on rubber-bushed suspension pivots at normal ride height unless your service manual says otherwise.
- Any repair involving struts, control arms, ball joints, or cam bolts usually requires a professional alignment right afterward.
- Stop and use a mechanic if bolts are badly seized, springs must be transferred, or you cannot confirm torque specifications.
FAQ
Do I Need an Alignment After Replacing Suspension Parts?
Usually yes if you replace struts, control arms, ball joints, or any part that affects wheel position or camber/caster settings. Even if the vehicle seems to drive straight, alignment angles can still be off and cause tire wear.
Can I Replace Just One Strut or Shock?
It is best to replace shocks and struts in pairs on the same axle. Replacing only one can leave the vehicle with uneven damping, inconsistent handling, and an imbalanced ride.
How Do I Know Whether a Noise Is From Sway Bar Links or Ball Joints?
Sway bar links often rattle sharply over small bumps, while ball joints more often cause clunks, steering looseness, or play during wheel checks. A hands-on inspection with the wheel lifted is usually the only reliable way to confirm the source.
Is It Safe to Reuse Suspension Hardware?
Some hardware can be reused if it is in excellent condition, but many manufacturers specify replacing locknuts, cotter pins, pinch bolts, or torque-to-yield fasteners. Follow the service manual for your exact vehicle.
Can I Replace Control Arm Bushings Without Replacing the Whole Control Arm?
Sometimes, but pressing bushings in and out requires the right tools and can take more time than installing a complete arm. On many modern vehicles, replacing the full control arm assembly is the more practical DIY repair.
What Happens if I Tighten Control Arm Bolts with the Suspension Hanging?
Rubber bushings can become preloaded at the wrong position, which may cause a harsh ride, incorrect ride height, and premature bushing failure. Final torque is often required at normal ride height.
Can I Drive with a Bad Ball Joint or Severely Worn Strut?
It is not a good idea. A badly worn ball joint can become a major safety hazard, and a failed strut can reduce braking stability and tire contact with the road.
Need Parts for This Repair?
The right parts and supplies vary by vehicle.
Select your make and model to find compatible parts and accessories for your car.
Exact Fit
Parts that fit your make and model
Quality You Can Trust
Top brands and OEM quality options
Fast Shipping
Get the parts you need, delivered fast