

Note: This article contains affiliate links. If you click on these links and make a purchase, I may earn a small commission at no extra cost to you. This helps support my research and content. Read my full affiliate disclosure here.
Repair Snapshot
Use a mechanic if the pulley is seized, the mounting bracket is damaged, the belt routing is unclear, or access requires removing major components. A pro is also the safer choice if the tensioner is weak or several pulleys appear worn at the same time.
This article is part of our Engine Maintenance & Repair Guides.
A worn or noisy idler pulley can make your engine sound like it has a bad bearing, a slipping belt, or even an alternator problem. The good news is that replacing an idler pulley is often a manageable DIY repair if you work carefully and pay attention to the belt routing.
On most vehicles, the idler pulley helps guide the serpentine belt and keep proper belt wrap around accessories. When its bearing wears out, you may hear chirping, squealing, grinding, or rattling from the front of the engine. Ignoring it can lead to a thrown belt, loss of charging, overheating on some vehicles, or power steering loss if the belt drives those systems.
This guide walks through diagnosis, belt removal, pulley replacement, torque and alignment checks, and what to inspect before putting everything back together. Because layouts vary by engine, always compare these steps with a service manual or belt-routing sticker under the hood.
Before You Start
Make sure you are replacing the correct pulley. Many engines use both an idler pulley and a belt tensioner pulley, and they may look similar at a glance. The idler pulley is usually fixed in place, while the tensioner pulley moves with spring pressure when you rotate the tensioner arm.
Work on a fully cooled engine, park on a level surface, and set the parking brake. Disconnecting the negative battery cable is a good safety step if your hands will be close to the fan, alternator, or starter wiring.
Common Signs of a Bad Idler Pulley
- Chirping or squealing that changes with engine speed.
- Grinding or rough bearing noise from the belt drive area.
- Visible wobble while the engine is running.
- Belt fraying, glazing, or wandering off-center on the pulley.
- A seized pulley that causes belt smoke or immediate belt failure.
Confirm the Noise Before Replacing Parts
With the engine off, inspect the belt and pulleys using a flashlight. Look for rust trails, dust from the bearing, side-to-side play, or a pulley face that is no longer straight. If you remove the belt, a bad idler pulley will often feel rough, loose, noisy, or notchy when spun by hand. Do not spray belt dressing on the system as a fix; that can mask the real problem.
Tools, Parts, and Prep
Most idler pulley jobs require only basic hand tools, but access can vary a lot by engine bay layout. Some transverse engines in front-wheel-drive cars have tight clearances near the fender or engine mount, while truck and rear-wheel-drive layouts are usually easier.
Have These Items Ready
- Correct replacement idler pulley matched to your engine size and accessory drive setup.
- Ratchet and sockets, often metric, plus any shallow or deep sockets needed.
- Serpentine belt tool or long breaker bar to unload belt tension.
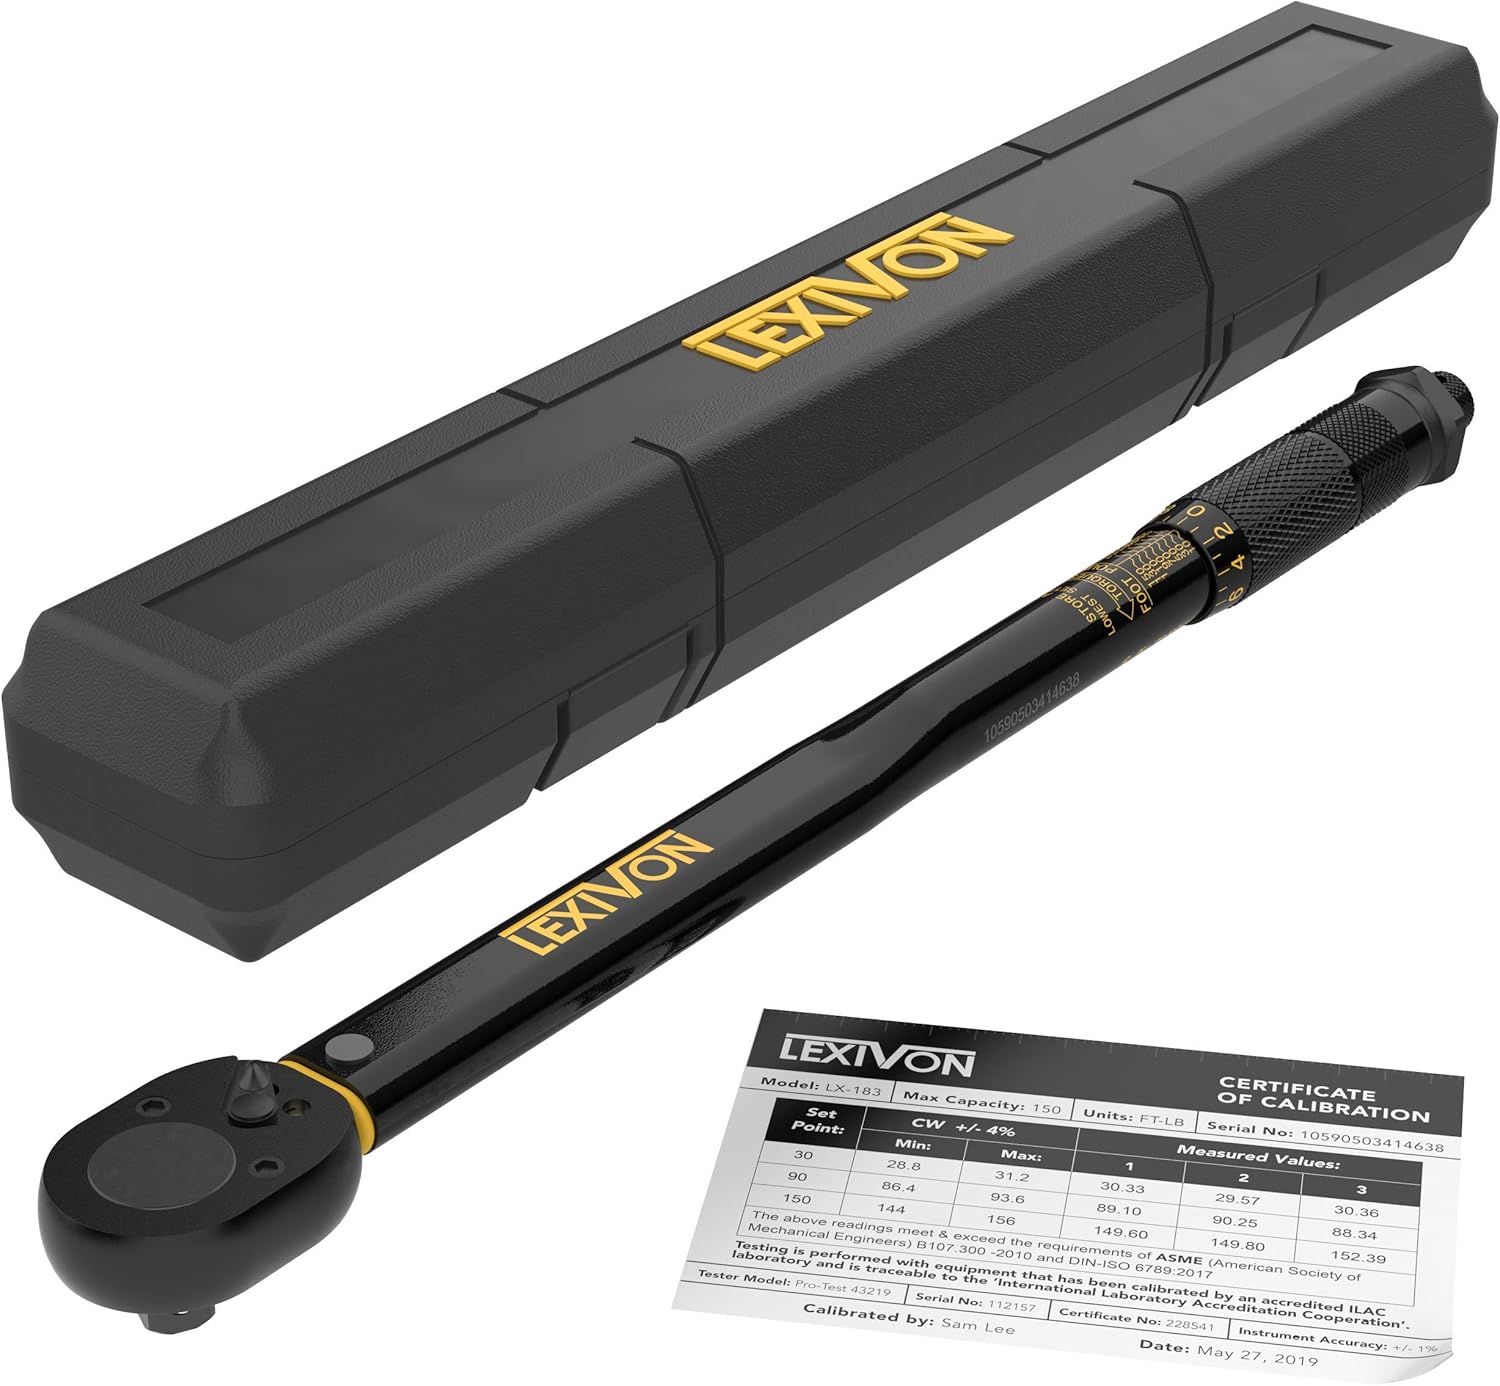
- Torque wrench for final tightening.
- A belt-routing diagram, photo, or sketch before removal.
- A new serpentine belt if the old one is cracked, glazed, stretched, or contaminated.
Before removing anything, locate the factory belt-routing sticker. It is often on the radiator support, fan shroud, or underside of the hood. If no sticker is present, take several clear photos and draw your own routing diagram. This step saves a lot of frustration during reassembly.
How to Remove the Serpentine Belt
Relieve Tension Safely
Find the belt tensioner and identify the bolt head, square drive opening, or special tab used to rotate it. Install the proper tool, then rotate the tensioner slowly in the direction that releases belt tension. Keep your fingers clear of pinch points and do not let the tensioner snap back.
While holding the tensioner off the belt, slide the belt off one easy-to-reach smooth pulley or accessory pulley. Then carefully return the tensioner to its resting position.
Remove and Inspect the Belt
If you need more room, remove the serpentine belt completely. As you do, inspect both sides for cracks, frayed edges, missing ribs, glazing, or oil contamination. If the belt shows noticeable wear, replace it now rather than reinstalling a questionable belt onto a new pulley.
This is also the best time to spin the other pulleys by hand. Compare the idler pulley to the alternator, power steering pulley, A/C compressor pulley, and tensioner pulley. If several feel rough or loose, the system may need more than one part.
Tools That Make This Job Easier


Removing the Old Idler Pulley
Once the belt is out of the way, the idler pulley is usually held on by a single center bolt. In some designs, the pulley mounts to a bracket with a spacer or shoulder washer. Pay close attention to the order of any hardware as it comes off.
Loosen the Pulley Bolt
Use the correct socket and break the center bolt loose. If access is tight, a short-handled ratchet or swivel socket may help. Hold the pulley steady as needed and remove the bolt carefully so you do not drop spacers into the engine bay.
If the bolt is stubborn, avoid excessive force that could strip the threads in an aluminum front cover or bracket. A small amount of penetrating oil on exposed threads may help, but keep it off the belt and pulley surfaces.
Compare the Old and New Parts
Before installing the new pulley, compare diameter, width, offset, bearing depth, and bolt-hole size. Make sure the ribbed or smooth pulley surface matches the original. Many idler pulleys are smooth, but some applications use ribbed pulleys depending on where the belt rides.
Check the mounting surface for rust, dirt, burrs, or cracks. A damaged bracket or dirty mounting face can cause pulley misalignment, which quickly ruins a new belt and pulley.
Installing the New Idler Pulley
Clean and Position the Mounting Hardware
Wipe the mounting area clean with a shop rag. Reinstall any factory spacer, washer, or sleeve in the exact order it came off. If the manufacturer specifies thread locker, apply only a small amount to clean threads. Do not add thread locker unless it is recommended, especially on smaller bolts with low torque specs.
Hand-thread the Bolt First
Set the new pulley in place and start the center bolt by hand. This helps prevent cross-threading, which is a common and expensive mistake on aluminum engine parts. Once the bolt spins in smoothly by hand, snug it with a ratchet.
Torque the Pulley Bolt to Specification
Use a torque wrench and tighten the pulley bolt to the vehicle manufacturer’s specification. Exact torque values vary widely by engine and bolt size, so do not guess if you have access to a service manual. Over-tightening can damage the bearing or strip threads, while under-tightening can let the pulley loosen and wobble.
If you cannot find the exact specification, the safest approach is to stop and verify it before final assembly. Torque matters on belt-drive components because even a small alignment problem can create repeat noise.
Reinstalling the Belt and Checking Alignment
Route the Belt Correctly
Using your belt-routing diagram, route the belt around all pulleys except the last one where it will be easiest to slip on. Make sure the ribbed side of the belt sits fully inside every grooved pulley and the smooth side rides on smooth pulleys only. A belt that is off by one rib can be destroyed in seconds.
Unload the Tensioner and Install the Belt
Rotate the tensioner again, slide the belt over the final pulley, and then release the tensioner slowly. Double-check every pulley before starting the engine. Sight down the front of the pulley faces to confirm the belt is centered and tracking evenly.
Inspect Belt Tensioner Condition
The idler pulley may not have been the only issue. If the tensioner arm moves jerkily, sits near the end of its travel, or lets the belt flutter excessively, the tensioner may also need replacement. A weak tensioner can create the same chirping or squeal you were trying to fix.
Recommended Tools for This Job


Final Checks After Replacement
Reconnect the battery if you disconnected it. Start the engine and observe the belt from a safe distance. The belt should run smoothly with no visible wobble, no chirping, and no side-to-side walking on the pulley faces.
What to Watch and Listen For
- No grinding, squealing, or ticking from the new pulley area.
- No belt flutter beyond a small normal amount.
- No pulley wobble or visible misalignment.
- No smell of hot rubber or signs of belt slip.
- Charging system, steering assist, and cooling performance remain normal if belt-driven.
Shut the engine off and do one more visual inspection after a short test run. Check that the bolt remains seated, the belt is still centered, and no tools or rags were left behind. If the original noise remains unchanged, re-check the tensioner pulley, alternator bearings, A/C compressor clutch, water pump, and any other accessory driven by the belt.
Torque Notes, Fitment Issues, and Helpful Tips
Idler pulley replacement is simple in theory, but a few details make the difference between a quiet, long-lasting repair and a repeat failure.
- Always verify the replacement pulley matches the original diameter and offset; a pulley that looks close can still misalign the belt.
- Do not grease a sealed pulley bearing unless the manufacturer explicitly says to; most are permanently lubricated.
- Replace a damaged or noisy serpentine belt at the same time to avoid contaminating your diagnosis later.
- If the old pulley seized or threw the belt, inspect nearby wiring, hoses, and plastic covers for contact damage.
- If the center bolt threads into aluminum, start it by hand and use a torque wrench to avoid expensive thread repair.
On some engines, the pulley bolt may be reverse-threaded, though this is less common on idler pulleys than on mechanical fan clutches or certain accessory fasteners. If resistance feels unusual, stop and verify thread direction before forcing anything.
If the pulley mounts to a larger bracket assembly that has cracked or loosened, replacing the pulley alone may not solve belt noise. Any bracket flex can change alignment under load.
When Replacing the Idler Pulley Is Not Enough
A bad idler pulley often shows up alongside other wear in the accessory drive system. If the vehicle has high mileage, think of the repair as part of a belt-drive inspection rather than a single-part fix.
Other Components That May Need Attention
- Serpentine belt with cracking, glazing, contamination, or stretched ribs.
- Automatic tensioner with weak spring pressure or noisy pulley bearing.
- Alternator or A/C compressor pulley with rough bearings.
- Water pump with wobble, coolant seepage, or bearing noise on belt-driven systems.
- Misaligned accessory bracket or damaged mounting hardware after prior repairs.
If you replace the pulley and the new belt still walks, squeals, or wears unevenly, the root cause is usually misalignment or a weak tensioner rather than the idler pulley itself.
Key Takeaways
- Confirm the noise source before buying parts, because tensioner pulleys and accessory bearings often sound similar to a bad idler pulley.
- Photograph or sketch the belt routing before removal so the belt goes back on correctly and centered on every pulley.
- Hand-start the pulley bolt and torque it to spec to avoid cross-threading, bearing damage, or a loose pulley.
- Inspect the serpentine belt and tensioner while the belt is off, since replacing worn related parts now can prevent a second teardown.
- If the belt still squeals or tracks poorly after replacement, check for alignment problems or a weak tensioner instead of assuming the new pulley is defective.
FAQ
Can I Drive with a Bad Idler Pulley?
It is risky. A failing idler pulley can seize or come apart, which may throw the serpentine belt. If that happens, you could lose alternator output, power steering assist, or cooling system function on engines where the belt drives the water pump.
What Does a Bad Idler Pulley Sound Like?
Common sounds include chirping, squealing, grinding, or a dry bearing noise from the front of the engine. The sound usually changes with engine speed.
Should I Replace the Serpentine Belt at the Same Time?
If the belt is cracked, glazed, frayed, oil-soaked, or old, yes. Since the belt must come off anyway, replacing a worn belt at the same time is usually smart and inexpensive preventive maintenance.
Do I Need to Replace the Tensioner Too?
Not always, but inspect it closely. If the tensioner pulley is noisy, the arm moves unevenly, or the spring tension feels weak, replacing the tensioner along with the idler pulley can prevent repeat belt noise.
Can I Replace Just the Bearing Instead of the Whole Pulley?
On some pulleys the bearing can be pressed out, but most DIY owners are better off replacing the complete pulley. It is faster, more reliable, and usually not much more expensive.
Why Is the New Pulley Still Making Noise?
The sound may be coming from another component such as the tensioner pulley, alternator, A/C compressor, or water pump. Belt misalignment, an old belt, or incorrect bolt torque can also create noise after installation.
Do I Need Thread Locker on the Pulley Bolt?
Only if the vehicle manufacturer specifies it. Some applications use thread locker from the factory, while others rely only on proper torque. Adding it when not specified is usually unnecessary.
Need Parts for This Repair?
The right parts and supplies vary by vehicle.
Select your make and model to find compatible parts and accessories for your car.
Exact Fit
Parts that fit your make and model
Quality You Can Trust
Top brands and OEM quality options
Fast Shipping
Get the parts you need, delivered fast