

Note: This article contains affiliate links. If you click on these links and make a purchase, I may earn a small commission at no extra cost to you. This helps support my research and content. Read my full affiliate disclosure here.
Repair Snapshot
Use a mechanic if the leak is from a cracked fuel rail, damaged injector body, high-pressure direct-injection system, or if you smell raw fuel but cannot clearly identify the source. Professional help is also the safer choice if you are not comfortable relieving fuel pressure and working around flammable vapors.
This article is part of our Fuel System Maintenance & Repair Guides.
A leaking fuel injector is more than an annoyance. Even a small seep can create a fire hazard, trigger a fuel smell inside or outside the car, lower fuel economy, and cause rough running or hard starts.
Most injector leaks come from hardened O-rings, damaged seals, a cracked injector body, or a poor fit where the injector seats into the fuel rail or intake manifold. The right fix depends on exactly where the fuel is escaping, so diagnosis comes before parts replacement.
This guide walks through safe fuel pressure relief, leak inspection, seal replacement, injector replacement, and final leak checks. If your vehicle uses a high-pressure direct-injection system, treat the job with extra caution because those systems can be dangerous to open without the correct procedure.
How to Tell the Injector Is Actually Leaking
Before taking anything apart, confirm the injector is the leak source. Fuel can also leak from the rail, feed line, pressure regulator, quick-connect fitting, or nearby hose and then run down onto the injector area.
Common Symptoms
- Strong raw-fuel smell near the engine bay, especially after startup or shutdown.
- Visible wetness around one injector, the fuel rail, or the injector base where it enters the intake manifold.
- Hard starts, rough idle, rich-running symptoms, or black smoke from excess fuel.
- Fuel economy dropping without another obvious cause.
- Check engine light with rich mixture or misfire codes in some cases.
Pinpoint the Leak Location
Use a flashlight on a cool engine and look for fresh wet fuel. A leak at the top of the injector usually points to a rail-side O-ring or seal. A leak at the bottom of the injector often means the lower O-ring or insulator is damaged. Fuel coming directly through the injector body or electrical area usually means the injector itself has failed and should be replaced, not resealed.
If the engine must be run briefly to confirm the source, keep a fire extinguisher nearby, work in a well-ventilated area, and shut the engine off immediately once you identify the leak.
Safety Steps Before You Start
Fuel system work carries real fire risk. Do not smoke, use work lights that get hot, or work near water heaters, open flames, or anything that can ignite fuel vapors.
- Work only on a cool engine in a well-ventilated area.
- Disconnect the negative battery cable after relieving fuel pressure unless the service procedure for your vehicle says otherwise.
- Wear safety glasses and gloves because pressurized fuel can spray unexpectedly.
- Keep absorbent rags handy and clean spills immediately.
- Do not crank or start the engine with loose injectors or rail bolts.
Important Note for Direct Injection
Gasoline direct-injection systems operate at much higher pressure than older port-injection systems. Some require a scan tool or specific depressurization steps before opening the system. If your vehicle uses direct injection and you are unsure of the procedure, stop and get model-specific service information or professional help.
What Usually Causes Fuel Injector Leaks
Knowing the likely cause helps you buy the right parts and avoid repeating the repair.
- Aged or flattened O-rings that no longer seal against the rail or intake.
- Torn seals caused by dry installation or twisting the injector during assembly.
- Cracked plastic injector body or damaged metal injector shell.
- Corrosion or debris in the injector bore or fuel rail seat.
- Loose rail mounting bolts or a rail that is not seating evenly.
- A leaking fuel rail, injector clip, or feed connection mistaken for an injector leak.
On higher-mileage vehicles, replacing only one worn upper or lower seal may stop the leak, but if other injectors are the same age, inspect all of them while the rail is out.
How to Relieve Fuel Pressure
Never pull injectors or disconnect the rail before relieving pressure. The exact procedure varies by vehicle, but the general approach is similar on many port-injected engines.
- Remove the fuel pump fuse or relay.
- Start the engine and let it run until it stalls.
- Crank the engine for a few extra seconds to bleed off remaining pressure.
- Turn the key off and disconnect the negative battery cable.
- Place rags around the service port or connection points before loosening anything.
Some vehicles also have a Schrader-style service valve on the rail, but do not press it blindly. Follow a service manual for your engine if available, because some systems retain pressure longer than expected.
Tools That Make This Job Easier



Removing the Fuel Rail and Injector
Take your time during disassembly. Injectors, connectors, and rail mounts can become brittle with age and heat.
Access the Rail
Remove any engine cover, intake ducting, or brackets blocking access. Label vacuum lines or electrical connectors if needed so everything goes back in the right place.
Disconnect Electrical Connectors
Unplug the injector connector for the leaking cylinder and any others attached to the rail harness. Release the lock tabs carefully to avoid cracking the connector body.
Disconnect the Fuel Supply as Required
Depending on design, you may need to disconnect a quick-connect fuel line or leave the line attached and move the rail just enough to remove the injectors. Use the correct disconnect tool if your vehicle requires one.
Unbolt and Lift the Rail Evenly
Remove the fuel rail bolts and gently work the rail upward without prying hard on one side. The injectors often come out with the rail. If one injector stays stuck in the manifold, rotate it gently and pull straight out.
Keep dirt out of the exposed intake ports and injector bores. A clean rag over the area can help while you inspect parts.
Inspecting the Injector and Seals
Once the injector is out, inspect both the injector and the places where it seals. This is where you decide whether a seal kit is enough or the injector should be replaced.
- Look for split, flattened, cut, or hardened O-rings.
- Check for a cracked injector body or fuel staining from the injector shell itself.
- Inspect the upper and lower seats for corrosion, nicks, or baked-on debris.
- Make sure any retaining clips are not bent or loose.
- Compare the leaking injector to the others for obvious differences in wear or damage.
If fuel was clearly escaping through the injector body, nozzle seam, or electrical side, replace the injector. External body leaks are not a normal wear item and should not be patched or sealed with adhesives.
Replacing Injector O-Rings or Seals
If the injector itself is sound and only the seals are damaged, replacing the upper and lower O-rings is often the correct fix. Always use the exact seal size and material specified for your vehicle.
- Remove the old O-rings carefully with a plastic or blunt pick so you do not scratch the injector groove.
- Clean the injector body and sealing areas with a lint-free rag.
- Lightly coat the new O-rings with clean engine oil before installation.
- Roll the new seals into place without twisting or stretching them excessively.
- Replace any insulators, spacers, or pintle caps only if your injector design uses them and the correct kit is available.
Do not install injector O-rings dry. Dry seals can tear during assembly and leak immediately once pressure returns. Also avoid using grease or chemicals not approved for fuel-system seals.
When to Replace the Entire Injector
Replacing the full injector is the better repair when the injector body is damaged or the leak source is not just a seal.
- The injector housing is cracked or visibly leaking through the body.
- The electrical connector area is fuel-stained or wet.
- The injector has repeated seal leaks because the sealing surfaces are damaged.
- The injector also has performance problems such as sticking, clogging, or cylinder-specific misfires.
- The injector is loose in the rail or manifold because of clip or fitment damage.
Use a quality replacement injector matched to your engine code and fuel system. Flow differences between injectors can affect drivability, so avoid generic parts of uncertain origin.
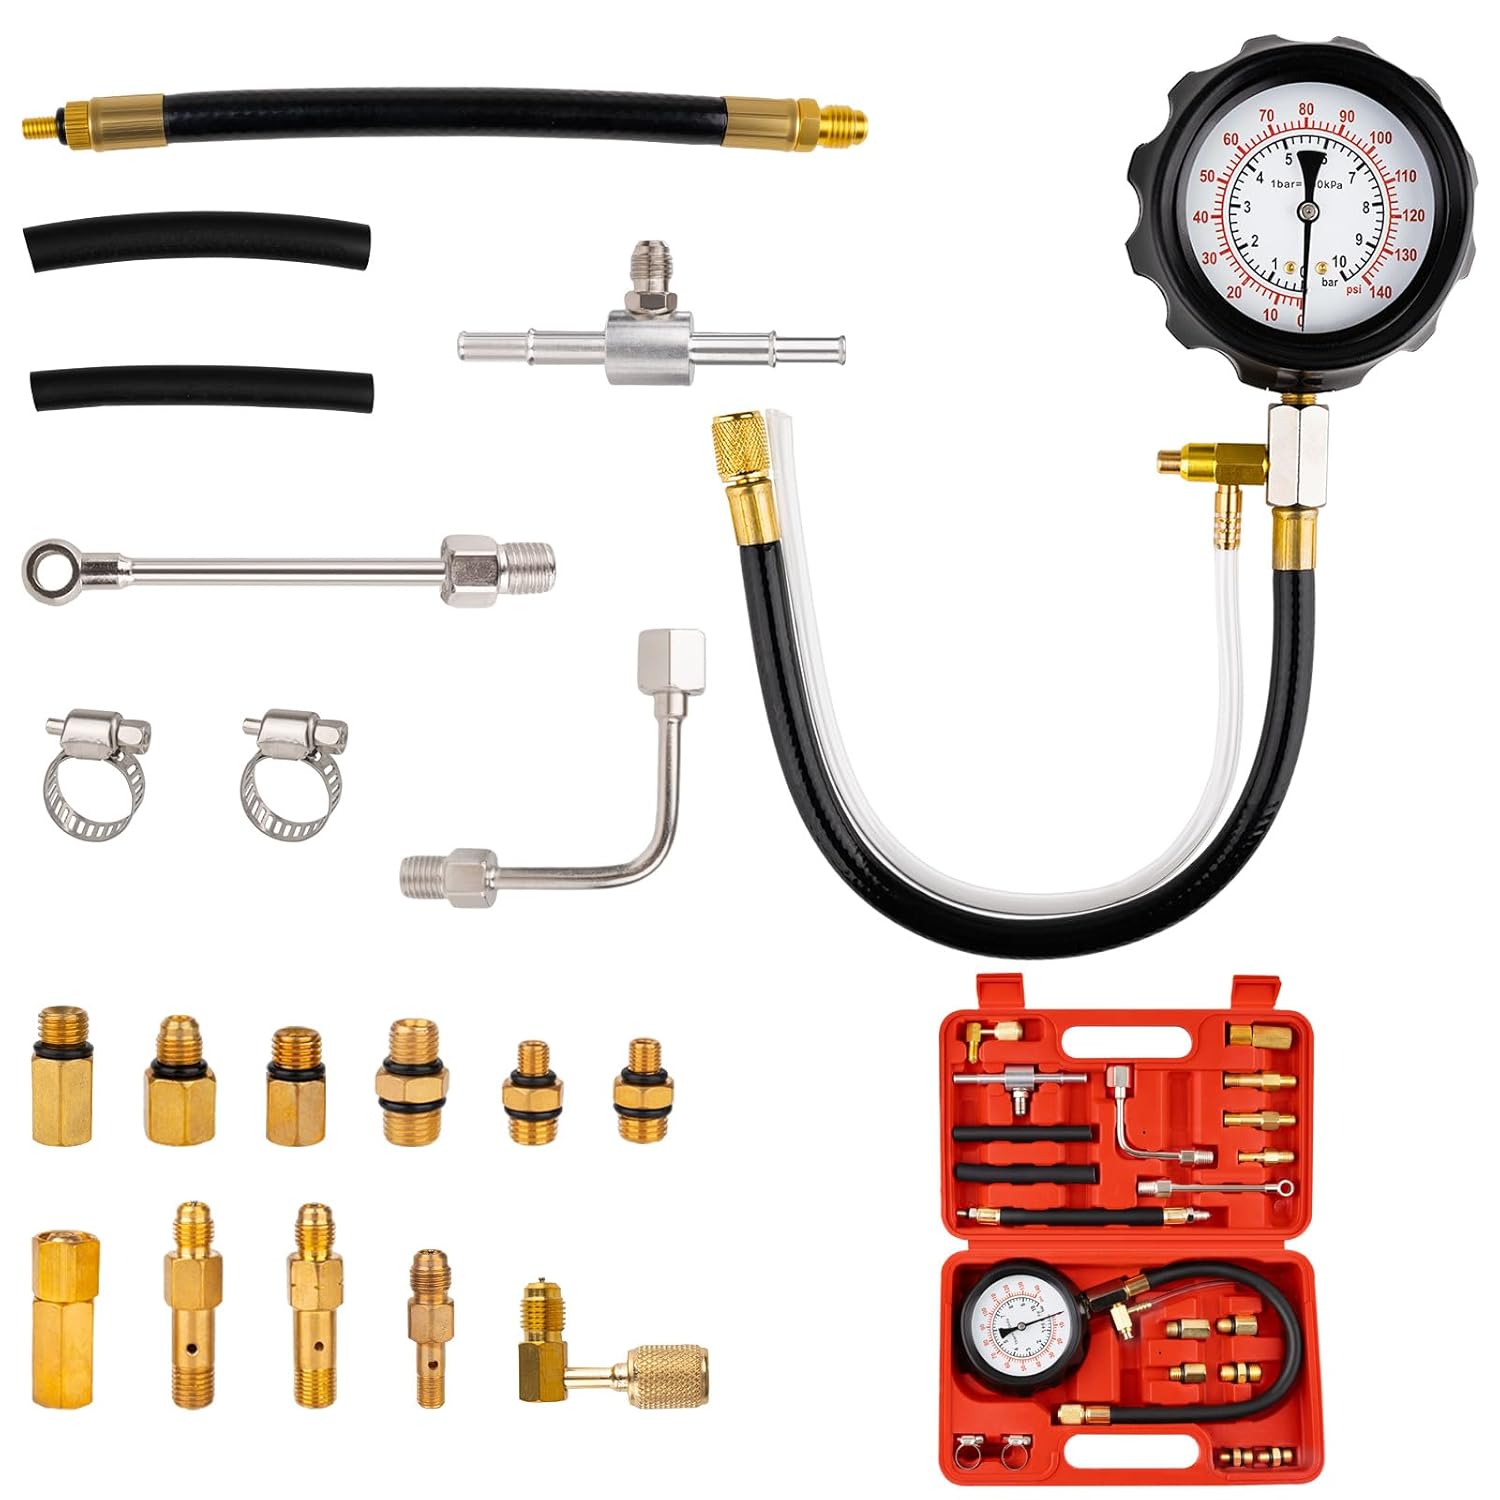
Recommended Tools for This Job


Reinstalling the Injector and Fuel Rail
Proper reassembly matters as much as the parts you install. A perfectly good new seal can fail if the injector is cocked in the bore or the rail is drawn down unevenly.
- Seat the injector squarely into the rail or intake bore, depending on your system design.
- Make sure retaining clips are fully engaged before tightening rail bolts.
- Lower the fuel rail evenly so each injector enters straight without pinching a seal.
- Tighten rail bolts by hand first, then torque them to specification in small steps.
- Reconnect the fuel line, electrical connectors, brackets, and any removed intake parts.
If an injector does not want to seat, stop and inspect alignment. Forcing it into place can cut the O-ring or crack the injector tip area.
Priming the System and Checking for Leaks
The final leak check is the most important part of the job. Do not assume the repair is done just because the injector is back in place.
- Reconnect the battery and reinstall the fuel pump fuse or relay.
- Turn the key to the ON position for a few seconds without starting the engine, then turn it off.
- Repeat the key cycle two or three times to build fuel pressure.
- Inspect the repaired injector, adjacent injectors, rail connections, and line fittings with a flashlight.
- Start the engine only after the area stays completely dry during priming.
Let the engine idle while watching closely for fresh wetness. Then shut it off and recheck again, since some leaks appear just after pressure changes. If any seepage is present, turn the engine off immediately and correct the issue before driving.
Mistakes That Cause Repeat Leaks
Many repeat injector leaks come from installation errors rather than bad parts. Avoid these common mistakes.
- Reusing old O-rings that looked acceptable but were already flattened or hardened.
- Installing seals dry or using the wrong lubricant.
- Scratching the injector groove or rail seat with a metal pick.
- Mixing up upper and lower seals when they are not identical.
- Overtightening or unevenly tightening the fuel rail bolts.
- Ignoring dirt or corrosion in the injector bore.
If the leak returns immediately after seal replacement, suspect a damaged seat, warped rail mounting, incorrect seal kit, or a cracked injector rather than assuming the new O-rings are defective.
When This Repair Is Not DIY-Friendly
Some fuel injector leaks are best handled by a shop, especially when diagnosis is uncertain or the system is more complex than a simple port-injected rail setup.
- The vehicle has gasoline direct injection and requires special high-pressure procedures.
- The leak appears to come from a cracked fuel rail or damaged line fitting.
- The intake manifold or surrounding components make injector access difficult.
- You have multiple misfires, strong fuel smell in the cabin, or signs of fuel pooling on the engine.
- You cannot complete a clean, dry leak check after reassembly.
Driving with an active fuel leak is unsafe. If you cannot stop the leak confidently, have the vehicle towed rather than risking an engine-bay fire.
Key Takeaways
- Confirm the leak source first, because fuel rail fittings and hoses often mimic a leaking injector.
- Always relieve fuel pressure and work on a cool engine before removing injectors or the rail.
- Replace torn or hardened injector O-rings with the correct parts and lubricate them lightly before installation.
- Replace the entire injector if the body is cracked or fuel leaks through the injector itself.
- Prime the system and inspect carefully for seepage before starting the engine and again after shutdown.
FAQ
Can I Drive with a Leaking Fuel Injector?
No. Even a small external fuel leak can ignite on hot engine components. If you smell raw fuel or see wetness around the injector, do not keep driving until the leak is repaired.
Is a Leaking Injector Always Caused by Bad O-rings?
No. O-rings are common failure points, but leaks can also come from a cracked injector body, a damaged fuel rail seat, loose rail bolts, or a nearby line connection that is dripping onto the injector.
Should I Replace Just One Injector Seal or All of Them?
If one injector seal failed from age and the others are original, it is smart to inspect and often replace the other accessible injector O-rings at the same time. It can save labor and reduce the chance of another leak soon after.
Do Injector O-rings Need Lubricant During Installation?
Yes. A light coat of clean engine oil is commonly used to help the seals slide into place without tearing. Do not install them dry, and do not use random chemicals that may damage the rubber.
How Do I Know if I Need a New Injector Instead of Just Seals?
If fuel leaks through the injector body, electrical area, or a visible crack, replace the injector. Also replace it if the sealing surfaces are damaged or the injector has related drivability problems like sticking or misfiring.
What Is the Difference Between Port Injection and Direct Injection for This Repair?
Port-injected systems usually run at lower pressure and are often more DIY-friendly. Direct-injection systems operate at much higher pressure and can require special depressurization steps, tools, and procedures, making them riskier for inexperienced DIYers.
Why Does My Engine Still Smell Like Fuel After I Replaced the Injector Seals?
You may still have a small seep at the rail, line fitting, or injector seat, or spilled fuel may be lingering on the engine. Clean the area, prime the system again, and inspect carefully for fresh wetness. If the source is not obvious, have it professionally checked.
Need Parts for This Repair?
The right parts and supplies vary by vehicle.
Select your make and model to find compatible parts and accessories for your car.
Exact Fit
Parts that fit your make and model
Quality You Can Trust
Top brands and OEM quality options
Fast Shipping
Get the parts you need, delivered fast