

Note: This article contains affiliate links. If you click on these links and make a purchase, I may earn a small commission at no extra cost to you. This helps support my research and content. Read my full affiliate disclosure here.
Repair Snapshot
Use a mechanic if the sensor is buried under the intake manifold, the cooling system is pressurized or overheating, or you cannot properly bleed the cooling system afterward.
This article is part of our Cooling System Maintenance & Repair Guides.
Replacing an engine coolant temperature sensor is usually a manageable DIY repair if the sensor is accessible and you work on a completely cool engine. This sensor helps the engine computer monitor coolant temperature, adjust fuel delivery, control radiator fan operation, and report temperature data to the dash gauge or warning system.
A failing sensor can cause hard starting, rough idle, poor fuel economy, cooling fan problems, overheating warnings, or trouble codes like P0115 through P0119. In many vehicles, the sensor threads into a coolant passage near the thermostat housing, cylinder head, intake manifold coolant crossover, or engine block.
The exact location and sealing method vary by vehicle, so confirm the replacement procedure and torque specification for your engine before you start. The main goals are to avoid burns from hot coolant, prevent connector damage, install the new sensor with the correct seal, and refill and bleed the cooling system properly.
Before You Begin
Start by identifying the correct sensor. Some vehicles use one coolant temperature sensor for the engine computer and a separate sender for the dash gauge, while others combine both functions into one unit. Match the replacement part by year, make, model, engine size, and VIN when possible.
Only work on the cooling system when the engine is completely cold. Opening a hot cooling system can release scalding coolant and steam under pressure. If the upper radiator hose still feels firm and hot, wait longer.
Common Sensor Locations
- Near the thermostat housing where the upper radiator hose meets the engine
- Threaded into the cylinder head near a coolant outlet
- Mounted in an intake manifold coolant crossover passage
- Installed in the engine block near a coolant jacket
What to Verify Before Removal
- The replacement sensor matches the original connector shape and thread size
- Whether the sensor uses an O-ring, sealing washer, or thread sealant
- The torque specification for the sensor
- Whether removing the sensor will spill only a small amount of coolant or require draining the system below sensor level
Symptoms and Diagnosis
Do not replace the sensor blindly if you have not confirmed the fault. Wiring damage, corrosion in the connector, low coolant level, a stuck thermostat, or an actual overheating problem can create similar symptoms.
Signs the Coolant Temperature Sensor May Be Faulty
- Check engine light with codes such as P0115, P0116, P0117, P0118, or P0119
- Cooling fans run constantly or fail to come on at the right time
- Poor cold-start performance or hard starting when warm
- Rich fuel smell, black exhaust smoke, or reduced fuel economy
- Temperature gauge readings that jump, stay cold, or behave erratically
If you have a scan tool, compare the coolant temperature reading to ambient temperature before the engine is started. On a cold engine, the reading should usually be close to outside air temperature. A reading that is wildly high or low before startup often points to a bad sensor or circuit problem.
Also inspect the electrical connector closely. Coolant seepage through the sensor body, oil contamination, broken retaining tabs, green corrosion, or stretched terminals can all cause bad sensor readings even if the sensor itself is new.
Prepare the Vehicle and Relieve Cooling System Pressure
Park on a level surface, set the parking brake, and let the engine cool fully. Disconnect the negative battery cable if the sensor is close to the starter, alternator, or exposed electrical connections, or if your service information recommends it.
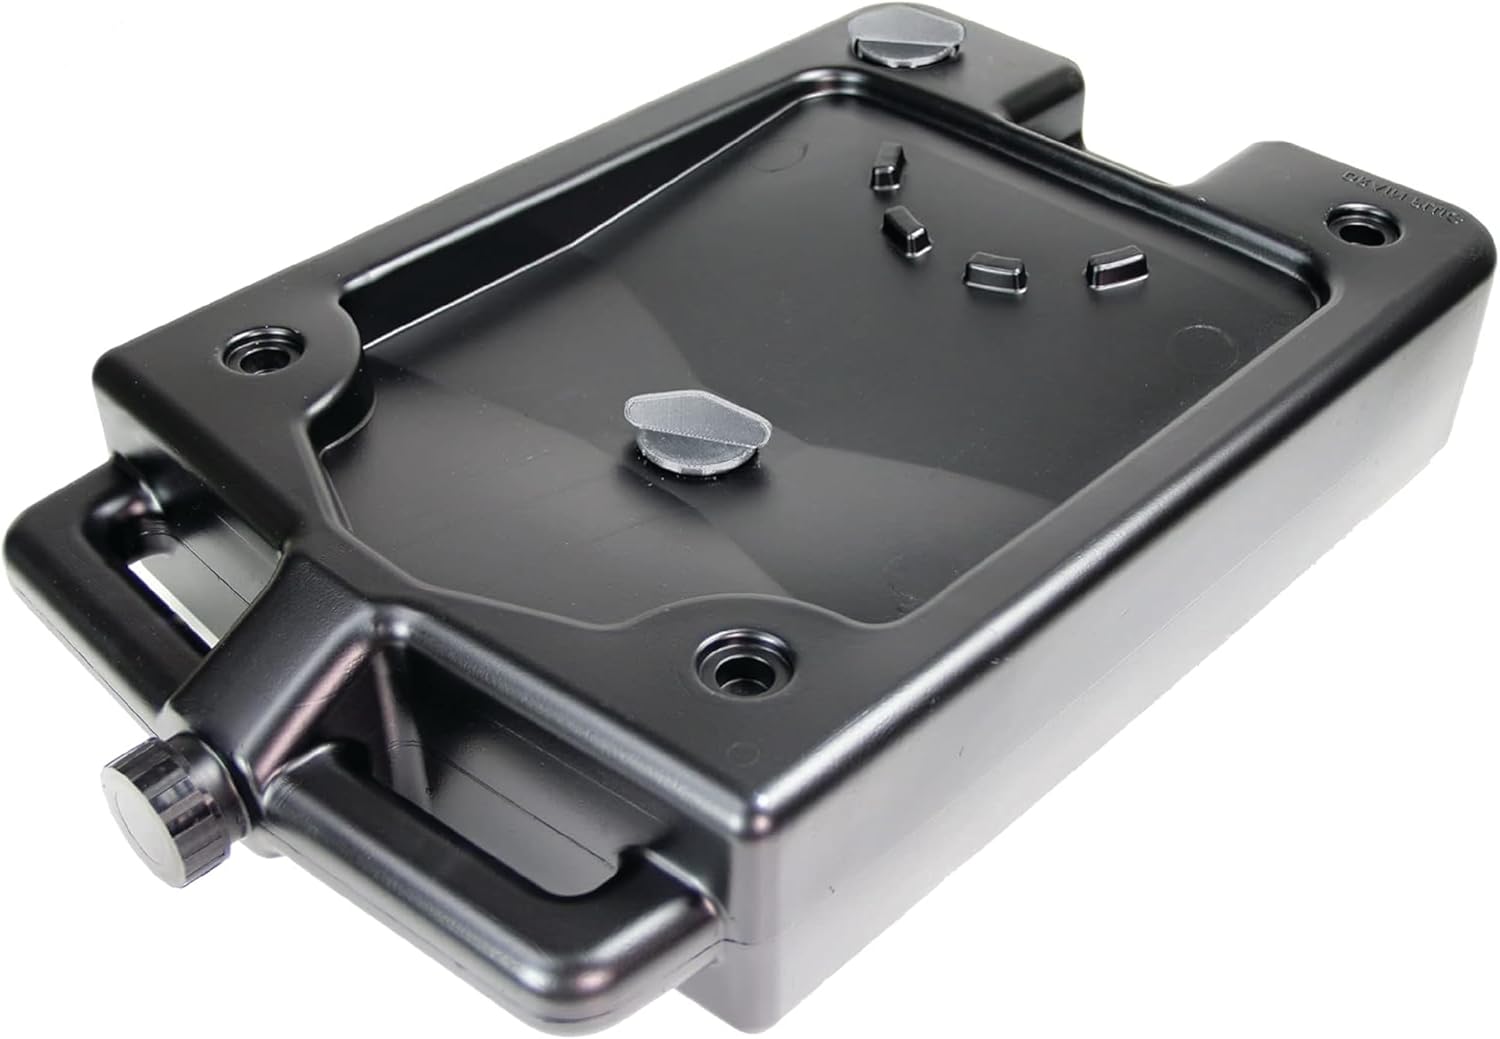
Place a drain pan under the vehicle. Slowly loosen the radiator cap or coolant reservoir cap only after the engine is cold. This relieves any remaining pressure. Some vehicles require draining a small amount of coolant from the radiator petcock so the level sits below the sensor opening.
Tips to Reduce Coolant Loss
- Drain just enough coolant so the sensor opening is above fluid level
- Keep the new sensor within reach before removing the old one
- Use rags around the work area to catch small spills
- Avoid opening the cap fully until the engine is cool and pressure is gone
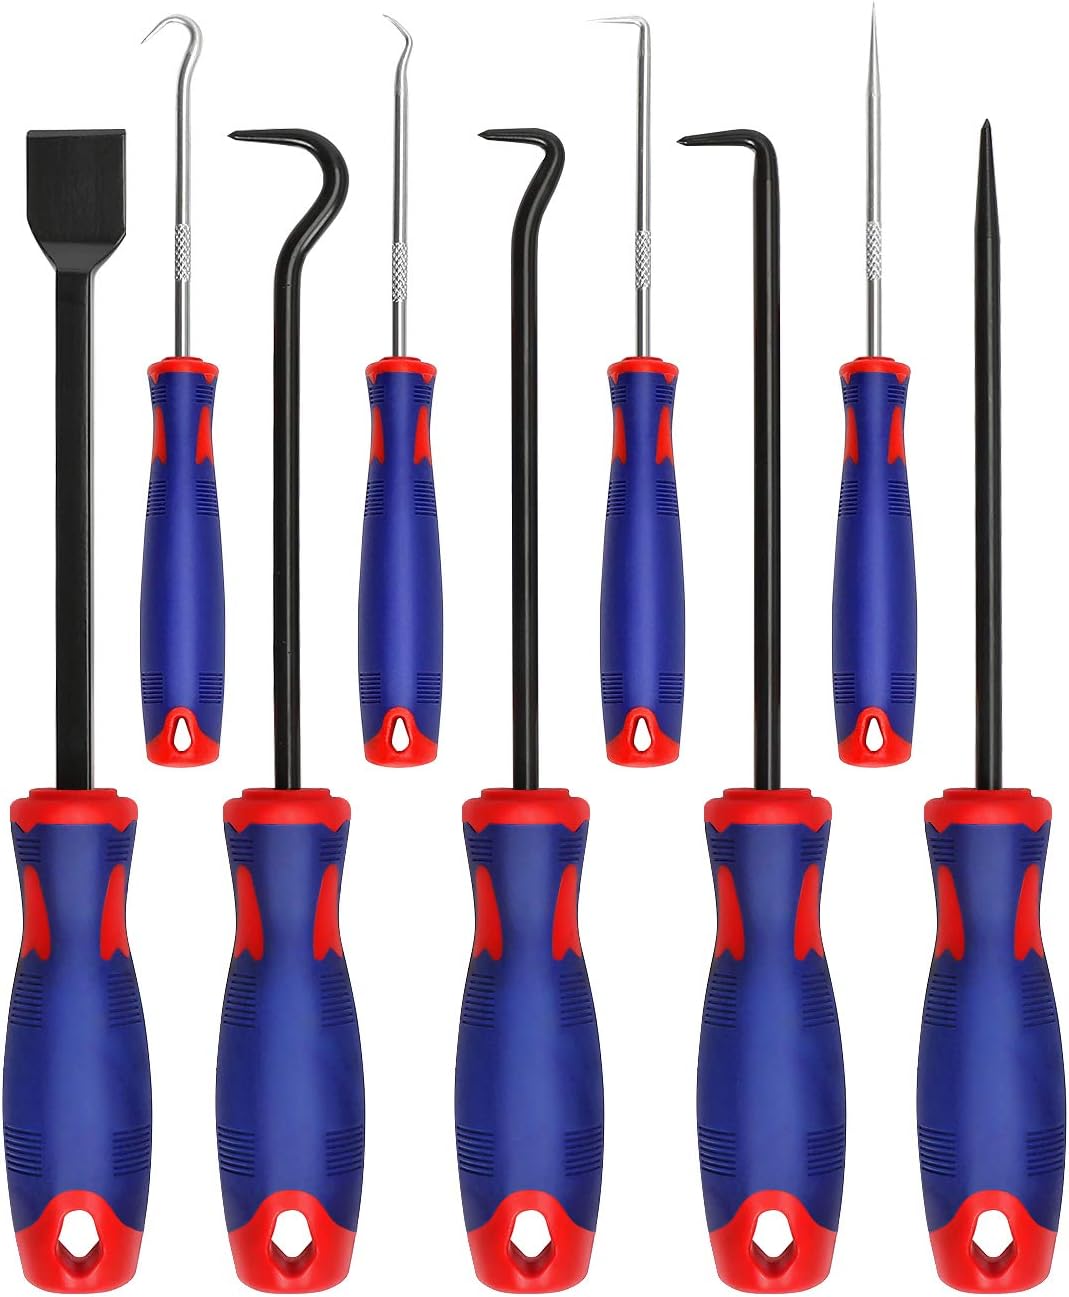
Tools That Make This Job Easier


Remove Components Blocking Access
On many engines, the sensor is easy to reach from above. On others, you may need to remove an air intake duct, engine cover, battery tray, resonator box, or other small parts to gain straight access. Take photos before disassembly so hoses and clips return to the correct positions.
If the sensor sits under the intake manifold or behind major components, stop and assess whether the job is still practical at home. The repair can escalate quickly if brittle plastic connectors or coolant fittings break during disassembly.
Remove the Old Coolant Temperature Sensor
Disconnect the Electrical Connector
Press the connector lock tab and slide the connector off the sensor. If it is stuck, use a pick gently to lift the locking tab, but do not pry hard enough to crack the plastic. Inspect the connector for coolant intrusion, corrosion, bent terminals, or damaged wiring insulation.
Unscrew or Unclip the Sensor
Most engine coolant temperature sensors are threaded into the engine and removed with a deep socket or box wrench. Turn the sensor counterclockwise and have the new one ready. Some designs use a retaining clip instead of threads; if so, remove the clip carefully and pull the sensor straight out while catching coolant in a pan.
Once the old sensor is out, compare it to the new part. Check thread length, tip shape, connector clocking, and seal type. If the old O-ring stayed behind in the port, remove it completely before installation.
Inspect the Mounting Area
Wipe the sensor seat or threaded port clean with a rag. Do not let dirt fall into the opening. If the threads in the engine look damaged, stop before forcing in the new sensor. Cross-threading an aluminum housing can turn a simple repair into a larger one.
Install the New Sensor Correctly
Install the new seal exactly as the manufacturer intended. Some sensors come with a preinstalled thread coating and should not receive extra sealant. Others use an O-ring or sealing washer only. If thread sealant is required, apply a small amount to the threads only and keep it away from the sensor tip.
Thread the new sensor in by hand first. It should turn in smoothly for several turns. If it binds immediately, back it out and realign it. Once hand-threaded, tighten it with the correct socket or wrench and finish with a torque wrench to factory specification when possible.
Important Installation Cautions
- Do not overtighten the sensor, especially in aluminum housings
- Do not reuse a flattened or cut O-ring
- Do not add thread tape unless the service manual specifically allows it
- Make sure the connector snaps fully into place after installation
Reconnect the electrical connector until you hear or feel the lock click. Gently tug on it to confirm it is secure. Reinstall any intake ducting, covers, brackets, or other parts that were removed for access.
Refill and Bleed the Cooling System
Refill the system with the correct coolant type for your vehicle. Using the wrong coolant chemistry can shorten component life and create corrosion problems. If you drained only a small amount, top off the radiator or reservoir as required.
Bleeding trapped air is critical. Air pockets can cause false temperature readings, poor heater performance, and real overheating. Some vehicles have dedicated bleed screws; others rely on a fill procedure through the radiator neck or pressurized reservoir.
Basic Bleeding Process
- Fill the cooling system to the proper level with the engine off.
- Set the heater to full hot if your vehicle uses heater-core flow during bleeding.
- Start the engine and let it idle while monitoring coolant level and temperature.
- Open bleed screws if equipped and close them when coolant flows without air bubbles.
- Allow the thermostat to open, then top off coolant as the level drops.
- Install the cap and bring the engine to operating temperature while checking for leaks.
Watch the temperature gauge closely during this step. If the gauge climbs rapidly toward hot, the upper hose stays cold too long, or the heater blows cold unexpectedly, shut the engine off and reassess for trapped air, low coolant level, or a separate cooling system problem.
Recommended Tools for This Job


Clear Codes and Verify the Repair
Use a scan tool to clear any stored trouble codes after the repair. Then monitor live coolant temperature data during warm-up. The temperature should rise steadily and plausibly instead of jumping around or reading implausible values.
Check for leaks around the new sensor with the engine idling and again after a short road test. Recheck coolant level after the engine cools completely, since remaining air may purge into the reservoir on the first heat cycle.
A Successful Repair Should Show
- No coolant seepage at the sensor or connector area
- Stable and believable coolant temperature data on a scan tool
- Normal gauge behavior and normal heater performance
- Cooling fan operation that matches engine temperature
- No returning coolant temperature sensor fault codes
Common Mistakes to Avoid
- Opening the cooling system while the engine is still hot
- Replacing the wrong temperature sender or confusing it with a fan switch
- Damaging the connector lock tab during removal
- Cross-threading the new sensor into an aluminum housing
- Using too much thread sealant and contaminating the sensor tip or cooling passage
- Failing to bleed the system fully after installation
- Ignoring low coolant level, thermostat issues, or wiring faults that mimic a bad sensor
If the new sensor does not fix the problem, continue diagnosis. Check the wiring harness for rubbed-through insulation, verify sensor reference voltage and ground if applicable, and inspect the thermostat and coolant level. A code for temperature performance can indicate the engine is not warming up correctly, not just that the sensor failed.
When This Job Gets More Complicated
Some vehicles place the coolant temperature sensor in a cramped area under the intake manifold, behind the engine, or near fragile plastic cooling flanges. Turbocharged engines and transverse V6 layouts can be especially awkward. What looks like a 20-minute job online may take much longer on your specific vehicle.
Consider professional help if you notice stripped threads, heavy corrosion, recurring overheating, milky coolant contamination, broken electrical connectors, or coolant leaks from nearby housings and hoses. Replacing the sensor alone will not solve deeper cooling system faults.
Key Takeaways
- Always replace the sensor on a fully cooled engine and relieve system pressure slowly to avoid burns.
- Match the new sensor and seal exactly to the old one, and hand-thread it first to prevent cross-threading.
- Inspect the electrical connector for corrosion or coolant intrusion before assuming the sensor alone is bad.
- Refill with the correct coolant and bleed air from the system completely to prevent false readings or overheating.
- Use scan tool data and a final leak check to confirm the repair instead of relying on the dash gauge alone.
FAQ
Do I Have to Drain All the Coolant to Replace the Engine Coolant Temperature Sensor?
Usually no. On many vehicles you only need to drain enough coolant to bring the level below the sensor opening. Some accessible sensors can even be swapped quickly with minimal loss, but keeping a drain pan ready is still important.
Can I Drive with a Bad Coolant Temperature Sensor?
You might be able to drive short distances, but it is not ideal. A bad sensor can cause poor fuel mixture control, hard starting, cooling fan issues, and inaccurate overheating warnings. If the engine is actually overheating, do not drive it.
Will Replacing the Coolant Temperature Sensor Fix a Check Engine Light Right Away?
It may, but many vehicles store the code until it is cleared with a scan tool or until several drive cycles pass. Clear the code after the repair and confirm the sensor data looks normal during warm-up.
Do I Need Thread Sealant on the New Sensor?
Only if the part manufacturer or service information specifies it. Many sensors seal with an O-ring, washer, or pre-applied thread coating. Using the wrong sealant can affect grounding, contaminate the cooling system, or alter the sensor reading.
What Happens if Air Gets Trapped in the Cooling System After Sensor Replacement?
Air pockets can cause erratic temperature readings, poor cabin heat, coolant level changes, and real overheating. That is why proper bleeding and a final cold-level recheck are critical after replacing the sensor.
Why Does the New Sensor Not Fix My Temperature Gauge Problem?
The issue may be a separate gauge sender, damaged wiring, connector corrosion, low coolant level, a bad thermostat, or an instrument cluster problem. Some vehicles use different sensors for the engine computer and the dash gauge.
How Tight Should the New Coolant Temperature Sensor Be?
Tighten it to the factory torque specification whenever possible. These sensors are often small and thread into aluminum parts, so overtightening can crack the sensor or strip the housing.
Need Parts for This Repair?
The right parts and supplies vary by vehicle.
Select your make and model to find compatible parts and accessories for your car.
Exact Fit
Parts that fit your make and model
Quality You Can Trust
Top brands and OEM quality options
Fast Shipping
Get the parts you need, delivered fast