

Note: This article contains affiliate links. If you click on these links and make a purchase, I may earn a small commission at no extra cost to you. This helps support my research and content. Read my full affiliate disclosure here.
Repair Snapshot
Use a mechanic if the rattle seems related to the exhaust, suspension, steering, brakes, or drivetrain, or if you cannot safely lift and support the vehicle. Professional diagnosis is also smart when the noise only appears at speed or under load.
This article is part of our Body and Exterior Maintenance & Repair Guides.
Interior or underbody rattles are annoying, but they also tell you that something is loose, worn, broken, or missing. The good news is that many rattles can be found with a methodical test drive and a careful inspection instead of random part swapping.
The biggest mistake DIYers make is trying to fix the first thing they see moving. A cupholder insert, trunk jack, heat shield, sway bar link, loose seat rail cover, or broken trim clip can all sound surprisingly similar from the driver’s seat. The goal is to isolate the noise first, then repair only the actual source.
This guide walks you through a practical process for finding rattles inside the cabin and under the vehicle, along with common fixes that usually solve the problem without expensive diagnostic time.
Start by Narrowing Down when and Where the Rattle Happens
Before you grab tools, pay attention to the exact conditions that trigger the noise. Rattles that happen only over bumps usually point to trim, shields, suspension hardware, or loose items. Rattles at idle may come from the exhaust, heat shields, or engine bay brackets. Noises that appear only at certain RPM or road speeds often involve vibration-sensitive parts rather than something simply rolling around.
- Note whether the sound is from the dash, door, seat, trunk, floor, or underneath the car.
- Check if it happens on sharp bumps, rough pavement, acceleration, braking, turning, or idling in park.
- See if temperature matters, since plastic trim and metal heat shields often rattle more when cold.
- Pay attention to whether the noise changes with passengers or cargo weight.
- If safe, have a helper sit in different areas of the cabin during a short test drive.
A short phone recording can also help. Even if the microphone does not capture the sound perfectly, it can reveal a pattern such as a quick metallic buzz, a plastic tapping sound, or a heavier clunk. That description helps you focus your inspection.
Rule Out Loose Personal Items First
Many rattles are not car problems at all. Empty the glove box, center console, door pockets, trunk bins, cargo area, and under-seat storage. Remove sunglasses, charging cables, coins, child-seat hardware, water bottles, umbrella tips, and emergency kits that are free to move.
Also check factory equipment that may have shifted. The spare tire hold-down, jack, lug wrench, trunk floor panel, rear parcel shelf, folding rear seat latches, and cargo cover are common noise makers. A loose license plate or frame can mimic a rear suspension rattle, and a worn front plate bracket can sound like a dash buzz at low speed.
If removing loose items makes the noise disappear, add padding, tighten the retaining hardware, or replace missing hold-downs. This is the cheapest fix, so do it before pulling trim apart.
Recreate the Rattle While the Car Is Parked
Some rattles can be found without driving. With the car parked, engine off unless needed for diagnosis, press on trim panels, tap suspected areas with your hand, shake seats, open and close doors, and bounce each corner of the vehicle. If the noise only appears with the engine running, test at idle in park and lightly raise RPM while listening.
Useful Parked Tests
- Tap the dashboard, A-pillars, door panels, center console, and rear shelf to expose loose clips.
- Push on seat backs, headrests, folding seat latches, and seat belt buckles.
- Shake the exhaust by hand only when the system is cool.
- Tap heat shields lightly with a rubber mallet to hear metallic buzzing.
- Bounce the vehicle near each wheel to see if the noise comes from a corner.
If you can reproduce the sound while parked, diagnosis becomes much easier because you can inspect the exact area immediately instead of guessing after a road test.
Inspect Common Interior Rattle Sources
Interior rattles are usually caused by plastic-on-plastic contact, broken clips, missing screws, loose modules, or play in latches and hinges. Start with areas that match the sound location rather than pulling apart the whole cabin.
Dashboard and Center Console
Check trim around the radio, climate controls, gauge cluster, glove box, infotainment screen, and center stack side panels. Light pressure from your hand during a test drive can help confirm the source. If the rattle changes when you press on a panel, remove that trim carefully and inspect for broken clips, missing screws, or wiring connectors hitting plastic.
A good repair is to replace damaged clips and apply felt tape where two hard surfaces meet. Use foam tape for larger gaps and butyl tape when you need a flexible, tacky cushion behind a panel. Do not stuff random paper into the gap, since it traps moisture and usually becomes noisy again.
Doors and Pillars
Door panel rattles often come from loose armrest screws, detached moisture barriers, speaker mounting screws, lock rods, or wiring harnesses contacting the inner door shell. A rattle near the B-pillar may be a seat belt height adjuster trim piece or belt buckle knocking against hard trim.
Remove the panel only after confirming the area. Then secure loose harnesses with felt wrap or zip ties, replace missing clips, tighten speaker hardware, and make sure the moisture barrier is properly adhered so it does not flap or buzz.
Seats, Rear Shelf, and Hatch Area
Seat track covers, headrest posts, folding seat latches, child-seat anchors, and rear deck trim are frequent sources. Hatchbacks and SUVs may rattle from the liftgate striker, cargo cover mounts, interior hatch trim, or rear wiper motor trim. A light coating of silicone on a rubber hatch stop can sometimes quiet a squeak, but a true rattle usually needs latch adjustment, missing fastener replacement, or added anti-rattle padding.
Tools That Make This Job Easier


Inspect Common Underbody Rattle Sources
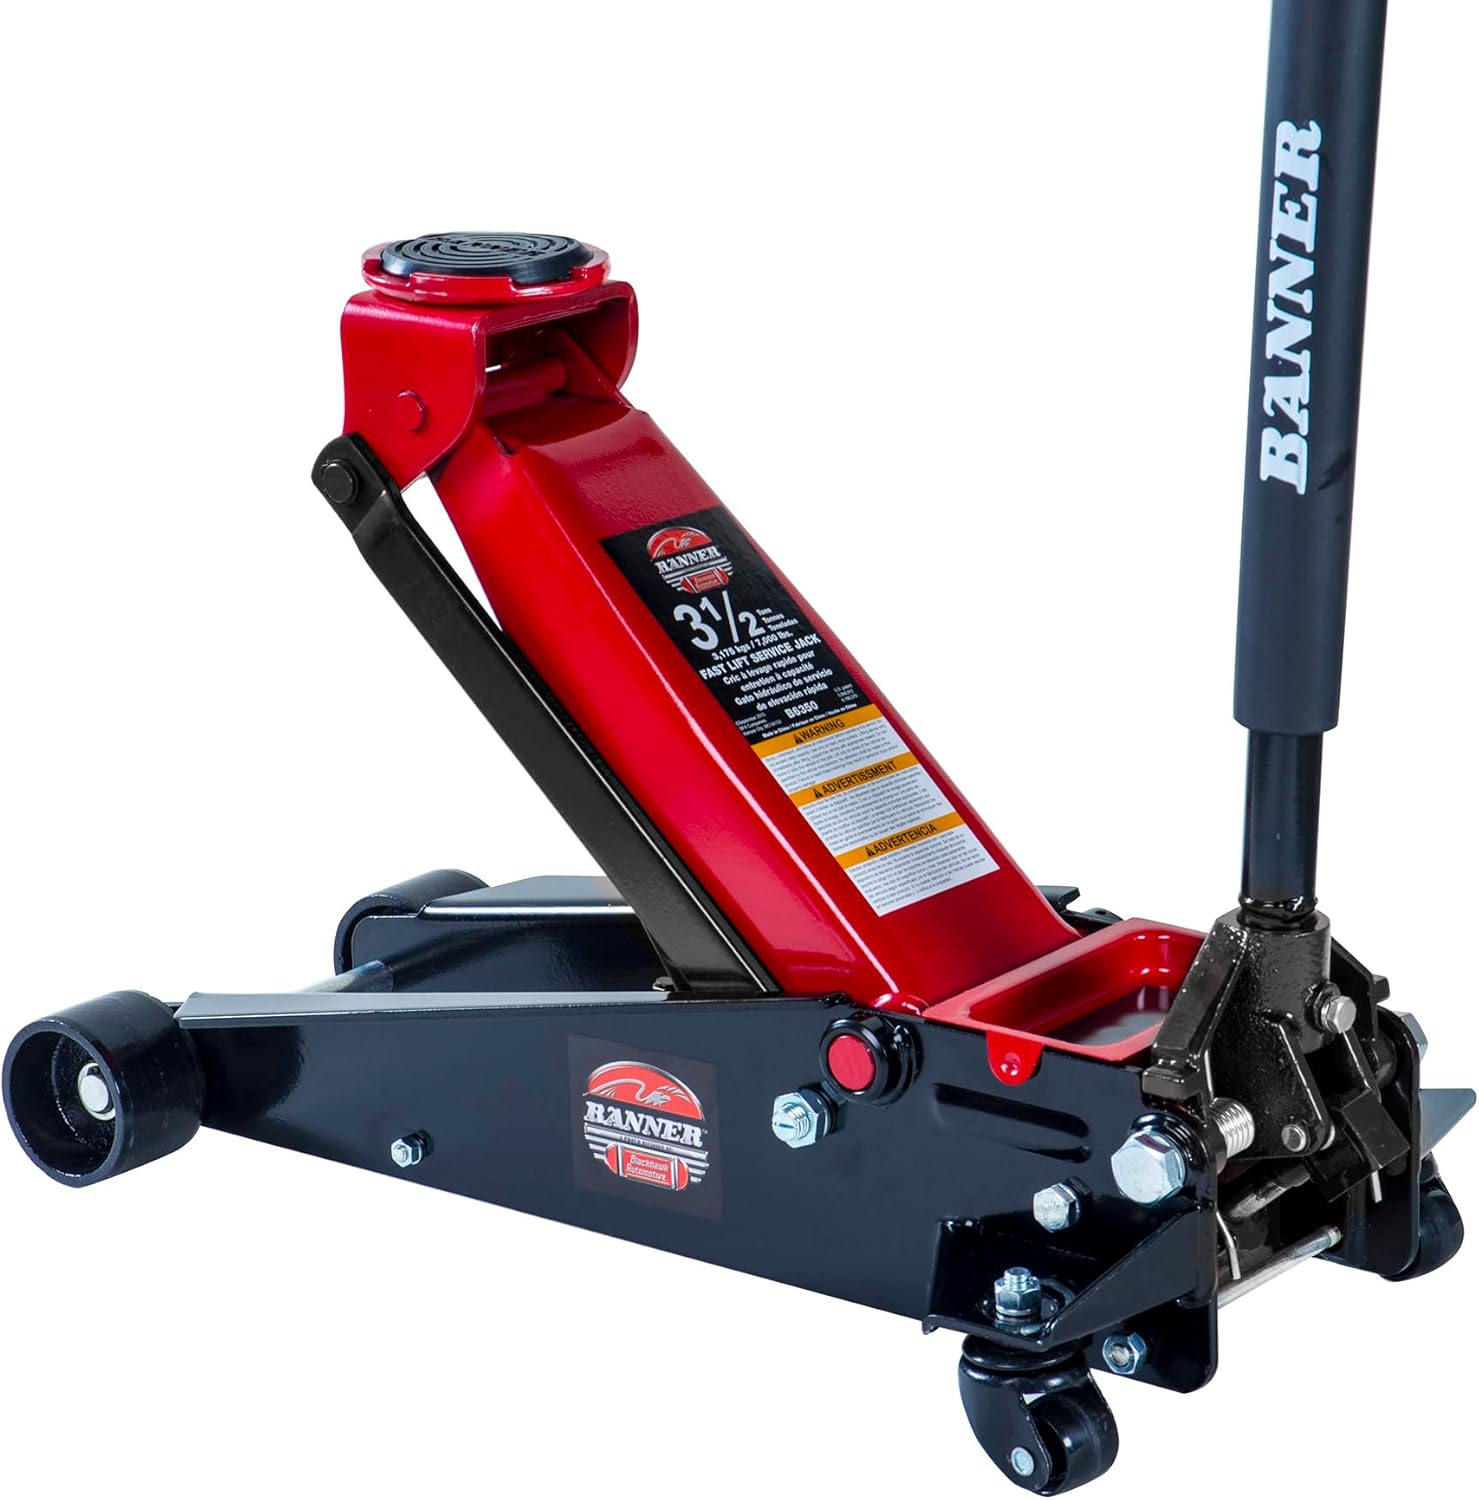
Underbody noises tend to be more important because they can involve safety-related parts. Always work on a cool vehicle, use level ground, chock the wheels, and support the car securely with jack stands before going underneath.
Heat Shields and Exhaust Parts
Loose heat shields are one of the most common metallic rattles. Rust around the shield mounting holes can let the shield vibrate against the body or exhaust. Inspect shields around the catalytic converter, muffler, resonator, and floor tunnel. Look for missing bolts, broken spot welds, or sections that contact the pipe.
Fixes depend on the condition. If the hardware is missing, replace it. If the shield hole has rusted larger, use a large washer or suitable shield repair hardware. If a section is torn or bent, reshape it carefully and secure it so it cannot touch hot or moving parts. Do not remove a heat shield unless the vehicle-specific design truly allows it, because nearby components can be damaged by heat.
Exhaust Hangers and Clamps
A broken rubber hanger, loose clamp, or pipe resting too close to the body can create rattles at idle or over bumps. Wiggle the exhaust when cool and look for excess movement or shiny contact marks. Replace cracked hangers and tighten loose clamps to spec. If the pipe alignment is off, loosen and reposition the section before retightening.
Splash Shields, Skid Plates, and Undertrays
Plastic undertrays and splash shields often rattle after an oil change, minor impact, or clip failure. Missing push clips let the panel flutter and slap nearby components. Reinstall the panel with the correct fasteners rather than oversized screws that can crack the plastic.
Suspension and Brake-related Noises
If the rattle seems tied to wheel movement, inspect sway bar links, sway bar bushings, strut hardware, brake backing plates, caliper hardware, and loose dust shields. These parts can move just enough to chatter over bumps. Any play in a suspension or steering component should be treated as a repair issue, not just a noise issue.
Use a Simple Isolation Method Instead of Guessing
The fastest way to solve a rattle is to isolate one variable at a time. Change only one thing, retest, and move on if the sound is still there. Randomly tightening everything can mask the problem temporarily or make diagnosis harder.
- Recreate the noise and identify the rough area.
- Apply hand pressure to interior trim or lightly restrain a suspected item during a test drive.
- For underbody suspects, inspect for witness marks such as shiny metal, rubbed paint, or polished plastic.
- Temporarily pad or secure the suspected part with tape, felt, or a zip tie for testing only.
- Retest the vehicle and confirm the rattle is gone before doing the permanent repair.
Witness marks are especially useful. A rubbing harness, heat shield, exhaust pipe, or loose bracket usually leaves a visible polished area that tells you exactly where contact is happening.
Make the Right Repair for the Type of Rattle
Not every rattle should be fixed the same way. The correct repair depends on whether the problem is looseness, missing retention, vibration between surfaces, or a worn moving part.
When to Tighten Hardware
Tighten bolts, screws, and nuts when the part is clearly loose and the mounting point is intact. Use a torque wrench where possible, especially on seats, suspension, exhaust clamps, and underbody panels. Add medium-strength threadlocker on appropriate threaded fasteners that repeatedly loosen from vibration, but avoid using it on fasteners that thread into plastic or where the manufacturer does not recommend it.
When to Replace Clips or Mounts
Replace trim clips, panel retainers, rubber exhaust hangers, grommets, and isolators when they are cracked, missing, or no longer hold tension. A broken clip will not become reliable again just because the panel was pushed back into place.
When to Use Tape or Padding
Use felt tape between hard interior trim surfaces that rub. Use foam tape where a panel needs preload or gap filling. Use butyl tape behind loose trim sections that need a non-hardening cushion. Keep materials away from airbag covers, seat belt anchors, pedals, hot exhaust parts, and any moving linkage.
When the Part Itself Is Worn Out
If the rattle comes from a sway bar link, worn bushing, loose brake hardware, broken catalytic converter substrate, or internal shock or strut failure, padding will not fix it. Replace the failed component and inspect nearby parts for damage caused by the movement.
Recommended Tools for This Job


Step-by-step Repair Examples for Common Rattles
Loose Dashboard or Console Trim
- Confirm the noise changes when you press on the suspect trim while driving on a rough road.
- Remove the panel with trim tools to avoid breaking clips or scratching surfaces.
- Inspect for cracked clips, missing screws, loose connectors, or harnesses hitting the back of the panel.
- Replace damaged clips and apply felt tape at contact points.
- Reinstall the panel fully seated and retest on the same road.
Heat Shield Buzz Under the Floor
- Raise and support the cool vehicle safely.
- Tap the shield lightly and inspect for rusted mounting holes or contact with the exhaust.
- Replace missing fasteners or install a large washer and proper hardware where the hole has widened.
- Bend the shield slightly away from the exhaust if needed, maintaining safe clearance.
- Start the engine and listen for the buzz before road testing.
Hatch or Trunk Area Rattle
- Remove cargo and verify the spare tire, jack, and tool kit are tight.
- Check the trunk floor panel, rear seat latches, and parcel shelf or cargo cover mounts.
- Inspect the hatch striker and bump stops for looseness or play.
- Adjust or replace worn latch components and add anti-rattle padding where trim contacts metal.
- Drive over the same bumps to confirm the rear noise is gone.
Final Checks After the Repair
Always confirm the fix under the same conditions that produced the original rattle. Use the same road, similar speed, and similar vehicle load. If the sound changed but did not disappear, you may have found one source but not the only source.
- Retighten any hardware to proper spec after repositioning parts.
- Make sure clips are fully seated and panels do not bow outward.
- Check that nothing you added can interfere with airbags, seat movement, pedals, steering, or hot exhaust parts.
- Look underneath for adequate exhaust and heat shield clearance.
- Remove any temporary test zip ties or tape and replace them with a durable repair where needed.
If the rattle remains hard to locate, a chassis ear kit or a professional inspection may be worth it. That is especially true for noises that only occur on the highway, during acceleration, or while cornering, because those can point to driveline or suspension issues that are harder to duplicate in the driveway.
When to Stop DIY Troubleshooting
Stop and seek professional help if the rattle is accompanied by vibration through the steering wheel, brake pulsation, poor handling, exhaust leaks, warning lights, or a clunk when shifting between drive and reverse. Those symptoms suggest more than a simple trim or shield issue.
You should also hand the job to a mechanic if the noise appears to come from brake hardware, steering joints, suspension links, engine mounts, the catalytic converter internals, or anything requiring welding. A rattle from these systems can become a safety problem if ignored.
Key Takeaways
- Always isolate the rattle by condition and location before removing trim or replacing parts.
- Check loose cargo, spare tire tools, license plates, and interior storage items before deeper diagnosis.
- Use felt tape, foam, new clips, and proper hardware for trim noises, but replace worn suspension or brake parts rather than padding them.
- Inspect heat shields, exhaust hangers, undertrays, and contact marks underneath the car whenever the sound is metallic or bump-related.
- Get professional help if the rattle is tied to steering, braking, suspension, drivetrain load, or any component that affects vehicle safety.
FAQ
Why Does a Rattle Sound Like It Is Coming From One Place when It Is Actually Somewhere Else?
Sound travels through plastic panels, sheet metal, and the cabin structure, so a noise from the firewall, floor tunnel, or trunk can seem like it is coming from the dash or rear seat. That is why confirming the exact trigger and using hand pressure or temporary padding tests is so helpful.
Can I Drive with an Underbody Rattle?
Sometimes, but you should not assume it is harmless. A loose heat shield may just be noisy, but a rattle can also come from brake hardware, suspension parts, exhaust contact, or a failing catalytic converter. Inspect it promptly, especially if the noise is metallic or getting worse.
What Is the Best Material to Stop Interior Plastic Trim Rattles?
Felt tape is usually best for plastic-on-plastic contact because it cushions surfaces without adding much thickness. Foam tape works better when you need to fill a small gap or preload a panel. Replace broken clips first, because tape alone cannot fix a panel that is no longer retained properly.
Is It Okay to Use Zip Ties as a Permanent Fix?
Zip ties are fine for temporary testing or for securing certain wiring harnesses away from contact points, but they are not the best permanent fix for trim, shields, or structural mounts. Use the correct clips, bolts, washers, or brackets once you confirm the source.
How Do I Know if a Rattle Is From the Suspension Instead of the Interior?
Suspension-related noises usually react more clearly to bumps, potholes, body roll, braking, or wheel movement, and they may feel tied to one corner of the car. Interior rattles often change when you press on panels, move seat components, or remove loose items from the cabin or cargo area.
Can a Bad Catalytic Converter Cause a Rattle?
Yes. If the internal substrate breaks up, it can rattle inside the converter, especially at idle or when revving the engine lightly. That usually requires catalytic converter replacement, not an external clamp or heat shield repair.
Why Did the Rattle Start After Recent Service?
Oil changes, brake work, tire service, audio installation, and body repairs can leave undertrays, splash shields, trim panels, or trunk equipment improperly fastened. If the noise started right after service, inspect the area that was worked on first.
Need Parts for This Repair?
The right parts and supplies vary by vehicle.
Select your make and model to find compatible parts and accessories for your car.
Exact Fit
Parts that fit your make and model
Quality You Can Trust
Top brands and OEM quality options
Fast Shipping
Get the parts you need, delivered fast