

Note: This article contains affiliate links. If you click on these links and make a purchase, I may earn a small commission at no extra cost to you. This helps support my research and content. Read my full affiliate disclosure here.
Repair Snapshot
Use a mechanic if the axle is seized in the hub or transmission, rust is severe, or your vehicle requires special procedures for the bearing, axle seal, or suspension geometry.
This article is part of our Transmission and Drivetrain Maintenance & Repair Guides.
Replacing a CV axle is a very doable DIY repair on many front-wheel-drive and all-wheel-drive vehicles, but it needs careful lifting, correct torque, and attention to how the axle locks into the transmission or intermediate shaft.
A failing CV axle often causes clicking while turning, grease thrown around the inside of the wheel, vibration under acceleration, or clunking when shifting between drive and reverse. In many cases, the repair is straightforward once the axle nut, suspension connection, and inner joint are free.
This guide covers the general process used on many passenger cars and crossovers. Exact steps, axle nut size, and torque specs vary by vehicle, so always compare this procedure with a repair manual for your year, make, engine, and drivetrain.
Before You Start
Verify that the replacement axle matches the original before disassembly. Compare overall length, spline count, ABS tone ring if equipped, and whether the inner end uses a snap ring or bolts to an intermediate shaft.
Most CV axle jobs begin with loosening the axle nut while the vehicle is still on the ground. That nut is usually very tight and may be staked into a groove on the axle shaft. If it is staked, use a punch to lift the crimped section out before trying to turn it.
- Park on level ground and set the parking brake.
- Chock the rear wheels before lifting the front of the vehicle.
- Loosen the axle nut and lug nuts with the tire still on the ground.
- Check whether your vehicle may lose transmission fluid when the inner axle is removed.
Signs the CV Axle Really Needs Replacement
A torn outer boot does not always mean the axle has already failed, but once grease escapes and dirt gets inside, the joint wears quickly. If the joint is clicking on turns or shaking during acceleration, replacement is usually the better fix than rebooting it.
- Rapid clicking when turning, especially under throttle
- Grease splattered around the wheel, control arm, or strut
- Vibration or shudder during acceleration
- Visible boot tears, missing clamps, or heavy rust on the shaft
- A clunk from drivetrain lash combined with joint play
How to Remove the Old CV Axle
Raise and Support the Vehicle
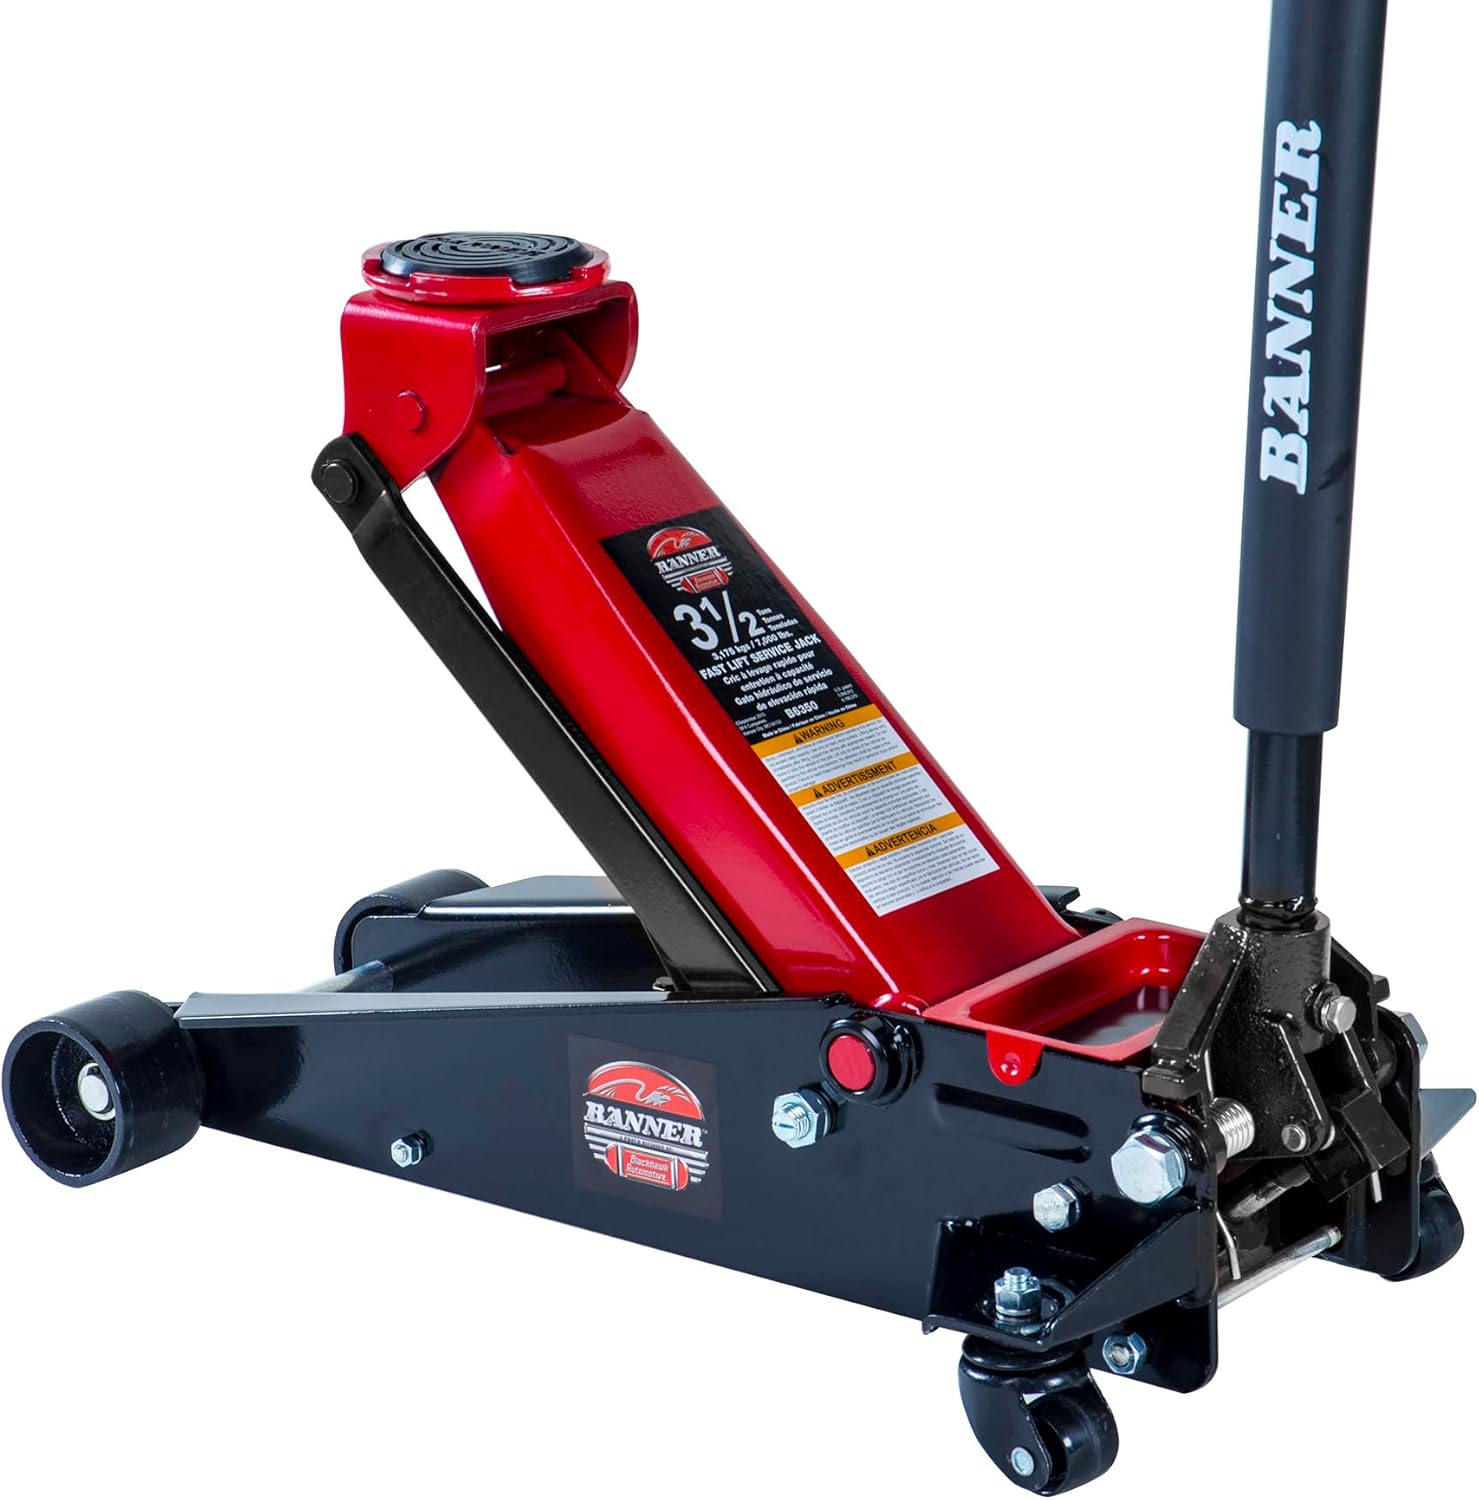
After loosening the axle nut and wheel lug nuts, raise the vehicle at the proper lift point and support it securely on jack stands. Remove the wheel and place it under the rocker area as an extra safety backup if space allows.
Remove the Axle Nut Completely
With the wheel off, remove the axle nut and washer. If corrosion is heavy, spray penetrating oil on the axle splines where they pass through the hub. Threading the old nut on a few turns can help protect the axle threads if you need to tap the shaft loose.
Disconnect the Suspension Enough to Swing the Knuckle Out
On many vehicles, the easiest path is to separate the lower ball joint from the control arm or steering knuckle. On others, removing the tie rod end, sway bar link, or strut-to-knuckle bolts gives enough movement. Use the method your vehicle design allows without overstressing the brake hose or ABS wiring.
If the lower ball joint uses a pinch bolt, remove the bolt and carefully pry the control arm down. If it uses a castle nut, remove the cotter pin and nut, then separate the joint with the correct tool. Avoid hitting aluminum knuckles directly with a heavy hammer.
Push the Outer Axle Splines Out of the Hub
Once the knuckle can move outward, push the axle through the hub. If it is stuck, lightly tap the end with a hammer and punch while supporting the knuckle. Do not hammer directly on the threads unless the old nut is installed flush to protect them. If the axle is severely seized in the wheel bearing, stop and reassess, because excessive force can damage the bearing.
Free the Inner Axle Joint
Place a drain pan under the transmission side. Many inner CV joints are retained by a snap ring and pop free with a sharp pry-bar movement between the inner joint housing and transmission case. Use firm, controlled force and pry only against solid metal surfaces. Do not pry against thin dust shields or seals.
Some designs use an intermediate shaft or carrier bearing, and some passenger-side axles bolt to a flange instead of snapping into the transaxle. If yours differs from the snap-ring style, follow the exact service method for that setup.
Remove the Axle and Inspect Surrounding Parts
Pull the axle assembly out and compare it with the new part. Check the axle seal for cuts, leaks, or a displaced lip. Also inspect the wheel bearing play, ball joint boot, tie rod end, and ABS sensor wiring while everything is accessible.
Tools That Make This Job Easier


How to Install the New CV Axle
Prepare the New Axle
Match the new axle to the original one side by side. Confirm the inner clip location, spline length, and ring count if equipped. Lightly coat the splines with clean transmission fluid or a tiny amount of wheel bearing grease if the service information allows. Do not pack grease into the axle seal area.
Seat the Inner End First
Guide the inner splines into the transmission or intermediate shaft carefully so the seal is not nicked. Support the axle as straight as possible and push it inward until the snap ring engages. Some axles slide in by hand, while others need a firm shove. You should feel or hear a distinct click on many designs.
After installation, tug gently outward on the inner joint housing. It should not pull back out. If it does, the snap ring has not seated and the axle must be reinstalled before proceeding.
Insert the Outer Splines Into the Hub
Swing the steering knuckle outward and feed the outer axle splines through the wheel hub. Keep the axle straight to avoid damaging the splines. Start the new axle nut by hand a few turns so the shaft stays in place.
Reconnect the Suspension
Reattach the lower ball joint, tie rod end, sway bar link, or strut bolts in the reverse order of removal. Tighten all fasteners to the factory torque specification. If a castle nut and cotter pin are used, align the nut correctly and install a new cotter pin rather than reusing the old one.
Make sure the brake hose is not twisted and the ABS wire is routed exactly as it was before. This is easy to miss when the knuckle has been swung around during axle removal.
Torque, Fluid, and Final Assembly
Install the Wheel and Lower the Vehicle Enough to Torque the Axle Nut
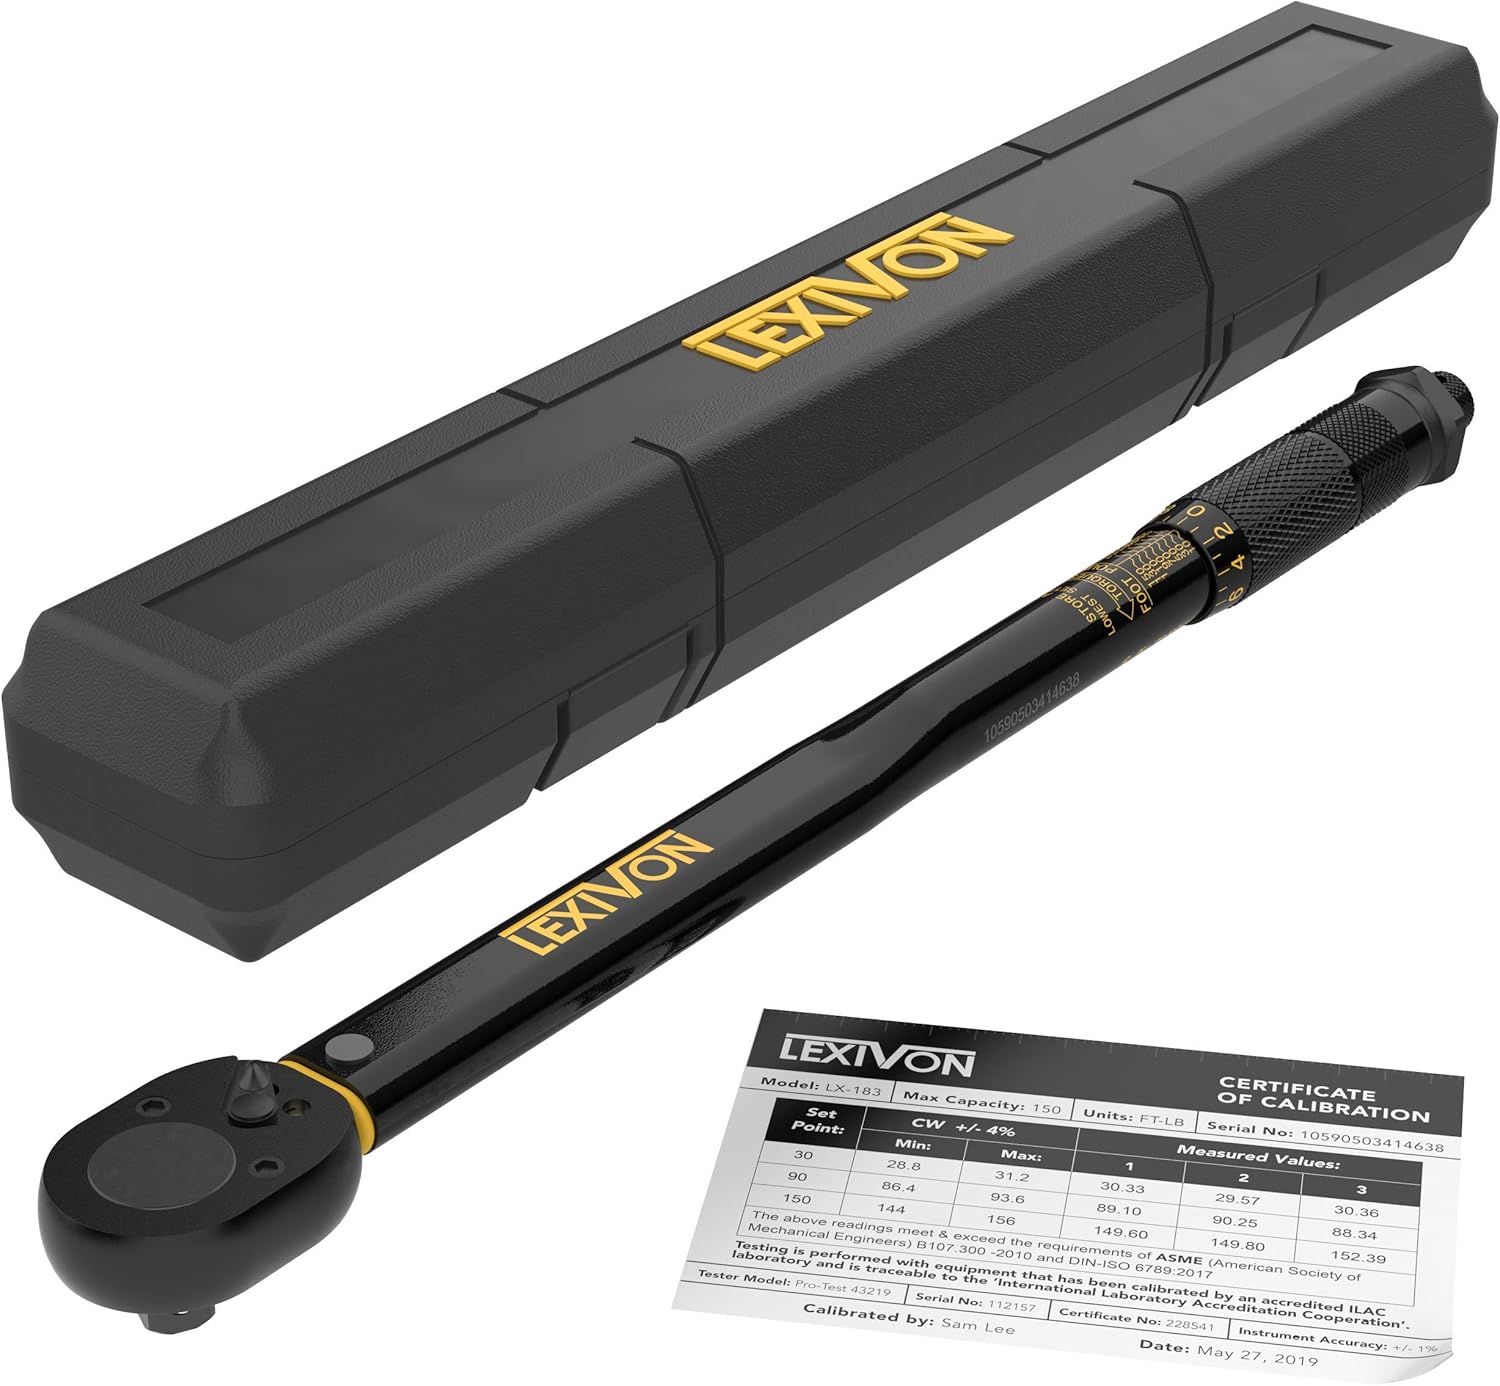
Reinstall the wheel and hand-tighten the lug nuts. Lower the vehicle enough that the tire contacts the ground and cannot spin freely, then torque the axle nut to the exact specification for your vehicle. This is one of the most important steps in the whole job because improper axle nut torque can damage the wheel bearing or allow the hub to loosen.
If the axle nut is a staked style, use a punch to stake it into the shaft groove after torquing. If it is a cotter-pin style, line up the castellations and install a new cotter pin. Never guess at axle nut torque if you can avoid it; many are well over 150 lb-ft.
Torque the Wheel Lug Nuts
Fully lower the vehicle and torque the lug nuts in a star pattern to the proper specification. Uneven wheel torque can distort brake rotors and create vibration that may be mistaken for an axle problem.
Check Transmission Fluid Level
If fluid leaked when the old axle came out, refill as needed using the correct transmission fluid type for your vehicle. Some cars use a dipstick, while others require checking level from a fill or inspection plug at a specific temperature. Use the exact procedure for your transmission.
Road Test and Recheck
Drive at low speed first, listening for clunks, grinding, or fluid leaks. Then make a few gentle turns in both directions and a moderate acceleration test. Reinspect the axle area afterward for leaks, loose fasteners, or boot contact with nearby components.
Recommended Tools for This Job


Common Problems During CV Axle Replacement
Axle Stuck in the Hub
Corrosion between the axle splines and hub is common in rust-belt vehicles. Penetrating oil, a hub pusher tool, and controlled pressure work better than repeated hammer blows. If the wheel bearing feels rough afterward, it may have been damaged by the seizure or removal process.
Inner Joint Will Not Pop Out
Reposition the pry bar and use a sharp, quick motion rather than steady force. Make sure you are prying against the inner joint housing and not a boot can. On some vehicles, rotating the shaft slightly gives a better pry angle.
New Axle Will Not Seat
Confirm the new axle is the correct part and the snap ring is installed in the proper groove. Support the shaft so the splines enter straight. A partially engaged axle can leak fluid or pop out during driving.
Vibration After Replacement
Check that the axle is fully seated, the axle nut is torqued correctly, and no suspension fasteners were left loose. Also inspect engine mounts, tires, and wheel balance, since not every acceleration vibration comes from the CV axle itself.
Helpful Tips for a Smoother Job
- Take a photo of brake hose and ABS wire routing before disassembly.
- Keep the steering wheel centered so the tie rod and knuckle do not overextend unexpectedly.
- Do not let the outer joint hang at a sharp angle for long periods if you plan to reuse the axle.
- If the axle seal shows any sign of damage or seepage, replace it before installing the new shaft.
- If you removed strut-to-knuckle bolts with slotted holes or camber adjustment, an alignment may be needed afterward.
When You Should Not DIY This Repair
Stop and hand the job off if the axle is seized so badly that the hub, knuckle, or wheel bearing may be damaged during removal. The same applies if the transmission case is soft aluminum and you do not have a safe pry point, or if the vehicle uses a complicated intermediate shaft support bearing you cannot access cleanly.
A professional shop is also the safer choice if you cannot confirm torque specs, your torque wrench does not cover the high axle nut range, or the vehicle requires fluid level setting by scan-tool-monitored temperature. On some late-model AWD vehicles, small mistakes can become expensive leaks or driveline damage.
Key Takeaways
- Loosen the axle nut on the ground and support the vehicle securely before removing any suspension parts.
- Make sure the new inner CV joint fully seats in the transmission or intermediate shaft before reassembly.
- Torque the axle nut and suspension fasteners to spec because incorrect torque can ruin a wheel bearing or create looseness.
- Top off any lost transmission fluid and inspect the axle seal before calling the job finished.
- If the axle is badly seized in the hub or the part will not seat correctly, stop before causing bearing or transmission damage.
FAQ
Do I Need an Alignment After Replacing a CV Axle?
Usually not if you only separated the lower ball joint or tie rod without changing adjustable strut or control arm settings. If you removed camber-adjusting strut bolts or loosened alignment hardware, get an alignment checked.
Can I Replace Just the CV Boot Instead of the Whole Axle?
You can if the joint is still quiet and clean inside, but on many daily drivers the labor difference is small enough that replacing the entire axle makes more sense. If the joint clicks or has visible wear, replace the axle.
Will Transmission Fluid Leak Out when I Remove the Axle?
Often yes, at least a small amount, especially on front-wheel-drive transaxles. Have a drain pan ready and check the fluid level afterward using the correct vehicle procedure.
What Happens if the Axle Nut Is Not Torqued Correctly?
Too loose can let the hub and bearing develop play, noise, or outright failure. Too tight can also damage the bearing on some designs. Always use the factory torque specification.
How Do I Know the New Axle Is Fully Seated?
On snap-ring styles, you usually feel a solid click or engagement, and the axle will not pull back out with a firm hand tug. If it slides outward easily, it is not locked in place.
Why Is My Car Still Vibrating After Replacing the CV Axle?
Check for an axle that is not fully seated, an improperly torqued axle nut, a bent wheel, bad tire, worn engine mount, or a wheel bearing issue. The original diagnosis may also have been incomplete.
Can I Drive with a Clicking CV Axle for a While?
You may be able to for a short time, but the joint can worsen quickly and eventually fail, leaving you stranded. It is best to replace it before the noise becomes severe.
Need Parts for This Repair?
The right parts and supplies vary by vehicle.
Select your make and model to find compatible parts and accessories for your car.
Exact Fit
Parts that fit your make and model
Quality You Can Trust
Top brands and OEM quality options
Fast Shipping
Get the parts you need, delivered fast