

Note: This article contains affiliate links. If you click on these links and make a purchase, I may earn a small commission at no extra cost to you. This helps support my research and content. Read my full affiliate disclosure here.
Repair Snapshot
Use a mechanic if the bleeder screw is seized, the slave cylinder is inside the transmission bellhousing, or the pedal still sinks after proper bleeding. A pro is also the safer choice if you suspect a leaking master or slave cylinder.
This article is part of our Transmission and Drivetrain Maintenance & Repair Guides.
Bleeding a clutch hydraulic system removes trapped air so the clutch pedal can build pressure and fully disengage the transmission. If your pedal feels soft, spongy, sticks near the floor, or the car is hard to shift into gear, air in the hydraulic line is a common cause.
Most hydraulic clutches use brake fluid from a small reservoir, a clutch master cylinder, a hydraulic line, and a slave cylinder. When air gets into that system from low fluid, a leak, or after parts replacement, the pedal may move without transferring enough force to release the clutch cleanly.
The job is usually manageable for a careful DIYer, but clean work matters. Brake fluid damages paint, air can be pulled back into the system if the reservoir runs low, and some vehicles need a specific bleeding sequence. Always confirm the fluid type and layout for your exact car or truck before you start.
How the Clutch Hydraulic System Works
A hydraulic clutch works a lot like a brake system. Pressing the clutch pedal moves the master cylinder piston, which sends fluid pressure through a line to the slave cylinder. The slave then moves the clutch fork or internal release bearing so the clutch disengages.
Fluid does not compress, but air does. That is why even a small amount of air in the line can make the pedal feel mushy or cause incomplete clutch release. The result may be gear grinding, difficulty selecting reverse or first gear, or a pedal that does not return normally.
Bleeding forces fluid through the system until the air is pushed out through the bleeder screw. If bleeding does not restore normal pedal feel, the problem is often a leak, a worn master cylinder, a worn slave cylinder, or a mechanical clutch issue rather than trapped air alone.
Signs Your Clutch Hydraulic System Needs Bleeding
- The clutch pedal feels soft, spongy, or inconsistent.
- The pedal goes near the floor before the clutch begins to disengage.
- The transmission is hard to shift into first or reverse with the engine running.
- You recently replaced the clutch master cylinder, slave cylinder, line, or fluid.
- The fluid reservoir ran low or empty.
- The clutch engagement point suddenly changed after other hydraulic work.
Bleeding is also a smart follow-up after fixing any hydraulic leak. If air entered the system because the fluid level dropped, simply topping off the reservoir will not restore proper clutch operation.
Before You Start
Confirm the Correct Fluid
Many hydraulic clutch systems use DOT 3 or DOT 4 brake fluid, and some share the brake master cylinder reservoir. Use only the fluid specified on the reservoir cap or in the owner’s manual. Mixing the wrong fluid can damage seals and create expensive problems.
Locate the Bleed Point
On many vehicles, the slave cylinder is mounted externally on the transmission and has a visible bleeder screw. Some systems use a remote bleeder line. Others have an internal concentric slave cylinder inside the bellhousing, which may make access tighter or diagnosis more important if bleeding does not help.
Inspect for Leaks First
Look around the master cylinder near the firewall, along the hydraulic line, and at the slave cylinder boot or housing. Wetness, peeling paint, or a dropping reservoir level usually means a leak. Bleeding a leaking system may improve pedal feel only briefly.
- Park on level ground and set the parking brake.
- Chock the wheels before raising the vehicle.
- Support the vehicle securely on jack stands if you need undercar access.
- Keep brake fluid off painted surfaces and wipe spills immediately.
- Never reuse old fluid drained from the system.
Tools That Make This Job Easier


Step-by-step: Two-person Clutch Bleeding Method
The traditional two-person method works well on most hydraulic clutch systems. One person operates the pedal while the other opens and closes the bleeder. This method is simple, effective, and usually the best place to start.
Prepare the Reservoir and Bleeder
Clean the area around the reservoir cap so dirt does not fall into the fluid. Remove old, dark fluid from the top of the reservoir with a turkey baster if needed, then refill with fresh fluid to the proper level. Spray a little penetrating oil on the bleeder screw if it looks rusty, and make sure the wrench fits snugly.
Push a clear hose onto the bleeder screw and route the other end into a catch bottle with a small amount of clean fluid in the bottom. This helps you see bubbles and reduces the chance of air being drawn back through the hose.
Pressurize the System
Have your helper slowly press the clutch pedal several times, then hold it firmly to the floor. On some vehicles, it is better to use slow pedal strokes rather than fast pumping, which can churn the fluid and create tiny bubbles.
Open and Close the Bleeder
With the pedal held down, crack the bleeder screw open just enough to let fluid and air escape. You should see fluid move through the hose, often with bubbles at first. Before your helper releases the pedal, tighten the bleeder screw again. This order matters: if the pedal comes up while the bleeder is open, air can be sucked back into the system.
Repeat Without Letting the Reservoir Run Low
Check the fluid reservoir after every one or two cycles and top it off as needed. This is the mistake that ruins many bleeding attempts. If the reservoir empties even briefly, you can pull fresh air into the master cylinder and have to start over.
Repeat the bleed cycle until the fluid stream is clear and free of bubbles and the clutch pedal feels noticeably firmer. Many systems take only a few rounds, but a completely empty system may need more patience.
Tighten, Refill, and Test
Once the bubbles are gone, tighten the bleeder to the proper snugness, remove the hose, clean the area, and top off the reservoir to the correct mark. Press the clutch pedal several times. It should feel smooth, consistent, and return normally.
Start the engine and test engagement with the vehicle stationary. Reverse and first gear should engage more easily than before. If everything feels normal, do a short, careful road test.
Alternative Bleeding Methods
Gravity Bleeding
Some clutch systems will gravity bleed if the reservoir is full and the bleeder is opened with a hose attached. Fluid slowly drips through the line and can carry air out with it. This method is simple and gentle, but it can be slow and may not work well on stubborn air pockets.
Vacuum Bleeding
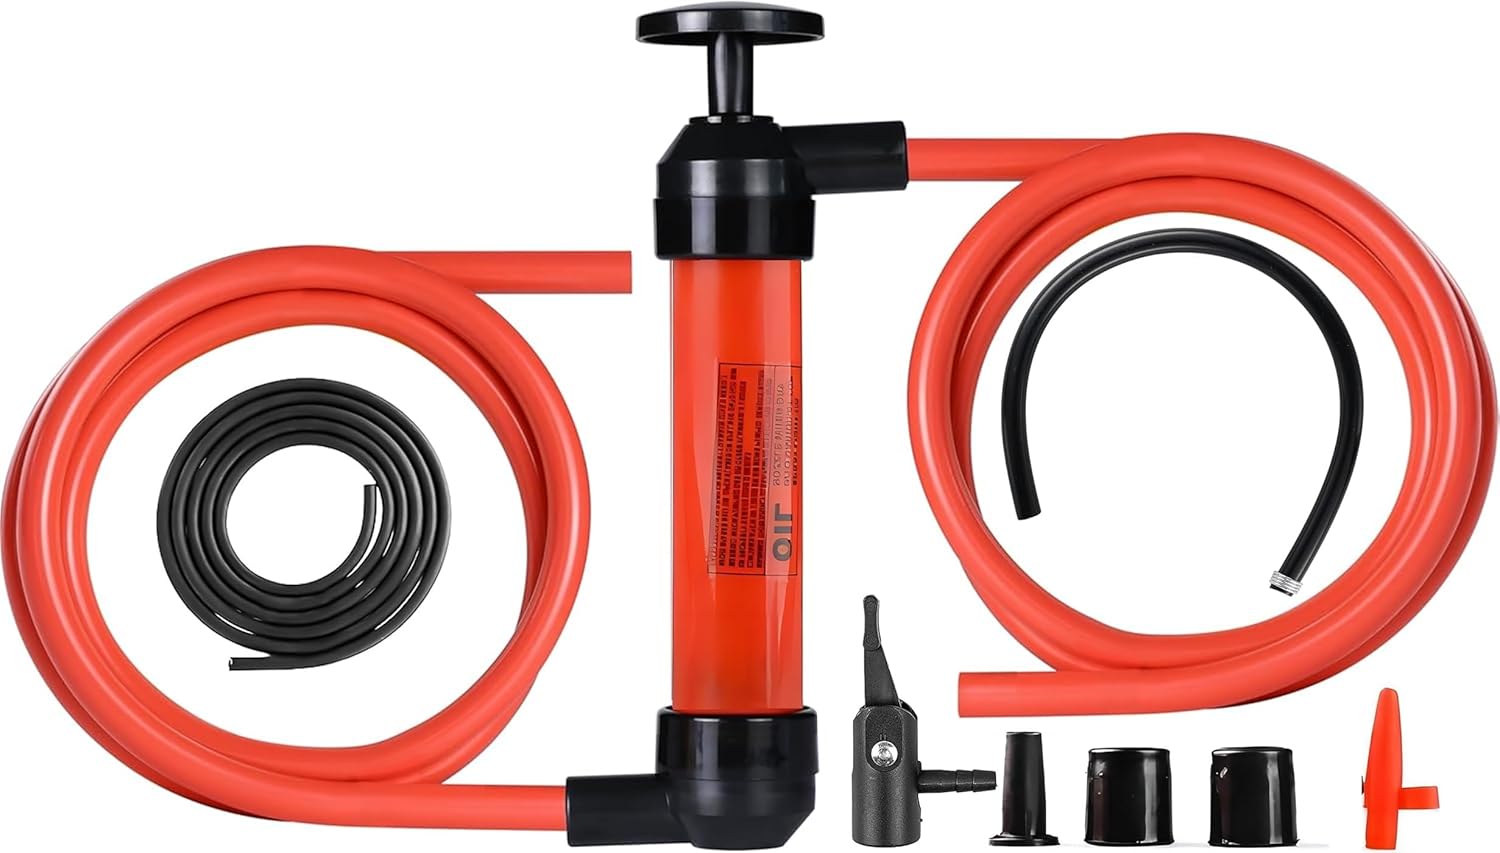
A hand vacuum pump attached to the bleeder can pull fluid through the system. It is useful when working alone, but a weak seal at the bleeder threads can create false bubbles, making it hard to tell whether air is still in the hydraulic line or just leaking around the screw.
Pressure Bleeding
A pressure bleeder pushes fresh fluid from the reservoir side through the system. This is often the fastest and cleanest method, especially on systems that are difficult to bleed manually. It is common in professional shops and can be very effective after major component replacement.
Bench Bleeding a New Master Cylinder
If you installed a new clutch master cylinder, bench bleeding may be required before final system bleeding. This removes trapped air from inside the master cylinder body itself, which can otherwise be difficult to purge once installed on the vehicle.
Common Problems During Bleeding
No Fluid Comes Out of the Bleeder
First verify the reservoir has fluid and the bleeder is actually open. A clogged bleeder screw, collapsed hose, or failed master cylinder can prevent flow. Remove the bleeder carefully and inspect the opening if needed.
The Pedal Still Feels Soft
Try another full round of bleeding while paying close attention to reservoir level. If the pedal remains soft, look for fluid seepage at the master cylinder pushrod area, along the line, or at the slave cylinder. Internal seal bypass inside the master or slave cylinder can also cause a sinking or weak pedal without obvious external leaks.
The Bleeder Screw Is Stuck
Do not force it with an ill-fitting wrench. Use penetrating oil, a proper six-point tool when possible, and controlled pressure. If the bleeder rounds off or breaks, the repair can quickly become more involved and may require replacing the slave cylinder.
Bubbles Never Seem to Stop
Continuous bubbles can mean an actual leak in the system, a loose hose connection at your catch setup, or air entering around bleeder threads during vacuum bleeding. Switch methods if needed and inspect all hydraulic connections carefully.
Recommended Tools for This Job


How to Confirm the Bleed Was Successful
- The pedal feels firmer and engages at a predictable point.
- The transmission goes into reverse and first gear without excessive resistance.
- The vehicle does not creep forward with the clutch pedal fully depressed.
- The fluid level remains stable after a short drive.
- No fresh leaks appear around the master cylinder, line, or slave cylinder.
A successful bleed should improve feel right away. If shifting remains difficult even with a firm pedal, the issue may be mechanical, such as a worn clutch, damaged release fork, bent pressure plate fingers, or internal transmission concerns.
Maintenance Tips and Service Interval Guidance
Many owners never think about clutch hydraulic fluid until the pedal acts up, but periodic inspection helps prevent bigger problems. Check the reservoir during routine under-hood inspections and look for dark fluid, low level, or dampness around hydraulic components.
Some manufacturers do not list a separate clutch fluid interval, especially if the clutch shares the brake fluid reservoir. In practice, replacing old hydraulic fluid at the same general interval as brake fluid service is a smart preventive move, particularly in humid climates where moisture contamination builds over time.
- Inspect clutch fluid level every few months or at each oil change.
- Replace old hydraulic fluid when it becomes very dark or contaminated.
- Address small leaks early before they strand you with no clutch disengagement.
- Use only sealed, fresh brake fluid from a new container for bleeding.
When to Stop and Call a Mechanic
DIY bleeding makes sense when access is straightforward and the system is otherwise healthy. But if the bleeder is inaccessible, broken, or badly corroded, pushing forward can turn a minor service job into a component replacement.
You should also consider professional help if the slave cylinder is internal, the reservoir repeatedly drops, the pedal slowly sinks under steady pressure, or the clutch still does not disengage after bleeding. Those symptoms often point to failing hydraulic components or clutch hardware that bleeding alone will not fix.
Key Takeaways
- Keep the clutch fluid reservoir full throughout the process or you may pull air back into the system and have to start over.
- Open the bleeder only while the pedal is held down, then close it before the pedal is released.
- Use the exact specified brake or clutch fluid because the wrong fluid can damage seals and cause hydraulic failure.
- If the pedal stays soft after proper bleeding, inspect for a leaking or internally failed master or slave cylinder.
- Stop and get professional help if the bleeder is seized, access is poor, or your vehicle uses an internal slave cylinder.
FAQ
How Do I Know if My Clutch Needs Bleeding or if a Part Is Failing?
If the pedal is soft or spongy and the problem started after low fluid, a repair, or line opening, bleeding may fix it. If the pedal still sinks, the fluid level keeps dropping, or you see leaks, the master cylinder or slave cylinder may be failing.
Can I Bleed a Clutch by Myself?
Yes. A vacuum bleeder, pressure bleeder, or sometimes a gravity bleed can work for one person. The two-person method is still the most straightforward and reliable on many vehicles.
What Fluid Do I Use to Bleed a Clutch Hydraulic System?
Use only the fluid specified by your vehicle manufacturer, usually DOT 3 or DOT 4 brake fluid. Check the reservoir cap, owner’s manual, or service information before adding anything.
Why Is My Clutch Pedal Still Soft After Bleeding?
The most common reasons are remaining air in the system, the reservoir running low during bleeding, a leaking hydraulic connection, or internal seal failure in the master or slave cylinder. On some vehicles, the system may also need a specific bleed procedure.
Do I Need to Jack Up the Car to Bleed the Clutch?
Only if the slave cylinder or bleeder screw is underneath the vehicle or difficult to reach from above. If you raise the vehicle, use wheel chocks and support it securely with jack stands on solid ground.
How Long Does It Take to Bleed a Clutch?
Most DIY jobs take 45 to 90 minutes, depending on access, tool setup, and how much air is in the system. A simple top-side bleed may be faster, while a dry system can take longer.
Is Clutch Fluid the Same as Brake Fluid?
In many vehicles, yes—the clutch hydraulic system uses standard brake fluid and may even share the brake reservoir. But you should never assume; always confirm the correct specification for your vehicle.
Need Parts for This Repair?
The right parts and supplies vary by vehicle.
Select your make and model to find compatible parts and accessories for your car.
Exact Fit
Parts that fit your make and model
Quality You Can Trust
Top brands and OEM quality options
Fast Shipping
Get the parts you need, delivered fast