

Note: This article contains affiliate links. If you click on these links and make a purchase, I may earn a small commission at no extra cost to you. This helps support my research and content. Read my full affiliate disclosure here.
Repair Snapshot
Have a mechanic handle the job if the system still contains refrigerant, if you do not have recovery and recharge equipment, or if compressor failure spread metal debris through the system. AC work can require legal refrigerant handling and careful system flushing.
This article is part of our HVAC Maintenance & Repair Guides.
Replacing an AC compressor is one of the more advanced DIY repair jobs because the compressor is only part of the system. In most cases, the system must be professionally recovered before you remove any lines, and it must be evacuated and recharged correctly before the air conditioning will work again.
The compressor is driven by the engine belt and circulates refrigerant through the AC system. When it fails, you may hear grinding or squealing, find metal debris in the system, or notice the clutch will not engage and cabin air never gets cold. On many vehicles, replacing the compressor alone is not enough. You may also need a new receiver-drier or accumulator, an expansion valve or orifice tube, and a system flush if contamination is present.
This guide walks through the typical removal and installation process for a belt-driven automotive AC compressor. Always follow your vehicle’s service information for torque specs, oil quantity, refrigerant type, and exact recharge weight.
Before You Start
Understand the Refrigerant Safety Issue
Do not loosen AC fittings on a charged system. Refrigerant can cause severe frostbite and eye injury, and venting it to the atmosphere is illegal in the U.S. The system must be recovered with proper equipment before you disconnect the compressor lines.
Confirm the Compressor Is Actually the Problem
A bad compressor is not the only reason an AC system stops cooling. Low refrigerant, a failed pressure sensor, blown fuse, bad relay, clutch coil failure, blocked expansion device, or cooling fan problem can all mimic compressor failure. If the compressor clutch does not engage, confirm electrical power, ground, and refrigerant pressure before buying parts.
- Look for noise such as grinding, rattling, or chirping from the compressor or clutch bearing.
- Check for black debris or shiny metal flakes in the oil or line connections, which suggests internal compressor damage.
- Inspect the serpentine belt, belt tensioner, and pulley alignment before condemning the compressor.
- Verify the correct refrigerant type listed on the under-hood label, such as R-134a or R-1234yf.
What Else Should Be Replaced With the Compressor
On most vehicles, replacing the compressor alone is not best practice. A failed compressor can contaminate the system with debris, and moisture control components can be damaged once the system has been opened.
- Replace the receiver-drier or accumulator any time the system has been open, and especially after compressor failure.
- Replace the expansion valve or orifice tube if the old compressor failed internally or if the metering device shows debris.
- Install new O-rings on every opened connection and lubricate them with the correct refrigerant oil before assembly.
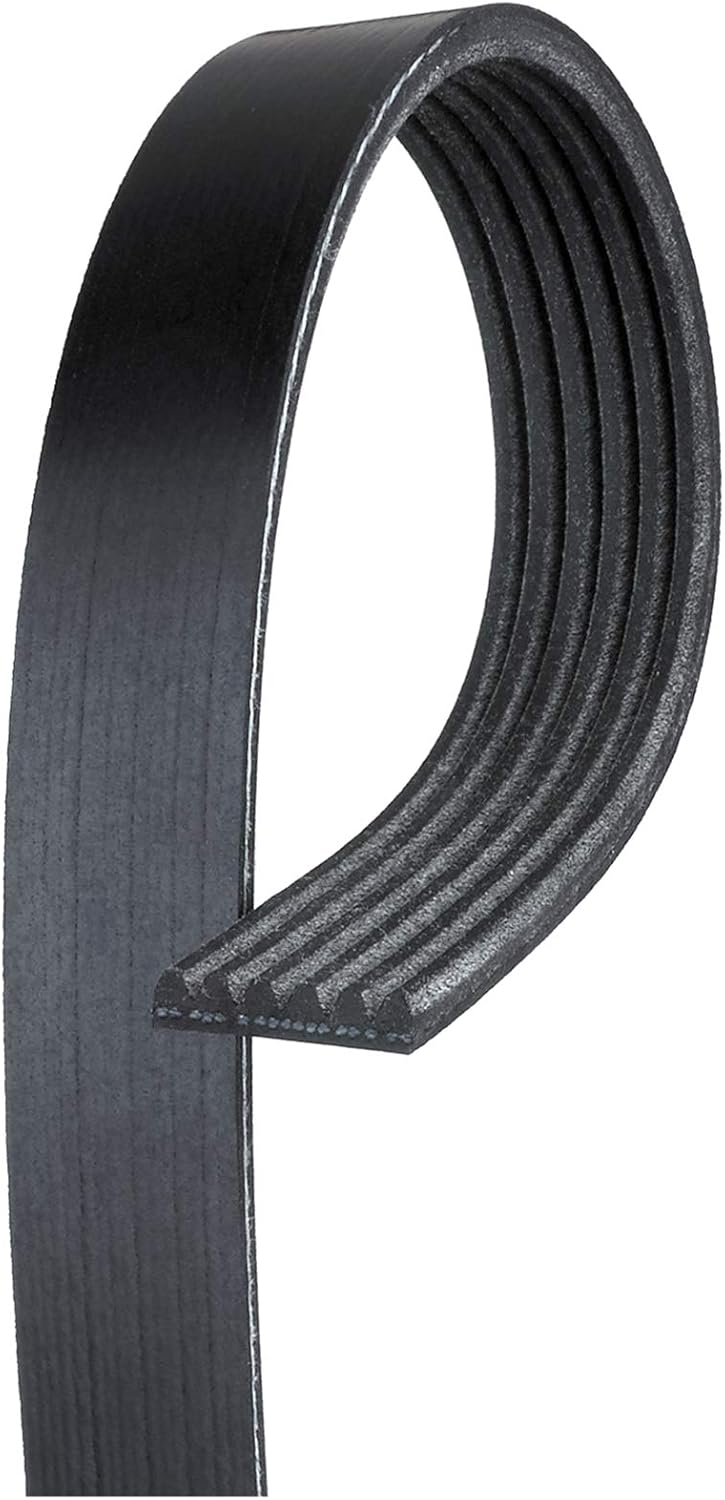
- Consider replacing a worn serpentine belt if it shows cracks, glazing, or contamination from oil.
If the old compressor locked up or sent metal through the system, the condenser may also need replacement if it cannot be effectively flushed. Many modern parallel-flow condensers trap debris and are often replaced rather than cleaned.
Preparation and System Recovery
Recover the Refrigerant First
If the AC system still has any charge, have a repair shop recover it before you begin. Some DIYers remove and install the compressor themselves, then tow or carefully reassemble the vehicle enough for a shop to perform evacuation and recharge.
Get Access to the Compressor
Park on level ground, set the parking brake, and disconnect the negative battery cable. Depending on the vehicle, you may need to remove the engine cover, intake ducting, splash shield, wheel, or undertray to reach the compressor. On some transverse-engine cars, access is easiest from underneath.
Before disassembly, take a few photos of the belt routing, hose orientation, and electrical connector locations. This saves time during reassembly.
Tools That Make This Job Easier


How to Remove the Old AC Compressor
Remove the Serpentine Belt
Use the correct belt tool or breaker bar on the tensioner to unload belt tension, then slip the belt off the compressor pulley. Inspect the belt while it is off. If it is cracked, shiny, or oil-soaked, replace it now.
Disconnect the Electrical Connector
Unplug the compressor clutch or control valve connector, depending on compressor design. Inspect the connector for melted plastic, corrosion, or damaged terminals that could have caused poor compressor operation.
Disconnect the Refrigerant Lines
Place a rag under the fittings to catch any residual oil. Remove the retaining bolts or line clips and carefully separate the suction and discharge lines from the compressor. Cap or plug the open lines immediately to keep moisture and dirt out of the system.
Unbolt and Remove the Compressor
Support the compressor with one hand while removing the mounting bolts. Compressors can be heavier than they look, and clearance can be tight around the subframe or radiator fan. Lower it out carefully without bending nearby lines.
Drain the oil from the old compressor into a clean measuring container if the service procedure calls for oil balancing. Check the oil for glittery metal, black sludge, or burnt smell. Those signs help determine whether the rest of the system needs flushing or additional parts.
Prepare the New Compressor and Related Parts
Do Not Assume the New Compressor Is Ready to Install
Some replacement compressors arrive pre-filled with shipping oil, while others are empty or partially filled. You must verify the oil type and total system oil amount for your vehicle. Too much or too little oil can reduce cooling performance and damage the new compressor.
- Check the manufacturer instructions for the compressor and the vehicle service manual.
- Measure and compare the oil removed from the old compressor if the service procedure uses that method.
- Rotate the compressor hub by hand several turns after adding oil to distribute it internally.
- Never mix refrigerant oils unless the manufacturer specifically allows it.
Replace the Drier or Accumulator and Metering Device
Install the new receiver-drier or accumulator and replace the expansion valve or orifice tube if required. If the old compressor failed internally, this step is especially important. Skipping it can lead to poor cooling and fast repeat failure.
Flush Lines when Needed
If there is debris in the system and the manufacturer allows flushing, flush approved components such as hoses and evaporator lines with the correct AC flush solvent and compressed air. Do not flush components that should be replaced instead, such as many parallel-flow condensers, driers, and some compressors.
How to Install the New AC Compressor
Bolt the Compressor in Place
Position the new compressor and start all mounting bolts by hand to avoid cross-threading. Tighten the bolts evenly and torque them to the vehicle manufacturer’s specification. Exact values vary widely by engine and bracket design, so do not guess.
Reconnect the Refrigerant Lines with New O-rings
Install new O-rings on the suction and discharge fittings and lightly coat them with the correct refrigerant oil. Seat the lines squarely against the compressor ports and tighten the retaining bolts to spec. Over-tightening can distort fittings or cut O-rings, creating leaks.
Reconnect the Electrical Connector and Belt
Plug in the compressor connector until it locks. Reinstall the serpentine belt according to the routing diagram and verify that the belt is centered on every pulley. A belt that is off by one rib can be destroyed quickly and may damage the new compressor clutch.
Reinstall any splash shields, intake components, wheel liners, or underbody panels that were removed for access.
Recommended Tools for This Job


Evacuating and Recharging the AC System
After installation, the system must be evacuated with a vacuum pump to remove air and moisture, then recharged by weight with the exact refrigerant amount listed on the under-hood label or in service information. This is not a step to estimate by pressure alone.
Why Evacuation Matters
Air in the system raises pressures and hurts cooling performance. Moisture can freeze at the expansion device and react with refrigerant oil to form corrosive compounds. Pulling vacuum also helps reveal large leaks before refrigerant is added.
Recharge by Weight, Not by Guesswork
Modern AC systems are sensitive to charge level. Too little refrigerant can starve the compressor and reduce cooling. Too much can spike high-side pressure and harm performance. Use a scale and the exact factory charge amount whenever possible.
If you do not have proper recovery, vacuum, and charging equipment, this is the point where a shop should complete the job. Many DIY owners handle the mechanical replacement and leave the evacuation and recharge to an AC specialist.
Final Checks After Replacement
- Start the engine and switch the AC to max with the blower on high.
- Verify the compressor engages smoothly without rattling, squealing, or clutch chatter.
- Check that radiator or condenser fans operate properly when AC is commanded on.
- Inspect all line connections for oil residue or dye that could indicate a leak.
- Measure center vent temperature and compare system pressures to service specifications.
A properly repaired system should cool consistently, cycle normally if designed to cycle, and run without belt noise. If pressures are abnormal or cooling is still weak, the problem may involve airflow, sensors, expansion control, a restricted condenser, or an incorrect refrigerant charge.
Common Mistakes to Avoid
- Opening the AC system without first recovering refrigerant.
- Replacing only the compressor after an internal failure that contaminated the system.
- Skipping the receiver-drier or accumulator replacement.
- Reusing old O-rings or installing the wrong size seals.
- Adding the wrong oil type or incorrect oil quantity.
- Charging by pressure only instead of using the factory-specified refrigerant weight.
- Ignoring a damaged belt, weak tensioner, or fan problem that can affect compressor operation.
When to Stop and Call a Professional
If the old compressor seized, sent heavy metal debris through the lines, or caused the belt to burn, the repair can quickly go beyond a simple swap. A professional shop can identify whether the condenser is salvageable, whether the evaporator needs flushing, and how much oil must be distributed across replaced components.
You should also hand the job off if your vehicle uses hard-to-access compressor mounting, hybrid or electric compressor designs, rear AC systems with large refrigerant capacity, or R-1234yf equipment you do not have the tools to service safely.
Key Takeaways
- Recover refrigerant before opening the system, because venting AC refrigerant is unsafe and illegal.
- Replace the receiver-drier or accumulator, new O-rings, and often the expansion device when installing a compressor.
- Match the exact oil type and total oil quantity to your vehicle and compressor instructions before assembly.
- Evacuate the system and recharge it by the factory-specified refrigerant weight, not by guesswork.
- If the old compressor spread metal debris, expect flushing and possibly condenser replacement to protect the new unit.
FAQ
Can I Replace an AC Compressor Without Evacuating the System?
No. If the system contains refrigerant, it must be recovered first with proper equipment. Opening a charged system is dangerous and illegal because refrigerant can escape under pressure.
Do I Always Need to Replace the Receiver-drier or Accumulator with the Compressor?
In most cases, yes. It is standard practice to replace the drier or accumulator whenever the system has been opened, and especially after compressor failure, because moisture control and contamination are major concerns.
Should I Replace the Expansion Valve or Orifice Tube Too?
Usually yes if the compressor failed internally or if debris is found in the system. A restricted or contaminated metering device can cause poor cooling and quickly damage the replacement compressor.
How Do I Know How Much Refrigerant Oil to Add?
Use the vehicle service information and the compressor manufacturer’s instructions. Some systems require balancing oil based on what was removed, while others specify a fixed total system amount and distribution among components.
Can I Recharge the System with a DIY Can After Compressor Replacement?
It is not the best approach after a major AC repair. Compressor replacement should be followed by vacuum evacuation and an exact recharge by weight. DIY cans often make it difficult to charge accurately and may introduce sealers or incorrect oil.
What Are Signs the Old Compressor Failed Internally?
Common signs include loud grinding, a locked pulley, blackened or burnt-smelling oil, and visible metal flakes in the drained oil, hose ports, or orifice tube screen.
Can a Bad Compressor Ruin the Condenser?
Yes. If the compressor sheds metal, debris can lodge in the condenser. Many modern condensers are difficult to flush effectively, so replacement is often recommended when contamination is significant.
Is AC Compressor Replacement a Good DIY Job for Beginners?
Usually not. The mechanical removal is manageable on some vehicles, but proper refrigerant recovery, oil balancing, evacuation, leak prevention, and precise recharge make it a better job for experienced DIYers or a professional shop.
Need Parts for This Repair?
The right parts and supplies vary by vehicle.
Select your make and model to find compatible parts and accessories for your car.
Exact Fit
Parts that fit your make and model
Quality You Can Trust
Top brands and OEM quality options
Fast Shipping
Get the parts you need, delivered fast