

Note: This article contains affiliate links. If you click on these links and make a purchase, I may earn a small commission at no extra cost to you. This helps support my research and content. Read my full affiliate disclosure here.
Repair Snapshot
Use a mechanic if the relay tests good but the fan still will not run, or if diagnosis points to wiring, a bad fan motor, a coolant temperature sensor issue, or a computer-controlled fan module.
This article is part of our Cooling System Maintenance & Repair Guides.
Replacing a cooling fan relay is usually a quick repair, but it only solves the problem if the relay is truly the failed part. A bad relay can keep the radiator fan from turning on, make the fan run constantly, or cause intermittent overheating in traffic or at idle.
On many vehicles, the cooling fan relay sits in an under-hood fuse and relay box and can be swapped with basic hand tools. The important part is confirming the correct relay, checking for melted terminals or corrosion, and verifying the fan works normally after installation.
This guide walks through safe diagnosis, relay removal, installation, and final testing so you do not replace a good part while the real problem is a wiring fault, a failed fan motor, or a control issue.
What the Cooling Fan Relay Does
The cooling fan relay is an electrically controlled switch. It lets a low-current signal from the engine computer, temperature switch, or fan control circuit turn the high-current radiator fan motor on and off.
When the engine reaches a certain temperature, or when the air conditioning is turned on, the control side of the relay energizes. That closes the internal contacts and sends battery power to the cooling fan.
If the relay fails, the fan may not come on when needed, may run all the time, or may work only intermittently. Because these symptoms can also be caused by a blown fuse, failed fan motor, damaged connector, sensor problem, or computer issue, a quick check before replacement is worth the time.
Signs the Relay May Be Bad
- The engine temperature climbs at idle or in slow traffic, but cools down at highway speed.
- The radiator fan does not turn on when the engine is hot.
- The cooling fan runs constantly even with a cold engine.
- The air conditioner performance drops at idle because the fan is not running properly.
- You find a melted relay case, heat damage, or a burnt smell in the fuse box.
If the fan never runs, do not assume the relay is the only possible cause. A seized fan motor can overload and damage the relay, and a bad connector can mimic relay failure.
Before You Replace the Relay
Confirm the Correct Relay Location
Check the owner’s manual, the fuse box cover diagram, or a factory service diagram. Many vehicles have more than one fan relay, especially dual-fan systems or vehicles with low-speed and high-speed fan circuits. Pulling the wrong relay can create confusion during testing.
Check for a Blown Fuse First
If the fuse for the cooling fan circuit is blown, replacing only the relay may not help. A blown fuse may point to a shorted fan motor, rubbed-through wiring, or water intrusion in the relay box.
Compare with an Identical Relay if Possible
On some vehicles, the cooling fan relay is the same style and rating as another non-critical relay in the box, such as a horn or fog light relay. If the part numbers match exactly, a temporary swap can help confirm the diagnosis. Never swap in a relay with a different pin layout or amperage rating.
Look at the Socket Condition
If the relay socket is melted, green with corrosion, loose, or heat-discolored, replacing the relay alone may not restore reliable operation. Damaged terminals create resistance and heat, which can quickly ruin the new relay.
Safety and Preparation
Park on a level surface, set the parking brake, and let the engine cool if it has been overheating. Keep hands, clothing, and tools clear of the fan blades. Electric radiator fans can switch on unexpectedly, even with the engine off, on some vehicles.
For a simple relay swap in the fuse box, many DIYers disconnect the negative battery cable first to reduce the chance of accidental shorting. If you need to do live voltage testing, reconnect the battery only while testing and disconnect it again before removing or installing parts.
- Wear gloves and eye protection.
- Do not work near a hot radiator cap or pressurized cooling system.
- Use the exact replacement relay by part number or approved interchange.
- Avoid forcing the relay out at an angle, which can spread or damage socket terminals.
Tools That Make This Job Easier
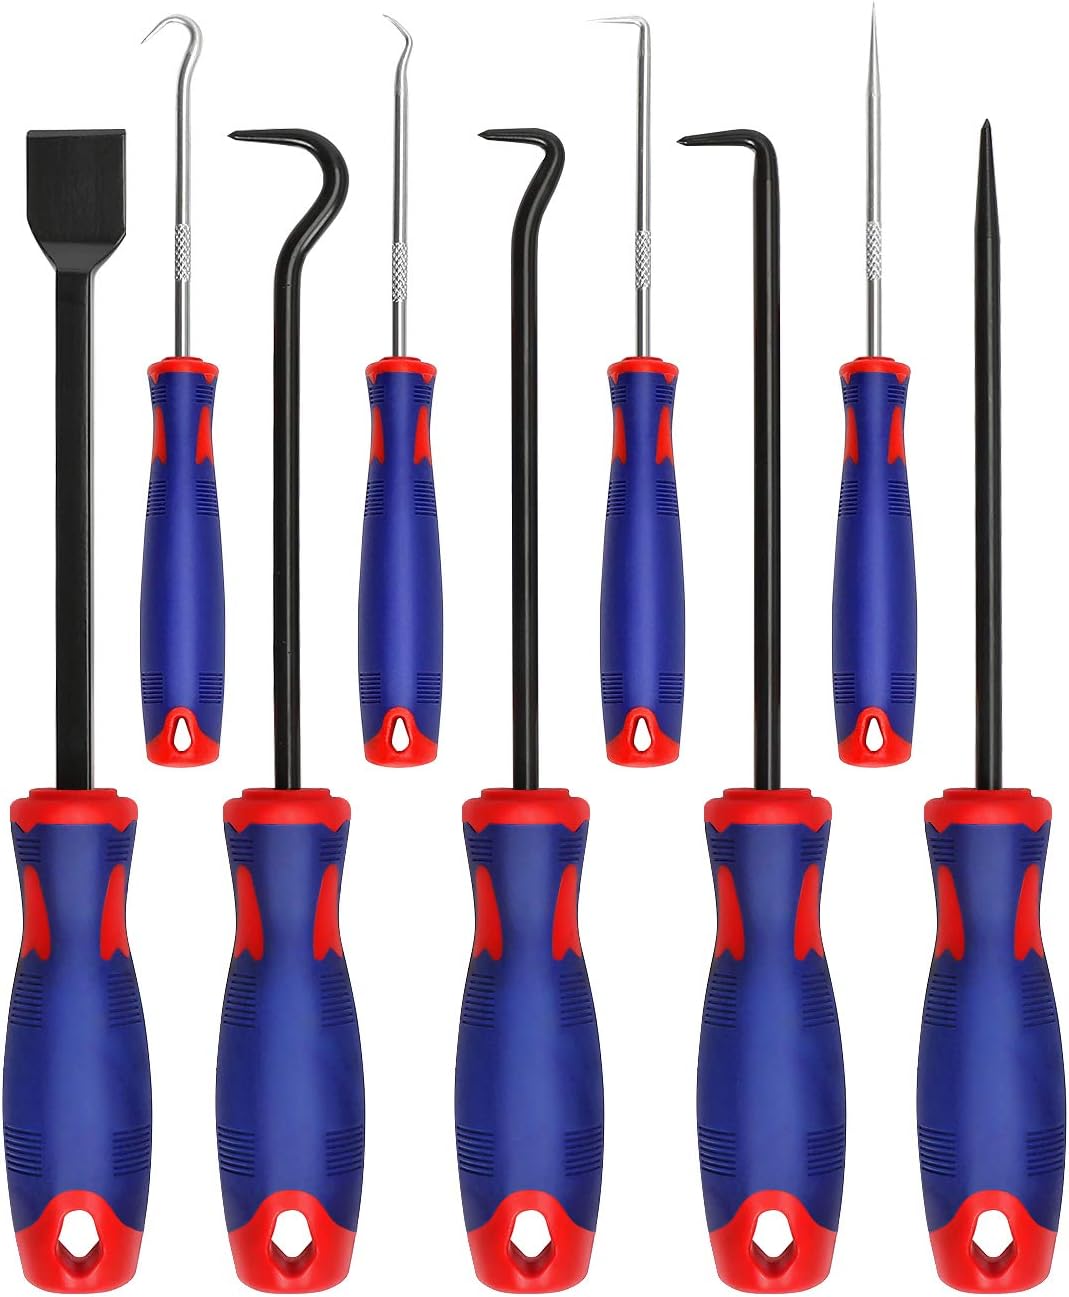


How to Replace the Cooling Fan Relay
Locate the Under-hood Fuse and Relay Box
Open the hood and find the power distribution center or fuse/relay box, usually near the battery or along one side of the engine bay. Remove the cover and read the diagram on the underside to identify the cooling fan relay location.
Disconnect Battery Power if Appropriate
Disconnect the negative battery cable if you are not actively performing live electrical tests. This lowers the risk of shorting terminals while pulling the relay or inspecting the socket.
Remove the Old Relay
Grip the relay firmly and pull it straight up. If it is tight, use a relay puller, fuse puller, or needle-nose pliers very carefully. Rock it gently side to side instead of twisting hard. Excessive twisting can damage the socket or crack the relay housing.
Inspect the Relay and Socket
Look for burnt pins, melted plastic, green corrosion, looseness, or moisture in the socket. A failed relay often shows heat discoloration or pitting on the terminals. If the socket is damaged, the repair may require terminal replacement or fuse box service before the new relay can work reliably.
Clean the Terminals if Needed
If there is minor corrosion or dirt, spray a small amount of electrical contact cleaner into the socket and let it dry fully. Do not soak the fuse box. If the female terminals are spread wide or loose, the socket needs repair rather than a new relay alone.
Install the New Relay
Match the new relay to the old one by part number, terminal layout, and rating. Align the pins carefully and push it straight into the socket until fully seated. If desired, a very light smear of dielectric grease around the seal area can help with moisture resistance, but do not pack the electrical terminals heavily with grease.
Reconnect Power and Reinstall the Cover
Reconnect the negative battery cable if it was removed. Reinstall the fuse box cover securely so water and debris stay out. A loose or cracked cover can lead to future relay and fuse failures.
Quick Relay Testing Tips
If you want to confirm the old relay was bad before installing a new one, there are a few simple checks you can do. Testing methods vary by vehicle and relay style, so use a wiring diagram whenever possible.
Listen and Feel for a Click
With the engine at operating temperature or the A/C turned on, place a finger on the relay while a helper starts the car or changes the condition that should trigger the fan. A working relay often clicks when energized, though a click alone does not prove the high-current contacts are good.
Swap with an Identical Known-good Relay
If an identical relay is available in the same fuse box and its function is not essential for road safety, swapping it briefly is one of the fastest checks. If the fan starts working with the swapped relay, the original relay is likely faulty.
Check for Power and Ground at the Socket
Using a multimeter or test light, verify that the socket has battery power at the feed terminal and that the control side receives the correct signal when the fan should be commanded on. No power or no control signal means the problem may be upstream rather than the relay itself.
Bench-test the Relay
Some relays can be tested off the vehicle by measuring coil resistance and applying 12 volts to the control terminals while checking continuity across the switched terminals. If you are not comfortable identifying the pins correctly, skip bench testing and use a known-good relay comparison instead.
Recommended Tools for This Job


How to Verify the Repair
Start the engine and let it reach operating temperature while monitoring the temperature gauge. On many vehicles, the cooling fan should cycle on as engine temperature rises. If the vehicle supports it, turning on the air conditioning may command at least one fan to run sooner.
- Start the engine and let it idle with the hood open.
- Watch the temperature gauge or scan-tool coolant temperature if available.
- Turn the A/C on and check whether the fan engages, if your vehicle uses the fan during A/C operation.
- Listen for normal fan operation and confirm airflow through the radiator.
- Verify there are no warning lights and the engine does not continue to overheat.
If the fan now works normally and the engine temperature stays stable, the repair was likely successful. If the fan still does not run, further diagnosis is needed.
If Replacing the Relay Does Not Fix It
A cooling fan circuit has several parts, and any one of them can prevent the fan from operating correctly. If a new relay changes nothing, do not keep replacing relays without testing.
- Blown fuse or weak power feed
- Failed cooling fan motor
- Damaged fan connector or overheated wiring
- Bad coolant temperature sensor or fan switch
- Faulty fan control module on vehicles that use one
- Engine computer not commanding fan operation
- Low coolant or another cooling system problem causing misleading symptoms
One useful clue is fan motor current draw. A worn fan motor may still run but pull too much amperage, overheating and destroying relays over time. If the old relay shows heat damage, inspect the motor and connector carefully before assuming the problem is solved.
Common Mistakes to Avoid
- Installing a relay with the wrong pin configuration or amperage rating.
- Ignoring corrosion or melted socket terminals and replacing only the relay.
- Assuming the relay is bad without checking the fuse and fan motor.
- Testing around moving fan blades with loose sleeves or fingers too close.
- Forcing the relay into the socket and bending the terminals.
Avoiding these mistakes saves time and helps prevent a comeback repair. A correct diagnosis matters more than the relay swap itself.
Torque Notes and Adjustment Information
A standard plug-in cooling fan relay usually has no fastener torque specification because it simply presses into the fuse box. The main requirement is full seating in the correct socket.
If your vehicle uses a fan control module or a relay bracket with bolts, tighten those fasteners to the vehicle manufacturer’s specification. Do not guess on torque if the component mounts to plastic housings or lightweight brackets.
There is usually no bleeding or mechanical adjustment needed after replacing only the relay. However, if overheating led you to open the cooling system for other work, follow the correct coolant fill and air-bleed procedure for your specific vehicle.
When This Is a Good DIY Job
This repair is a good DIY project when the relay is accessible in the fuse box, the replacement part is confirmed, and the socket is in good condition. It is especially straightforward if swapping in a matching known-good relay immediately restores fan operation.
It becomes less DIY-friendly when diagnosis points to intermittent wiring faults, module-controlled fan systems, repeated relay failures, or overheating that may involve more than the fan circuit. In those cases, a professional diagnosis can save money and prevent engine damage.
Key Takeaways
- Confirm the exact cooling fan relay location and match the new relay by part number, pin layout, and rating before installing it.
- Inspect the relay socket for heat damage, corrosion, or loose terminals because a bad socket can ruin a new relay quickly.
- Check the fan fuse and consider a known-good relay swap before buying parts to avoid replacing a relay that is not the real problem.
- Keep clear of electric fan blades during testing because the fan can turn on unexpectedly.
- If the new relay does not restore fan operation, test the fan motor, wiring, sensor inputs, and control module instead of guessing.
FAQ
Can I Drive with a Bad Cooling Fan Relay?
It is risky. If the relay prevents the radiator fan from running, the engine can overheat in traffic, at idle, or with the A/C on. A short trip in cool weather may not cause immediate damage, but continued driving is not recommended until the problem is fixed.
How Do I Know Whether It Is the Relay or the Fan Motor?
A quick clue is whether the fan works when you swap in an identical known-good relay. If the fan still does not run, check for power and ground at the fan motor and inspect the fuse, connector, and wiring. A fan motor can also fail by drawing too much current and damaging relays.
Does a Cooling Fan Relay Need Programming After Replacement?
No. A standard cooling fan relay does not require programming, coding, or relearning. You just install the correct relay and verify fan operation.
Why Does My Cooling Fan Keep Running After I Replace the Relay?
The new relay may not be the cause. A fan that runs constantly can be triggered by a stuck control command, faulty coolant temperature sensor, shorted wiring, or a problem in the fan control module or engine computer. It can also happen if the wrong relay was installed.
Can I Use Any Relay That Fits the Socket?
No. The relay must have the correct part number or approved equivalent, the same terminal layout, and the same electrical rating. A relay that physically fits may still be wired differently internally and can damage the circuit or simply not work.
What Causes Cooling Fan Relays to Fail Repeatedly?
Repeated failures usually point to another issue, such as a fan motor drawing excessive amperage, overheated or loose socket terminals, corrosion in the fuse box, or a wiring problem. Replacing the relay alone will not fix the root cause.
Do I Need to Disconnect the Battery to Replace the Relay?
It is a good safety step for a simple relay swap, especially if you are using metal tools near live fuse box terminals. However, if you need to perform voltage testing, the battery must be connected during those checks. Disconnect it again before final installation.
Need Parts for This Repair?
The right parts and supplies vary by vehicle.
Select your make and model to find compatible parts and accessories for your car.
Exact Fit
Parts that fit your make and model
Quality You Can Trust
Top brands and OEM quality options
Fast Shipping
Get the parts you need, delivered fast