

Note: This article contains affiliate links. If you click on these links and make a purchase, I may earn a small commission at no extra cost to you. This helps support my research and content. Read my full affiliate disclosure here.
Repair Snapshot
Use a pro if you do not have safe tire removal equipment or if the tire bead must be broken on a low-profile, run-flat, or damaged wheel. A shop is also the better choice if the sensor body is cracked, corroded, or the TPMS must be reprogrammed after service.
This article is part of our Wheels and Tires Maintenance & Repair Guides.
Replacing a TPMS sensor seal is a small repair that can fix a slow air leak at the valve stem without replacing the entire tire pressure monitoring sensor.
On many vehicles, the TPMS sensor is mounted to the wheel at the valve stem. The sealing parts at that stem, usually a rubber grommet, washer, valve core, cap, and retaining nut, wear out from age, moisture, road salt, and repeated tire service. When those parts harden or corrode, air can leak even if the tire itself is fine.
The key is to service the sensor carefully. TPMS sensors are easy to crack, bend, or over-tighten, and the correct torque matters more here than brute force. If the sensor body is still in good shape, a new service kit often solves the problem cheaply.
Before You Start
Confirm that the leak is actually coming from the TPMS valve stem area. Spray soapy water around the valve cap, valve core, base of the stem, and bead area. Bubbles at the stem base usually point to a failed TPMS seal, while bubbles from the center of the valve may mean only the valve core is leaking.
Not every TPMS setup is the same. Some vehicles use clamp-in metal stems with replaceable seals, while others use rubber snap-in stems or one-piece sensor assemblies. This article mainly applies to the common clamp-in style where the seal hardware can be replaced separately.
- Verify you bought the correct TPMS service kit for your sensor and wheel style.
- Check whether your vehicle uses direct TPMS sensors in the wheel, not ABS-based indirect TPMS.
- Have the wheel torque spec and TPMS nut torque spec ready before reassembly.
- If the sensor is over 7 to 10 years old, consider replacing the full sensor instead of only the seal.
How to Tell Whether the Seal or the Whole Sensor Needs Replacement
Signs the Seal Kit Is Enough
- Air bubbles appear only at the base of the valve stem.
- The sensor still reports tire pressure correctly on the dash or scan tool.
- The valve stem hardware is corroded, but the sensor body is intact.
- The leak started after a tire change or tire rotation service.
Signs You May Need a Complete TPMS Sensor
- The sensor body is cracked, bent, or loose where it attaches to the stem.
- The warning light stays on because the sensor battery is dead or communication is lost.
- Threads are stripped or heavily corroded.
- The valve stem itself is damaged or snapped.
If the sensor is physically damaged, do not try to save it with a new grommet. The seal kit can only fix wear items, not a broken transmitter or stem assembly.
Safety and Vehicle Preparation
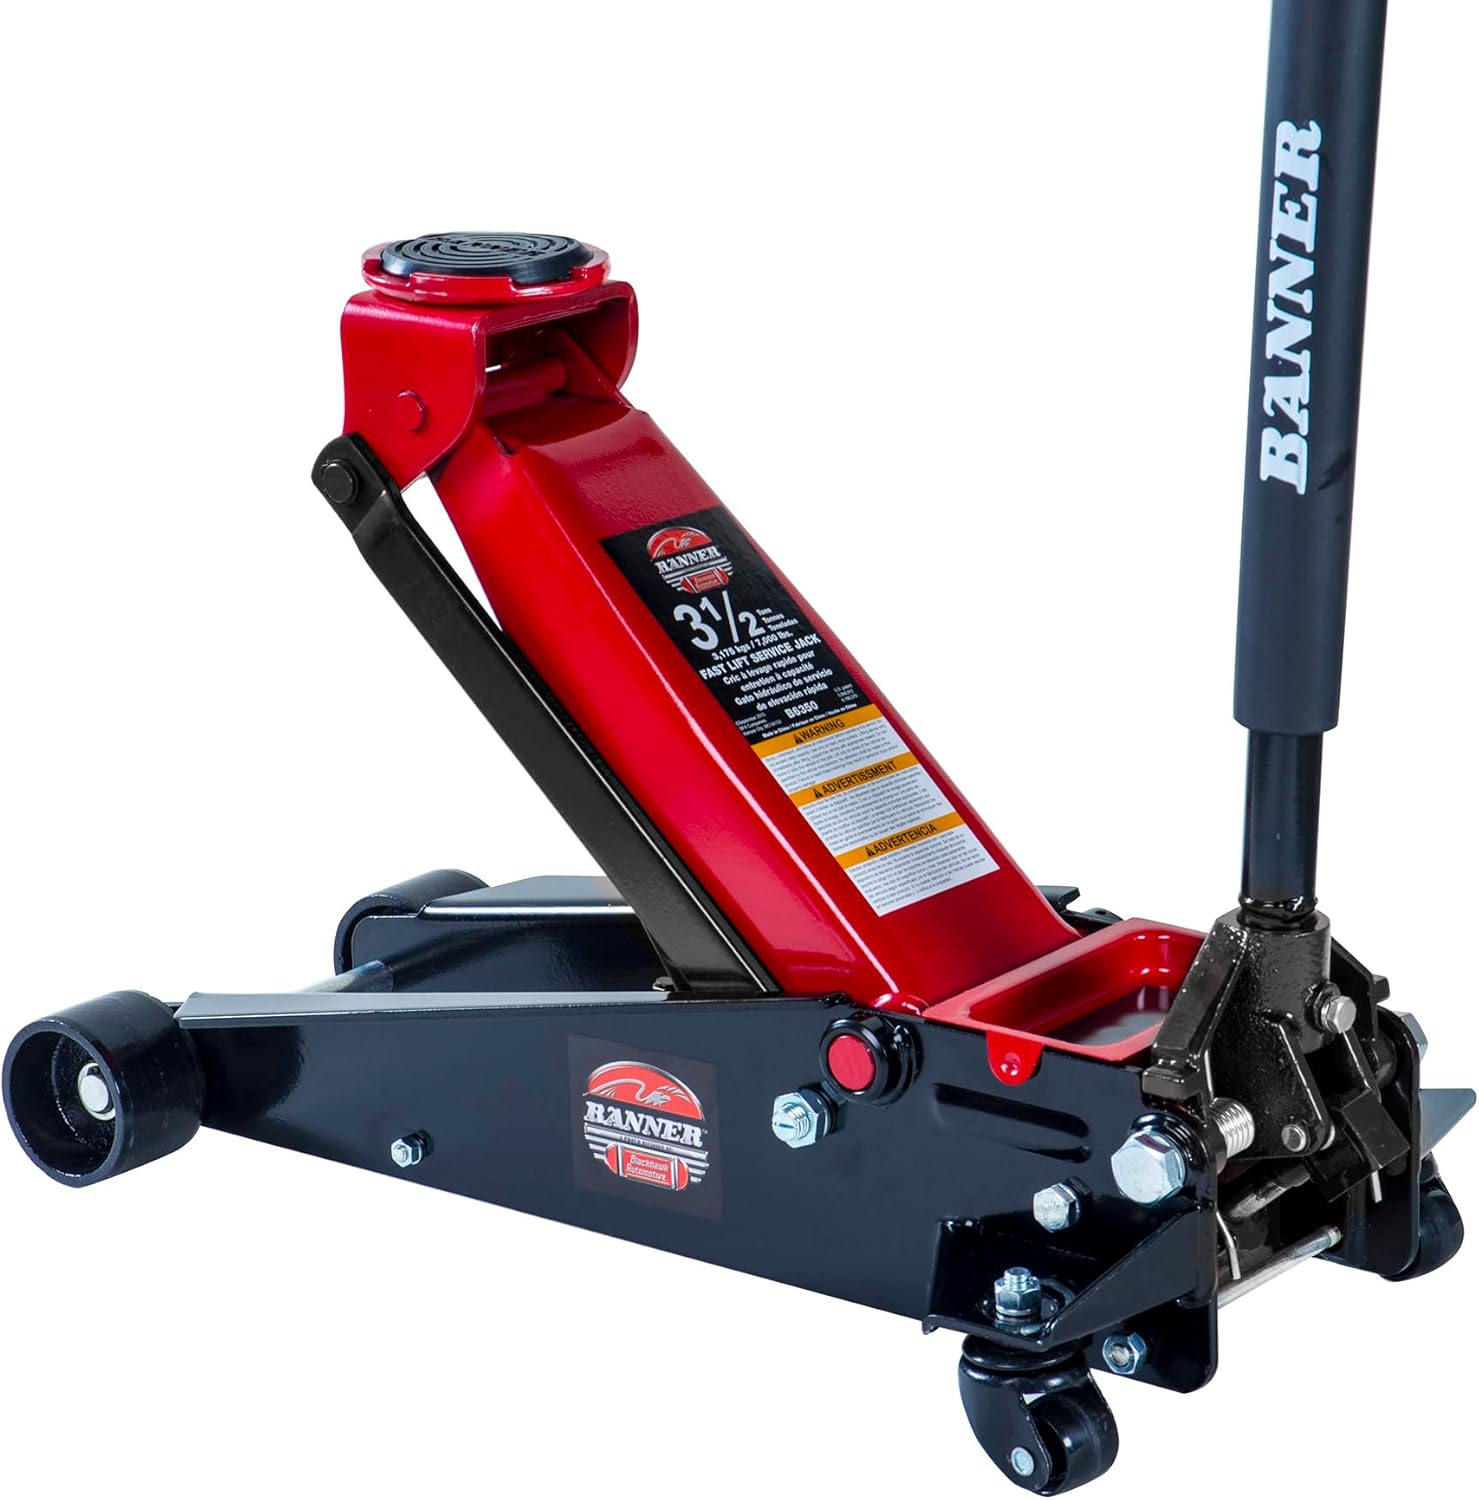
You will be lifting the vehicle and partially dismounting the tire from the wheel, so work on a flat surface and secure the vehicle properly. Never rely on a jack alone.
- Park on level ground and set the parking brake.
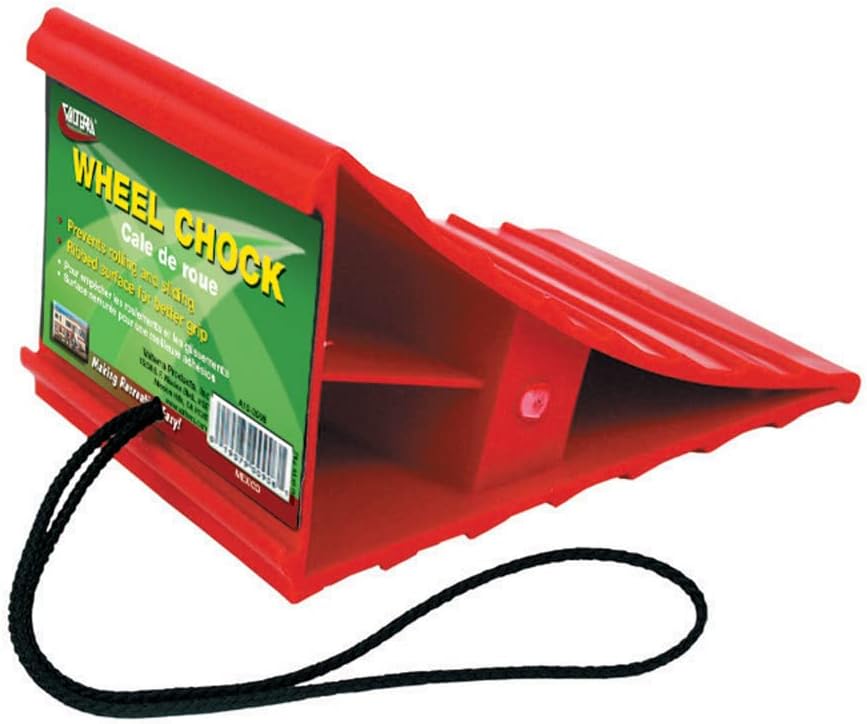
- Place wheel chocks at the wheels staying on the ground.
- Loosen the lug nuts slightly before lifting the vehicle.
- Raise the vehicle at the correct lift point and support it with jack stands.
- Remove the wheel and lay it flat with the outside face up unless your sensor design or tire machine setup requires a different orientation.
Wear safety glasses when deflating and inflating tires. Compressed air and tire beads can cause injury if handled carelessly.
Remove the Wheel and Deflate the Tire
Remove the valve cap and use a valve core tool to take out the valve core. Let all air out of the tire before you break the bead. If the core is part of the service kit, discard the old one.
Once the tire is fully deflated, break the bead on the side nearest the TPMS sensor. The goal is to create enough room to reach the inside of the valve stem and sensor without fully removing the tire from the wheel.
Be careful where you place tire tools. The sensor usually sits just inside the rim at the valve location, and careless prying can snap it off. If you are using a manual bead breaker or tire spoons, keep the working area away from the sensor when possible.
Tools That Make This Job Easier


Access the TPMS Sensor Without Damaging It
Push the tire sidewall down far enough to see or feel the TPMS sensor attached to the valve stem. On many clamp-in sensors, the sensor body is secured to the stem from inside the wheel, while the retaining nut is on the outside.
Before disassembly, note the sensor’s angle and position. Some sensors sit at a specific orientation to clear the drop center of the wheel and avoid contact during tire mounting. Taking a quick photo can help during reassembly.
- Do not twist the sensor body while loosening the outer nut.
- Support the sensor from the inside if possible.
- Do not reuse crusty old washers or hardened grommets.
- Avoid getting dirt into the valve opening.
Remove the Old Seal Hardware
Use the correct wrench or socket to loosen the TPMS retaining nut on the outer side of the wheel. Once the nut and washer are removed, gently push the valve stem inward and remove the old grommet or seal components.
Compare the old parts with the new service kit. Many kits include a new valve core, cap, grommet, sealing washer, and retaining nut. Install only the parts that match your sensor design. Mixing parts from different kits can cause leaks or poor fitment.
What to Inspect Before Reassembly
- Check the valve stem for pitting or thread damage.
- Inspect the sensor body for cracks around its mounting point.
- Look for corrosion where the stem passes through the wheel.
- Clean the wheel’s valve hole so the new grommet seals against a smooth surface.
Use a clean rag to wipe the valve hole and sealing surfaces. If corrosion is heavy enough to leave gouges or an uneven seat, the wheel may continue leaking even with a new seal.
Install the New TPMS Seal Kit
Install the new grommet, washer, and retaining nut exactly in the order specified by the sensor or kit manufacturer. On most clamp-in sensors, the rubber grommet seals against the wheel and must sit squarely with no twists.
Lightly lubricate only where the instructions allow. A small amount of approved tire mounting lubricant can help the grommet seat correctly, but do not soak it and do not use petroleum grease unless the manufacturer specifically allows it.
Hold the sensor in its proper position inside the wheel and tighten the outer retaining nut by hand first. Once the parts are seated correctly, tighten the nut with an inch-pound or small torque wrench to the manufacturer’s spec. Many TPMS stem nuts are tightened in the general range of about 35 to 80 in-lb, but always verify the exact specification for your sensor.
Why Torque Matters Here
Under-tightening can leave a slow leak. Over-tightening can crush the grommet, strip the threads, crack the sensor stem, or distort the seal so it leaks later. This is one repair where guessing by feel often causes a comeback.
Reinstall the Valve Core and Reseat the Tire
Install the new valve core from the service kit using a valve core tool. Tighten it snugly but do not overdo it. Then reseat the tire bead using proper tire equipment and inflate the tire carefully.
As the bead seats, stay clear of the sidewall and follow safe inflation practices. If you are using a manual inflator at home and the bead will not seat easily, stop and take the wheel to a tire shop rather than forcing it.
Inflate the tire to the placard pressure listed on the driver’s door jamb, not the maximum pressure molded on the sidewall. Reinstall the valve cap, preferably the cap included with the kit if it is the correct type for your sensor stem.
Recommended Tools for This Job


Check for Leaks and Reinstall the Wheel
Spray soapy water around the valve cap, valve core, and especially the base of the valve stem where it passes through the wheel. No bubbles should form. If you see bubbles at the base, the grommet may be crooked, the sealing surface may be damaged, or the nut torque may be incorrect.
- Set the wheel back on the hub and hand-thread the lug nuts.
- Lower the vehicle until the tire just contacts the ground.
- Torque the lug nuts in the proper star pattern to the vehicle specification.
- Fully lower the vehicle and remove the jack stands and chocks.
After a short drive, recheck tire pressure and inspect for new leaks. If the tire loses pressure overnight, the leak may be at the bead, tread, or the sensor may need full replacement.
Do You Need to Reset or Relearn the TPMS?
Usually, replacing only the TPMS seal hardware does not require programming because the original sensor stays in the wheel. However, some vehicles may need a short drive cycle before the warning light clears if it came on due to low pressure.
If the light was flashing before, or if the vehicle does not recognize the sensor after service, the problem may not be the seal. That can point to a weak sensor battery, damaged sensor, or a relearn procedure that the vehicle needs after tire service.
- Adjust all four tires to the correct cold pressure first.
- Drive the vehicle long enough for the system to update.
- Check the owner’s manual for a TPMS reset or relearn process.
- Use a TPMS-capable scan tool or tire shop service if the light stays on.
Common Mistakes to Avoid
- Replacing only the valve core when the leak is actually at the stem base.
- Reusing the old retaining nut, washer, or hardened grommet.
- Over-tightening the TPMS nut without a torque spec.
- Letting tire tools contact the sensor during bead work.
- Using the wrong service kit for the sensor design.
- Ignoring corrosion on the wheel’s valve hole sealing surface.
Another common mistake is servicing a very old sensor just to save a few dollars. If the sensor is original and the vehicle is many years old, doing a complete sensor replacement while the tire is already opened up can be the smarter long-term move.
When This Job Is Worth Doing Yourself
This repair is worthwhile for DIY owners who already have safe lifting equipment and access to tire service tools. The parts are cheap, and replacing a seal can solve a nagging slow leak without paying for a whole new TPMS sensor.
But the real challenge is not the seal itself. It is handling the tire and bead safely without damaging the sensor or wheel. If you do not routinely work with tires, many owners choose a middle-ground option: remove the wheel at home and take it to a tire shop for the actual tire dismount and TPMS service.
Key Takeaways
- Confirm the leak is at the TPMS valve stem base before opening the tire.
- Use the correct TPMS service kit and replace all matching seal hardware, not just one piece.
- Support the sensor during disassembly and torque the retaining nut to spec to avoid cracking it.
- Leak-test the valve stem with soapy water after inflation before reinstalling the wheel.
- Replace the whole sensor instead of the seal if the body is cracked, corroded, or no longer communicates.
FAQ
Can I Replace Just the TPMS Seal Without Replacing the Sensor?
Yes, if the sensor body and stem are still in good condition and the leak is coming from the sealing hardware. A TPMS service kit is designed for that situation. If the sensor is cracked, stripped, or electronically dead, replace the entire sensor.
What Parts Usually Come in a TPMS Service Kit?
Most kits include a new valve core, valve cap, rubber grommet or seal, sealing washer, and retaining nut. Exact contents vary by sensor style, so compare the new parts to the originals before installation.
Do I Need to Remove the Tire From the Wheel Completely?
Usually no. In many cases you only need to deflate the tire and break one bead so you can reach the sensor from inside the wheel. Some wheel and tire combinations may still require more dismounting room.
Will Replacing the TPMS Seal Turn Off the Warning Light?
It will only help if the light came on because the tire was losing air from the leaking seal. If the light is caused by a dead sensor battery, communication fault, or missing relearn, the seal replacement alone will not fix it.
How Tight Should the TPMS Retaining Nut Be?
Use the sensor or service kit manufacturer’s specification, usually given in inch-pounds. Do not guess. Over-tightening can damage the sensor or crush the grommet, while under-tightening can leave a slow leak.
Can a Tire Shop Replace a TPMS Seal During a Tire Rotation or Tire Change?
Yes, many tire shops replace TPMS service kit parts anytime a tire is dismounted, especially on clamp-in metal stem sensors. It is common preventive maintenance when the tire is already off the bead.
Why Is My Tire Still Leaking After I Replaced the Seal?
Possible causes include a crooked grommet, wrong service kit, damaged wheel sealing surface, leaking valve core, bead leak, puncture, or a cracked sensor stem. Spray soapy water on each possible leak point to narrow it down.
Is It Safe to Drive with a Leaking TPMS Seal?
A slow leak can quickly become a low-pressure tire problem, which affects handling, braking, and tire wear. It is best to repair it promptly and avoid long trips until you confirm the tire holds pressure normally.
Need Parts for This Repair?
The right parts and supplies vary by vehicle.
Select your make and model to find compatible parts and accessories for your car.
Exact Fit
Parts that fit your make and model
Quality You Can Trust
Top brands and OEM quality options
Fast Shipping
Get the parts you need, delivered fast