

Note: This article contains affiliate links. If you click on these links and make a purchase, I may earn a small commission at no extra cost to you. This helps support my research and content. Read my full affiliate disclosure here.
Repair Snapshot
Use a pro if the wheel has a TPMS sensor, the tire bead will not break safely, or you do not have a secure way to support the vehicle and reinflate the tire. A shop is also the safer choice if the wheel is damaged or the tire has sidewall cracking.
This article is part of our Wheels and Tires Maintenance & Repair Guides.
Replacing a tire valve stem is a manageable DIY repair if the stem itself is leaking and you can safely break the tire bead from the wheel. The job is usually inexpensive, but it does require care because the tire must be deflated and partially separated from the rim.
Most passenger vehicles use a simple rubber snap-in valve stem, and that is the procedure covered here. If your wheel uses a metal valve stem attached to a tire pressure monitoring sensor, stop and confirm the design before starting, because damaging the TPMS sensor can turn a cheap repair into an expensive one.
Below, you will learn how to confirm the stem is the problem, remove the wheel, break the bead, install the new stem, reinflate the tire, and verify the repair is airtight before the car goes back on the road.
Before You Start
A leaking valve stem can cause a slow tire pressure loss, a visible crack in the rubber near the wheel, or bubbling when soapy water is sprayed around the stem. Before replacing it, make sure the leak is not coming from a loose valve core, the bead area, a puncture in the tread, or a cracked wheel.
- Confirm the tire is leaking at the stem by spraying soapy water around the base and valve opening.
- Check whether tightening or replacing only the valve core stops the leak before you dismount the bead.
- Inspect for a TPMS sensor if the vehicle has tire pressure monitoring and the stem does not look like a standard rubber snap-in design.
- Work on a flat, solid surface and never rely on a jack alone to hold the vehicle up.
If the stem is dry-rotted, cracked, bent, or leaking where it passes through the wheel, replacement is the right fix. If the leak is only from the center valve, you may only need a new valve core. That is much faster and does not require bead-breaking.
How the Valve Stem Type Changes the Job
Rubber Snap-in Stems
These are the most common and the easiest to replace at home. They pull through the wheel from the inside and seal with a rubber shoulder.
Metal Clamp-in Stems and TPMS Stems
These often use a nut, sealing grommet, washer, and sometimes a tire pressure monitoring sensor attached inside the wheel. They usually require exact torque, new sealing hardware, and careful handling. If you are not certain what you have, do not force the old stem out.
A quick rule: if you see a plain black rubber stem that flexes, this guide probably applies. If you see metal, a retaining nut, or a sensor warning on the dash and you are unsure of the wheel design, a tire shop is usually the better choice.
Prepare the Vehicle and Remove the Wheel
Start by parking on level ground, setting the parking brake, and placing wheel chocks on the opposite end of the vehicle. Loosen the lug nuts slightly before lifting the vehicle. Do not remove them yet.
- Loosen the lug nuts about a quarter turn while the tire is still on the ground.
- Lift the vehicle at the proper jack point listed in the owner’s manual.
- Set the vehicle securely on jack stands.
- Remove the lug nuts and take the wheel off the vehicle.
- Lay the wheel flat with the outer face up unless access is better from the back side.
If you are replacing a front-wheel valve stem and the wheel uses decorative caps or locking lug nuts, make sure you have the correct removal tools before the car is lifted.
Deflate the Tire and Break the Bead
Remove the valve cap and use a valve core tool to remove the valve core completely. Let all air escape from the tire. The tire must be fully deflated before you try to separate the bead from the wheel.
Next, break the bead only on the side of the tire where you need access to the inside of the valve stem. You do not need to fully remove the tire from the wheel for a standard snap-in stem.
- Position the wheel flat and apply bead-breaking force close to the rim edge, not on the sidewall center.
- Work slowly so you do not bend the wheel lip.
- Keep hands and fingers clear as the bead pops loose.
- Use tire lubricant or soapy water around the bead to help it release.
Some DIYers use a dedicated bead breaker, a bench-mounted tool, or a large clamp-style method. Whatever tool you use, the goal is the same: push the tire bead down enough to reach the stem from inside the wheel. If the bead will not move without excessive force, stop before you damage the tire or rim.
Tools That Make This Job Easier


Remove the Old Valve Stem
Once the bead is pushed away from the wheel, reach inside and inspect the back side of the valve stem. A standard rubber stem can usually be cut, pulled, or pushed out after the core is removed.
- Move the tire bead aside enough to access the inside of the valve hole.
- Inspect the area for a TPMS sensor or attached hardware before touching the stem.
- If it is a simple rubber snap-in stem, cut the old stem near its base or pull it out with pliers from the outer side.
- Remove any rubber fragments or debris from the wheel’s valve hole.
Take a close look at the valve hole in the wheel. If the edge is rusty, dirty, or nicked, clean it gently so the new stem can seat properly. Do not grind or enlarge the hole. The sealing surface must remain smooth.
Install the New Valve Stem
Match the replacement stem to the old one by diameter and style. Passenger cars commonly use snap-in stems sized for standard valve holes, but there are different lengths and high-pressure versions. Using the wrong size can create another leak.
Lubricate the new stem lightly with tire mounting lube or soapy water. Do not install it dry, because the rubber can tear or fail to seat fully.
- Insert the new stem from the inside of the wheel through the valve hole.
- Thread the valve stem installation tool onto the outer end of the stem.
- Pull the stem straight outward until the rubber shoulder snaps fully into place against the wheel.
- Check that the stem sits evenly and is not twisted or partially seated.
Do not yank the stem sideways while pulling it through. A straight pull helps the base seal evenly. Once installed, the thicker rubber shoulder should sit flush against the wheel with no visible gap.
Reseat the Bead and Inflate the Tire
With the new valve stem installed, push the tire bead back toward the rim and apply lubricant around the bead if needed. Reinstall a new valve core into the stem before inflating unless your inflation method works better with the core temporarily removed for bead seating.
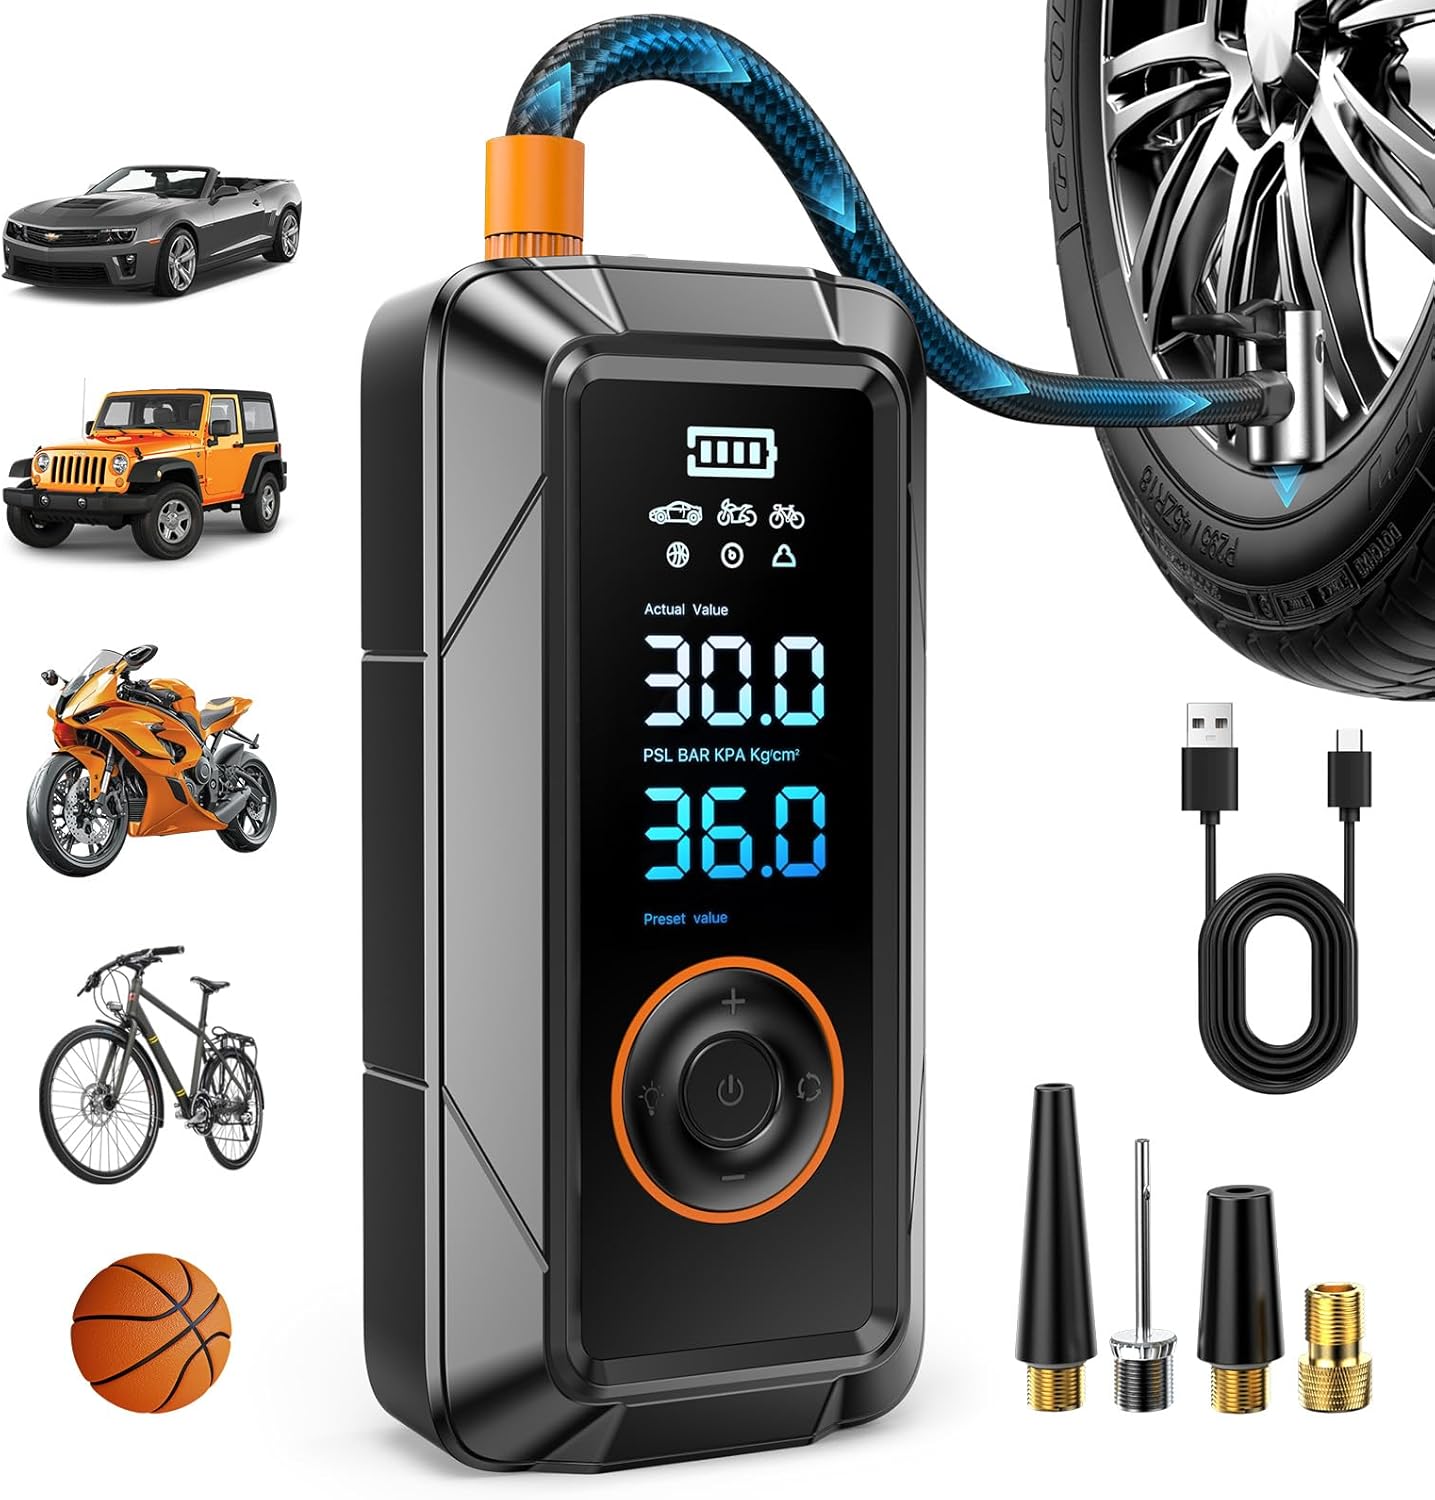
Inflate the tire carefully. As the bead reseats, you may hear one or two loud pops. That is normal, but keep your body clear of the tire sidewall and do not exceed the pressure needed to seat the bead safely.
- Use short inflation bursts and watch the bead on both sides of the wheel.
- Do not exceed the tire manufacturer’s bead seating limit if listed on the sidewall.
- Once the bead is fully seated, set the pressure to the vehicle placard specification, not the maximum pressure shown on the tire.
- Install the valve cap after pressure is set.
If the bead does not seal well enough to begin inflating, apply more lubricant and press the tire evenly toward the rim. Stubborn beads sometimes need a higher-volume air source than a small portable inflator can provide.
Check for Leaks and Reinstall the Wheel
Before putting the wheel back on the vehicle, confirm the repair is airtight. Spray soapy water around the base of the new valve stem, the valve core opening, and the bead area you disturbed. Watch closely for growing bubbles.
- Spray soapy water at the stem base and around the valve opening.
- If bubbles form at the center, tighten or replace the valve core.
- If bubbles form around the stem base, the stem may not be fully seated or may be the wrong size.
- If bubbles form at the bead, deflate and relubricate the bead area before reinflating.
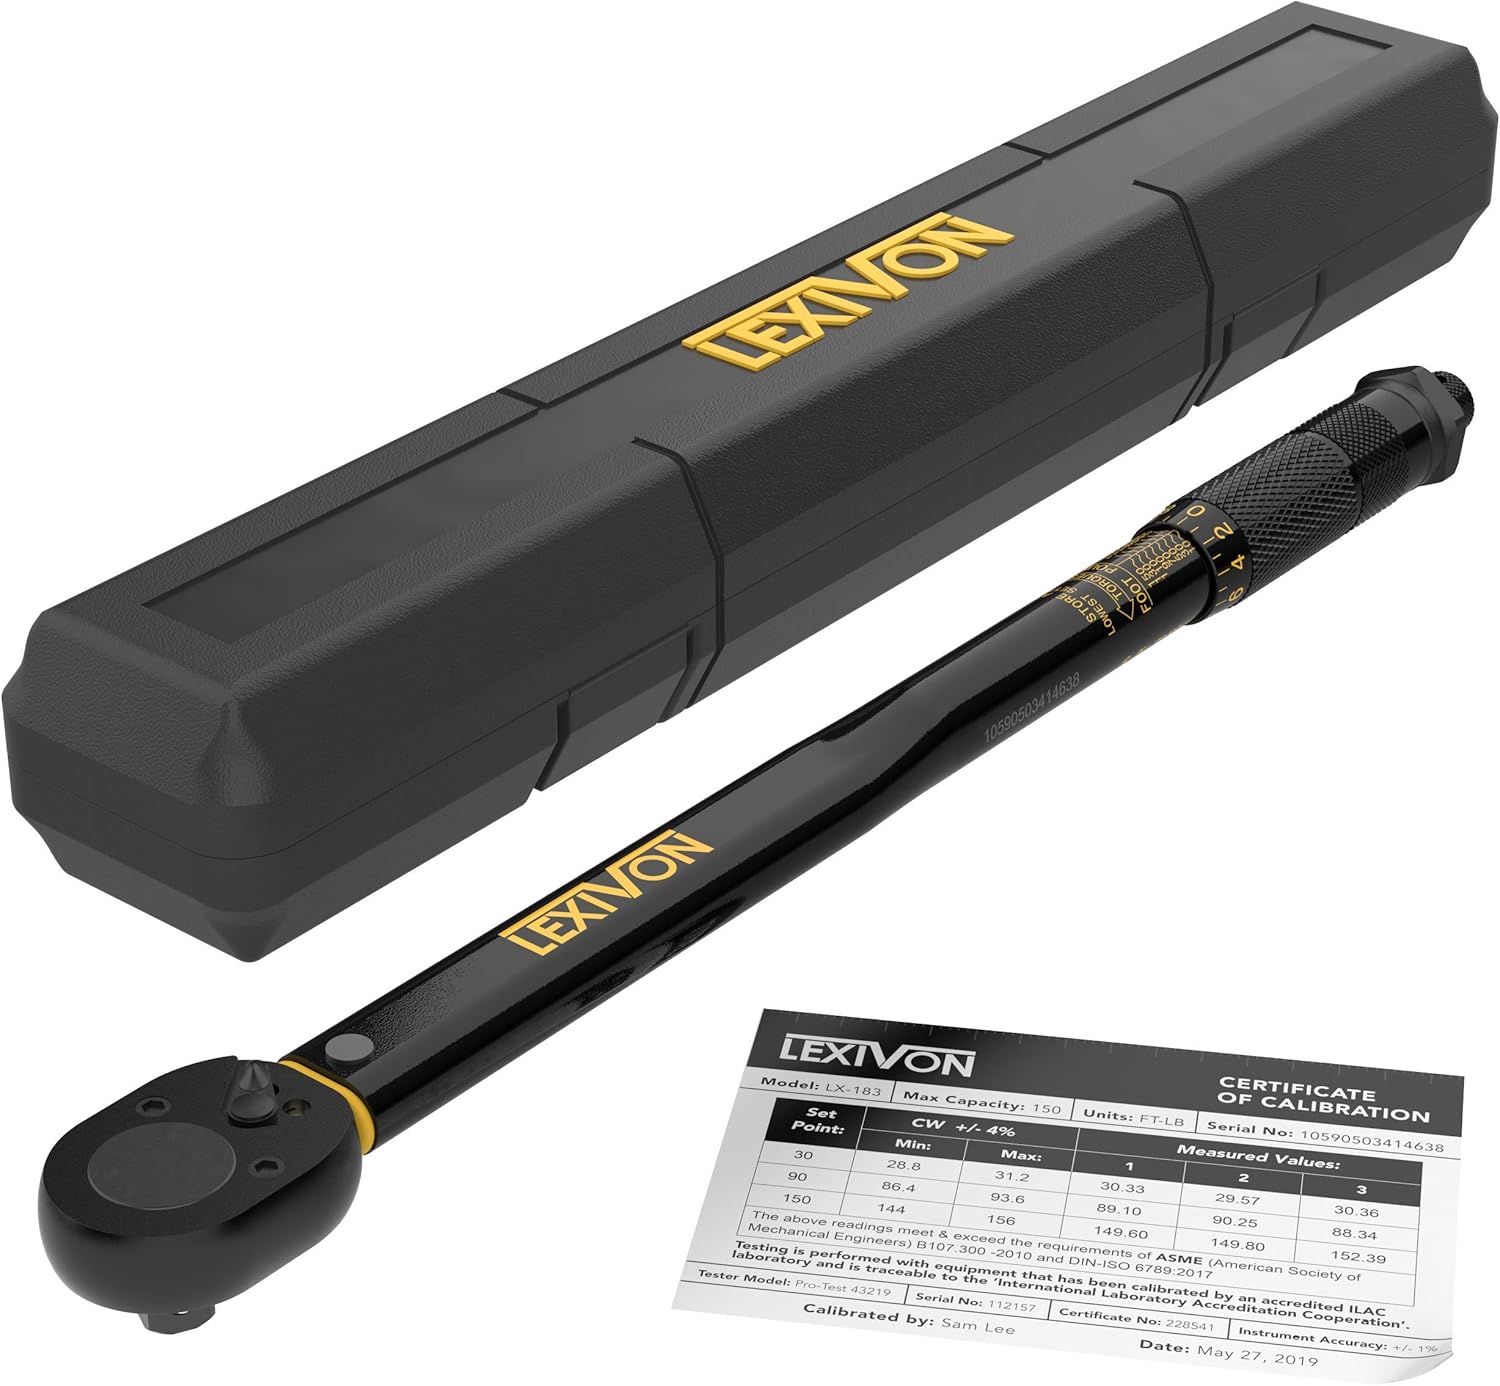
Once the tire holds pressure, reinstall the wheel on the vehicle. Thread the lug nuts by hand, snug them in a star pattern, lower the vehicle, and torque the lug nuts to the manufacturer specification.
After driving a short distance, recheck lug nut torque and tire pressure. A stable reading the next day is a good sign that the repair is complete.
Recommended Tools for This Job

Torque Notes and Final Checks
A standard rubber snap-in valve stem does not have a torque spec for installation because it seals by being pulled into place. The valve core is typically just snug, not overtightened. What does matter is proper wheel lug nut torque when reinstalling the wheel.
If your vehicle has a metal clamp-in stem or TPMS service hardware, torque values become critical. Those parts may require a new seal, new retaining nut, and model-specific inch-pound torque specs. That is one reason many DIYers choose a tire shop for TPMS-related stem work.
- Use the vehicle manufacturer’s lug nut torque spec, not a generic guess.
- Recheck pressure after 24 hours.
- Monitor the TPMS warning light if your vehicle is equipped with one.
- Inspect the other valve stems too, because if one rubber stem has aged out, the others may be close behind.
Common Mistakes to Avoid
Most valve stem replacements go wrong in predictable ways. Avoiding these mistakes will save time and reduce the chance of a repeat leak.
- Replacing the stem without confirming the leak source first.
- Trying to break the bead with air still in the tire.
- Damaging a hidden TPMS sensor by assuming every stem is a plain rubber snap-in type.
- Installing the wrong diameter or wrong pressure-rated stem.
- Pulling the new stem through dry instead of lubricating it.
- Overinflating the tire while trying to seat the bead.
- Forgetting to torque the lug nuts after reinstalling the wheel.
If you hit any of these problems or the tire still leaks after the new stem is installed, do not keep driving on an underinflated tire. Low pressure generates heat and can quickly damage the tire internally.
When a Shop Is the Better Option
This is a reasonable DIY repair when you have a standard rubber snap-in stem, a safe lifting setup, and access to bead-breaking and inflation tools. But there are several cases where a shop can do the job faster and with less risk.
- The wheel has a TPMS sensor or metal clamp-in stem.
- The tire bead is stuck and will not break loose safely.
- The wheel is corroded, bent, or cracked around the valve hole.
- You do not have a reliable air source to reseat the bead.
- The tire also needs balancing, patching, or replacement.
Many tire shops can replace a basic valve stem quickly for modest cost, especially if the tire is already being removed for another service. That can be worthwhile if you want to avoid wrestling with bead seating at home.
Key Takeaways
- Confirm the leak is actually from the valve stem before breaking the tire bead, because a loose valve core or tread puncture can mimic the same pressure loss.
- This DIY job is best for standard rubber snap-in stems, while metal stems and TPMS-equipped wheels often require special care and exact torque.
- Always deflate the tire fully, support the vehicle with jack stands, and keep clear of the sidewall when reseating the bead with air pressure.
- Lubricate the new stem, pull it through straight, and leak-check both the stem base and valve core with soapy water before reinstalling the wheel.
- If the bead will not reseat, the wheel is damaged, or the tire keeps leaking, have a tire shop finish the repair instead of driving on low pressure.
FAQ
Can I Replace a Tire Valve Stem Without Removing the Tire From the Wheel?
Usually no. For a standard snap-in stem, you must at least break one side of the tire bead and push the tire away from the rim to access the inside of the valve hole. The tire does not have to come fully off the wheel, but it does need to be partially separated.
How Do I Know if I Only Need a Valve Core Instead of a Full Valve Stem?
Spray soapy water into the valve opening and around the base of the stem. If bubbles come from the center pin area, the valve core may be the problem. If bubbles form where the stem passes through the wheel, the full stem likely needs replacement.
Is It Safe to Drive with a Leaking Valve Stem?
Not for long. A slow leak can turn into a dangerously underinflated tire, especially during highway driving or hot weather. If the stem is leaking, repair it promptly and keep the tire at the correct pressure until then.
What if My Car Has TPMS Sensors?
Be careful. Many TPMS systems are attached to the valve stem or sit very close to it inside the wheel. If you force out the wrong part, you can break the sensor. If the stem is metal or you are unsure what design you have, a tire shop is usually the safer choice.
Do I Need to Rebalance the Wheel After Replacing a Valve Stem?
Usually not if you only broke the bead and replaced the stem without fully dismounting or rotating the tire on the wheel. But if the tire was removed completely or the wheel already had a vibration issue, balancing may be a good idea.
How Much Air Pressure Should I Use After the Repair?
Set the tire to the vehicle manufacturer’s recommended pressure on the driver’s door placard, not the maximum pressure molded on the tire sidewall. You may need a little extra pressure temporarily to seat the bead, but do not exceed safe bead seating limits.
Why Is the New Valve Stem Still Leaking at the Base?
Common causes include the wrong stem size, a damaged or dirty valve hole, incomplete seating, or a bent installation. Deflate the tire, inspect the wheel hole, confirm the stem size, lubricate it properly, and reinstall if needed.
Should I Replace All the Valve Stems at the Same Time?
If the stems are the same age and one is cracked from heat and age, the others may not be far behind. Replacing all rubber stems during tire service is often smart preventative maintenance, especially on older tires and wheels.
Need Parts for This Repair?
The right parts and supplies vary by vehicle.
Select your make and model to find compatible parts and accessories for your car.
Exact Fit
Parts that fit your make and model
Quality You Can Trust
Top brands and OEM quality options
Fast Shipping
Get the parts you need, delivered fast