

Note: This article contains affiliate links. If you click on these links and make a purchase, I may earn a small commission at no extra cost to you. This helps support my research and content. Read my full affiliate disclosure here.
Repair Snapshot
Use a tire shop if the puncture is in the sidewall or shoulder, the hole is large, the tire was driven while flat, or you are not comfortable lifting and supporting the vehicle safely. A professional internal patch-plug repair is the best long-term fix for a repairable tread puncture.
This article is part of our Wheels and Tires Maintenance & Repair Guides.
A proper punctured tire repair starts with one question: is the tire actually repairable? Small punctures in the center tread area often can be fixed, but sidewall damage, large holes, torn cords, and tires driven flat usually mean replacement is the only safe option.
For DIY owners, a plug-style repair can get a repairable tread puncture sealed and back on the road if it is done carefully. But the safest long-term repair is an internal patch-plug installed from inside the tire, which usually means removing the tire from the wheel at a shop. This guide shows you how to inspect the damage, make a careful temporary-to-serviceable DIY repair, and decide when to stop and replace the tire instead.
If you are stranded, treat a plug repair as a way to restore mobility on a repairable tire, not as permission to ignore the problem. After any puncture repair, monitor tire pressure closely for the next several days.
Before You Start: Decide If the Tire Can Be Repaired
Not every punctured tire should be repaired. The location and condition of the damage matter more than the size of the object you found in the tread.
Usually Repairable Damage
- A single puncture in the center tread area.
- A small round hole from a nail or screw.
- No visible sidewall bulges, splits, or cord damage.
- The tire still has usable tread and was not driven long while flat.
Do Not Repair the Tire if You See Any of These
- The puncture is in the sidewall or shoulder area near the edge of the tread.
- The hole is large, jagged, slashed, or caused by road debris rather than a small nail or screw.
- The tire has cords showing, a bubble, a split, or damage on both inside and outside surfaces.
- The tire was driven flat or very low long enough to damage the inner sidewall.
- There are multiple punctures too close together.
A good rule for DIY work: if the puncture is clearly in the main tread blocks and the tire otherwise looks healthy, you may proceed. If the damage is near the shoulder, do not guess. Replace the tire or have a shop inspect it from the inside.
Safety and Setup
Tire repair work is simple compared with many car jobs, but vehicle lifting mistakes can cause serious injury. Work on flat pavement, not dirt, gravel, or a sloped driveway.
- Park on level ground and turn on the hazard flashers if you are roadside.
- Set the parking brake and place wheel chocks on the wheels staying on the ground.
- Loosen the lug nuts slightly before lifting the vehicle.
- Lift the vehicle at the correct jack point and support it with jack stands before removing the wheel.
- Wear gloves and safety glasses, especially when pulling out nails or using the rasp tool from a plug kit.
If you are working at the roadside with only the factory scissor jack, use extra caution. A scissor jack is meant for emergency tire changes, not for comfortable garage-style repair work. If traffic, weather, or unstable ground make the situation risky, install the spare and finish the repair in a safer place.
Find the Leak and Confirm the Puncture
Sometimes the screw or nail is obvious, but slow leaks can be harder to pinpoint. Confirm the exact location before you remove anything from the tire.
How to Locate the Puncture
- Inflate the tire enough that it holds shape and can reveal the leak.
- Spray soapy water across the tread, shoulder, valve stem, and bead area.
- Look for bubbling that grows steadily from one point.
- If a screw or nail is still installed, check whether bubbles form around it.
- Mark the leak with chalk, painter’s tape, or a paint marker so you can find it after removing the object.
Do not assume the object you see is the only leak. A tire can have more than one puncture, or the leak may actually be at the valve stem or the bead where the tire seals to the wheel. If bubbling appears at the sidewall, bead, or valve instead of the tread puncture, a plug kit will not solve the problem.
Tools That Make This Job Easier
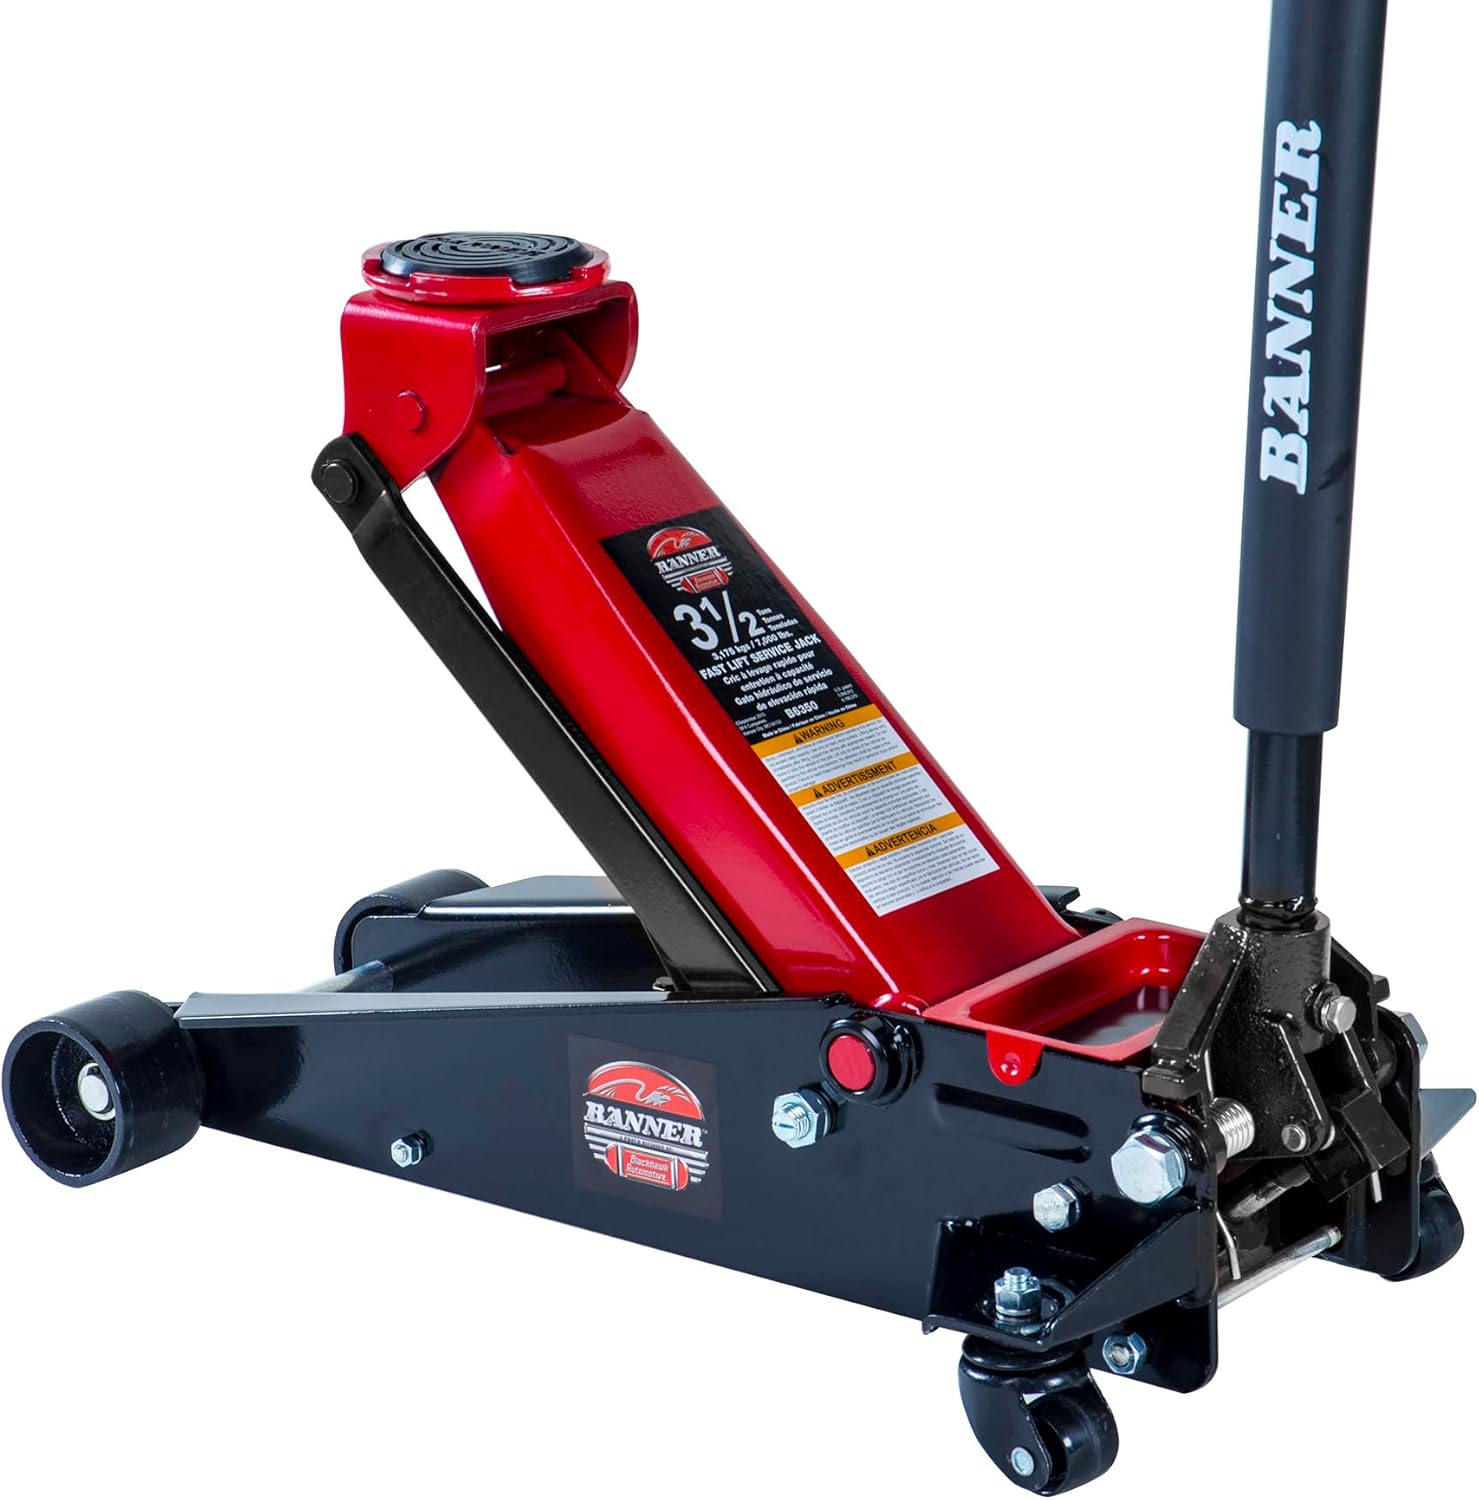
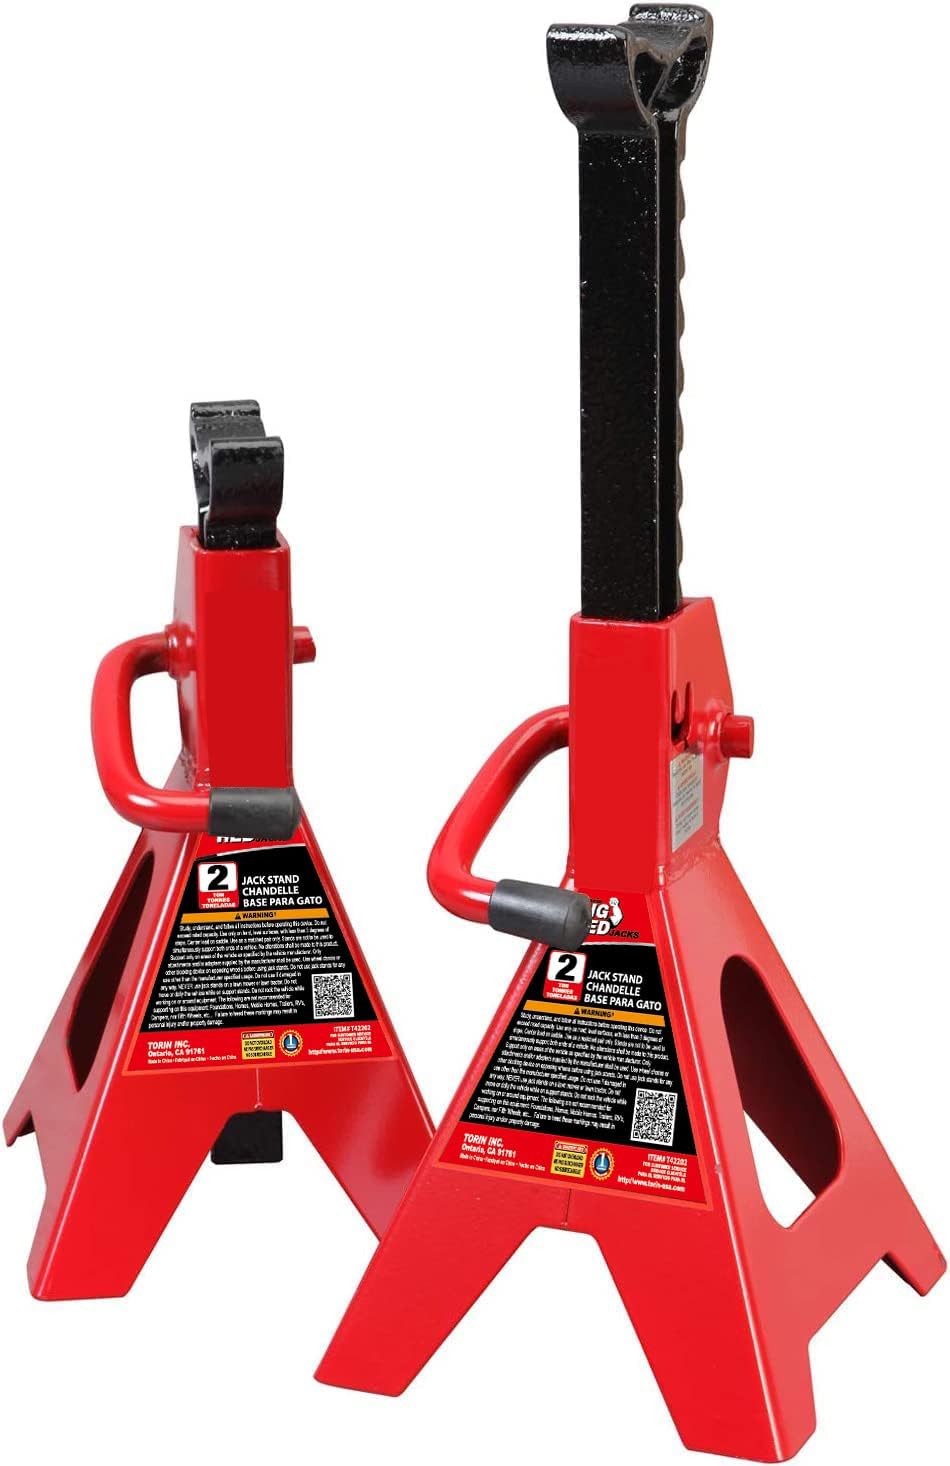

Remove the Tire and Inspect It Closely
Once the wheel is off the vehicle, rotate it and inspect the tread and both sidewalls carefully. This is where you decide whether the repair is worth doing.
- Pull out the nail or screw with pliers only after you are ready to repair the hole.
- Check the angle of the puncture so you understand how the plug tool will need to follow the same path.
- Inspect the inside shoulder area visually as much as you can from the outside for signs the tire was run flat, such as wrinkling or heat damage.
- Make sure the tread depth and tire age still justify repairing it.
If the tire is already near the wear bars, badly cracked, or more than several years old, repairing it may not be worth the effort. A repair only makes sense if the rest of the tire is still safe to use.
How to Plug a Repairable Tread Puncture
A rope plug repair is the most common DIY method. It can work well on a small, clean puncture in the tread, but it must be installed correctly. Rushing this step is the main reason DIY plug repairs leak later.
Step-by-step Plug Repair
- Remove the puncturing object with pliers.
- Insert the rasp tool from the plug kit into the hole and work it in and out several times to clean and size the puncture channel.
- Follow the natural angle of the puncture instead of forcing the tool straight in if the hole entered at an angle.
- Thread a repair plug through the eye of the insertion tool so equal lengths hang on both sides.
- Apply rubber cement to the plug and the hole if your kit instructions call for it.
- Push the loaded insertion tool into the puncture until only a small amount of plug material remains above the tread.
- Pull the insertion tool straight back out so the plug stays lodged in the tire.
- Trim the excess plug close to the tread surface, but do not cut into the tire itself.
The rasp step often takes more effort than first-time DIYers expect. The hole has to be prepared well enough for the plug to seat and seal. If the puncture becomes obviously oversized, ragged, or hard to control during this process, stop and replace the tire or have the tire professionally evaluated.
Common Mistakes to Avoid
- Trying to plug a shoulder or sidewall puncture.
- Skipping hole preparation with the rasp tool.
- Using too much force and enlarging the hole unnecessarily.
- Installing the plug at the wrong angle compared with the original puncture path.
- Assuming the repair is good without checking for leaks afterward.
Inflate the Tire and Check for Leaks Again
After the plug is installed, reinflate the tire to the vehicle manufacturer’s recommended pressure listed on the driver’s door jamb sticker. Do not use the maximum pressure molded on the tire sidewall unless the vehicle specifically requires it.
- Inflate the tire to the correct PSI.
- Spray soapy water over the repaired area.
- Watch for fresh bubbling for at least 30 to 60 seconds.
- If bubbling continues, the plug did not seal and the repair should be redone only if the puncture still appears safely repairable.
- Also check the valve stem and bead to confirm there is not a second leak.
A properly seated plug should not produce active bubbling. A tiny foamy residue from the soap is normal, but growing bubbles mean the seal is leaking. Do not reinstall a tire that is still losing air.
Reinstall the Wheel Correctly
Once the tire holds pressure, reinstall the wheel carefully. Wheel installation errors can create a bigger problem than the puncture itself.
- Mount the wheel onto the hub and hand-thread all lug nuts first.
- Snug the lug nuts in a star pattern while the wheel is just touching enough to keep it from spinning.
- Lower the vehicle fully.
- Torque the lug nuts to the manufacturer’s specification using a torque wrench, again in a star pattern.
- Recheck torque after driving roughly 25 to 50 miles if you removed the wheel yourself.
If you do not know the lug nut torque spec, look it up for your exact vehicle before finishing the job. Over-tightening can damage studs or warp brake components, while under-tightening can let the wheel loosen.
Recommended Tools for This Job



What a Proper Long-Term Repair Looks Like
For the best long-term result, a repairable tire should be dismounted from the wheel and repaired from the inside with a patch-plug combination. This seals the inner liner and fills the puncture path more completely than an external rope plug alone.
That means your DIY plug repair is best viewed as a practical service repair only when the puncture is clearly minor and the tire remains stable, but an internal patch-plug performed by a tire shop is still the gold standard. If you use a rope plug at home, it is smart to have the tire professionally inspected soon afterward.
- External plug only: fastest DIY option and often used for minor tread punctures.
- Internal patch-plug: preferred professional repair for eligible tires.
- Replacement: required for sidewall, shoulder, large, split, or run-flat damage.
When the Tire Should Be Replaced Instead
Sometimes the safest repair is no repair at all. Tire failure at highway speed is not worth gambling on to save a few dollars.
- The puncture is outside the central tread area.
- The tire lost pressure so badly that the sidewall flexed while driving.
- The inside of the tire may have been heat-damaged from driving on low pressure.
- The puncture is too large for a clean plug repair.
- The tire has very low tread, uneven wear, dry rot, or previous questionable repairs.
If only one tire needs replacement, check tread depth carefully on the matching tire on the same axle. Large tread differences can affect handling and, on some AWD vehicles, even damage the drivetrain. In those cases, you may need tire shaving, a closely matched used tire, or a pair or full set of new tires.
After-Repair Checks and Monitoring
The repair is not finished just because the tire holds air for five minutes. You need to monitor it over the next few trips.
- Check tire pressure immediately after the repair and again the next day.
- Monitor pressure for several days to make sure the loss does not return.
- Drive conservatively at first and pay attention to vibration, pulling, or a TPMS warning.
- Inspect the repaired area after the first drive for any sign the plug is backing out or the tread is splitting.
- Schedule a professional internal inspection if you have any doubt about the condition of the tire.
If the tire drops even a few PSI repeatedly after the repair, assume the seal is not reliable or that another leak exists. Repeated topping off is not a fix.
Tips for Roadside Emergencies
A puncture rarely happens in a clean garage. If you are stuck on the shoulder or in a parking lot, focus on safety and getting moving again without creating more risk.
- Use the spare if traffic is heavy or the shoulder is narrow.
- Do not crawl under a vehicle supported only by an emergency jack.
- If the tire is shredded, driven flat, or split, do not attempt a plug repair.
- Carry a pressure gauge and portable inflator so you can confirm the tire actually holds after the repair.
- If your vehicle has a tire pressure monitoring warning after repair, verify pressure manually before assuming the sensor is faulty.
Key Takeaways
- Only repair small punctures in the center tread area; sidewall and shoulder damage means the tire should be replaced.
- A DIY rope plug can seal a repairable tread puncture, but an internal patch-plug is the preferred long-term repair.
- Always support the vehicle safely with wheel chocks and jack stands before removing the wheel.
- Reinflate to the door-jamb pressure spec and confirm the repair with a soapy-water leak test before driving.
- If the tire was driven flat, loses pressure again, or shows bulges, cracking, or cord damage, replace it instead of repairing it.
FAQ
Can I Repair a Tire Puncture Without Removing the Wheel?
Sometimes, yes, especially with a basic plug kit. But removing the wheel makes the repair safer, gives you a better view of the damage, and helps you confirm the puncture is actually in a repairable area.
Is a Tire Plug Permanent?
A rope plug can last a long time, but it is not considered the best long-term repair method compared with an internal patch-plug. If the tire is otherwise worth keeping, a professional internal repair is the better option.
Can I Repair a Puncture in the Sidewall?
No. Sidewall punctures and damage near the shoulder are not considered safely repairable because that part of the tire flexes too much and is structurally critical.
How Big of a Hole Can Be Repaired in a Tire?
Only small punctures from items like nails or screws are typically repairable. If the hole is large, torn, irregular, or clearly widened, the tire should usually be replaced.
What if the Tire Went Flat While I Was Driving?
If the tire was driven while very low or flat, the inner sidewall may be damaged even if the outer tread puncture looks minor. In that case, have the tire inspected professionally or replace it.
Why Is My Tire Still Leaking After I Installed a Plug?
The hole may not have been prepared correctly, the plug may be seated at the wrong angle, the puncture may be too large, or there may be a second leak at the valve stem or bead. Remove the tire from service until you find the true cause.
Should I Use the PSI on the Tire Sidewall After the Repair?
No. Use the vehicle manufacturer’s recommended tire pressure from the driver’s door jamb sticker unless your exact vehicle setup requires something different. The sidewall number is usually the maximum pressure, not the normal operating pressure.
Do I Need to Replace Both Tires on the Same Axle if One Punctured Tire Is Not Repairable?
Maybe. If the remaining tire has very different tread depth, replacing both tires on the same axle is often the safest choice. On some AWD vehicles, even small tread differences can matter, so check your owner’s manual or ask a tire shop.
Need Parts for This Repair?
The right parts and supplies vary by vehicle.
Select your make and model to find compatible parts and accessories for your car.
Exact Fit
Parts that fit your make and model
Quality You Can Trust
Top brands and OEM quality options
Fast Shipping
Get the parts you need, delivered fast