

Note: This article contains affiliate links. If you click on these links and make a purchase, I may earn a small commission at no extra cost to you. This helps support my research and content. Read my full affiliate disclosure here.
What You’ll Need
A quick look at the tools and supplies commonly used for this job.
Tools
Parts & Supplies
- TPMS service kit
- Replacement valve stem core
- Soapy water in a spray bottle
- Shop towels
- Replacement TPMS sensor
This article is part of our Wheels and Tires Maintenance & Repair Guides.
A damaged TPMS sensor can cause false low-pressure warnings, missing tire readings, or a warning light that will not go away. The good news is that you can often narrow down the problem with a careful inspection before paying for a full tire dismount or replacing parts you do not need.
Most tire pressure monitoring system sensors live inside the wheel and connect to the valve stem, so damage often shows up around the stem first. Corrosion, cracked stems, bent hardware, leaking seals, impact damage from potholes, and dead internal batteries are the most common issues. On many vehicles, the sensor itself cannot be fully seen until the tire is removed from the wheel, but there is still a lot you can inspect from the outside.
This guide walks you through what to check, what counts as a pass or fail, and when you should stop and let a tire shop handle the next step. The goal is to confirm whether the problem is likely the sensor, the valve hardware, the tire, or the system communication.
How the TPMS Sensor Is Built and Why It Gets Damaged
Most direct TPMS systems use a sensor mounted inside each wheel. The sensor is attached to the valve stem or banded to the wheel, and it sends tire pressure data by radio signal to the vehicle. In many cars and trucks sold in the U.S., the sensor body sits inside the tire while the valve stem passes through the wheel.
That design means one small area does several jobs at once: it seals air pressure, supports the valve stem, protects the sensor body, and provides a path for inflation. If that area corrodes, bends, cracks, or loosens, you can get an air leak and a TPMS warning at the same time.
- Road salt and moisture can corrode aluminum valve stems and retaining nuts.
- Potholes, curbs, and tire machine contact can crack or break the sensor body.
- Overtightening the valve core, cap, or stem nut can damage the stem seal or threads.
- Rubber stem versions can dry out, split, or leak as they age.
- The internal sensor battery eventually dies, usually after several years, even if the sensor looks fine outside.
Safety and Preparation Before You Inspect
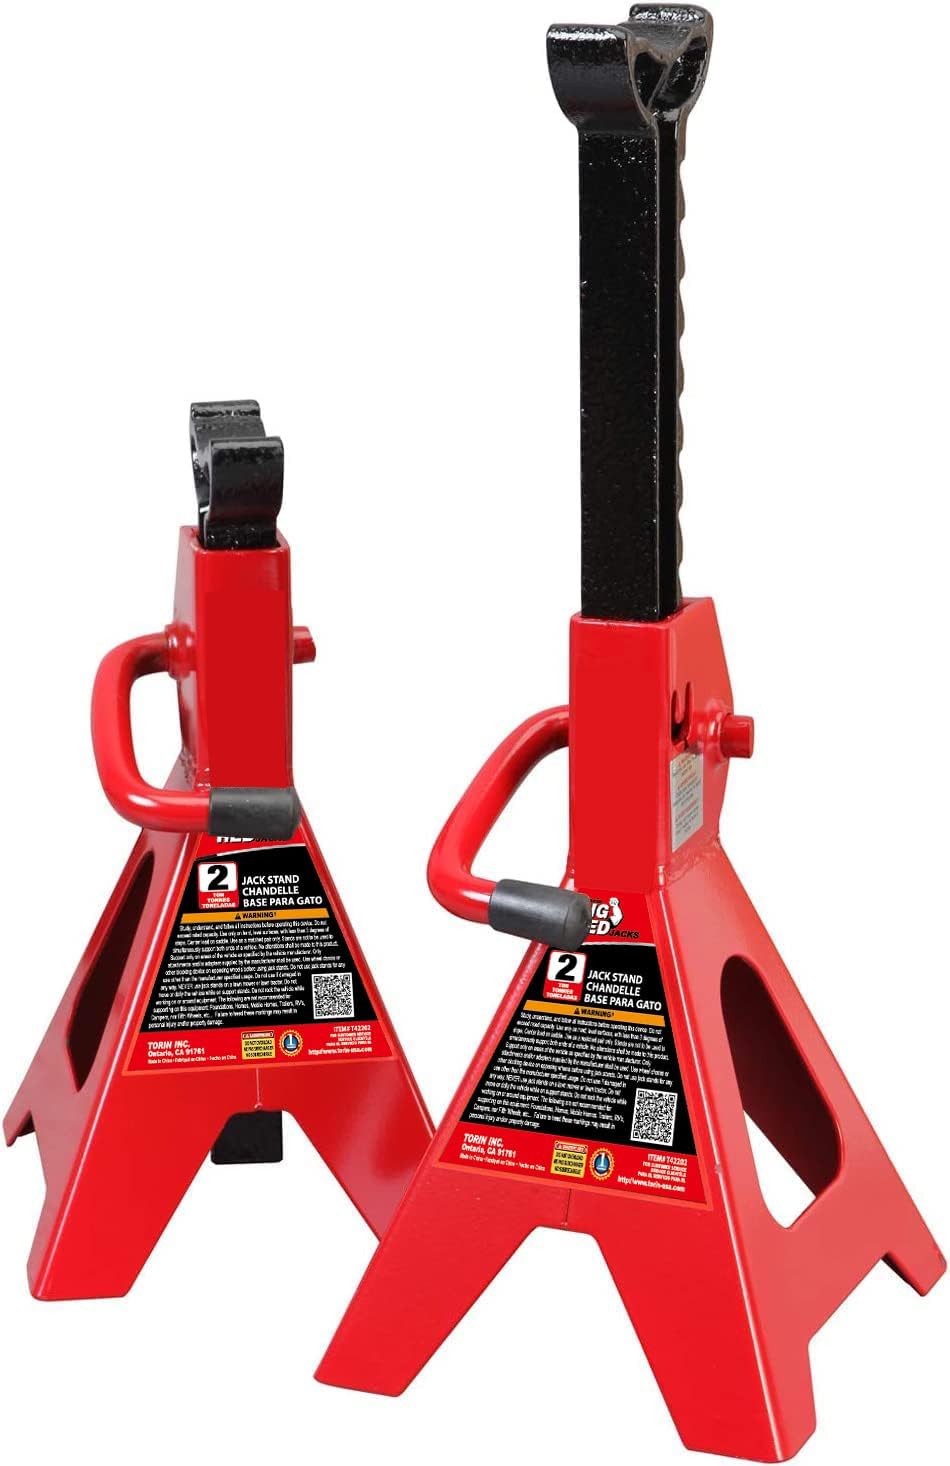
If you only need to inspect the visible valve stem area, you may be able to do that with the wheel on the vehicle. If you plan to remove the wheel for a closer look, work on flat ground, set the parking brake, chock the wheels, and support the vehicle securely with jack stands. Never rely on a jack alone.
A TPMS sensor can be damaged easily during tire service. Do not pry around the stem, do not force the valve cap if it is seized, and do not try to break the tire bead unless you have the right equipment. External inspection is safe for most DIYers; tire dismount and internal sensor replacement are usually best left to a tire shop.
Symptoms That Suggest Sensor Damage Instead of a Simple Low Tire
A TPMS warning light does not automatically mean the sensor is bad. First, confirm all four tires are inflated to the cold pressures listed on the driver door placard. If pressure is correct and the warning returns, damage or sensor failure becomes more likely.
- One tire repeatedly loses pressure near the valve stem.
- The TPMS light flashes first, then stays on solid, which often points to a system fault rather than low pressure.
- Your scan tool shows one wheel not reporting or reporting an implausible reading.
- A warning started right after tire replacement, wheel refinishing, pothole impact, or curb contact.
- You see corrosion, a bent stem, or missing hardware at the valve stem.
A steady low-pressure warning with an obviously soft tire is still most often a normal tire leak. A flashing TPMS lamp at startup usually points more strongly to a sensor, communication, or relearn issue.
Inspect the Valve Stem First
Look for Visible Stem Damage
Start with the easiest check: inspect the valve stem where it passes through the wheel. Use a good light and compare all four wheels. If one stem looks different, more corroded, more crooked, or sits at a different angle, that is an important clue.
- Bent or tilted valve stem
- Cracked rubber near the wheel surface on rubber-stem styles
- White, powdery, or crusty corrosion on aluminum stems
- Damaged or stripped valve threads
- A loose, missing, or uneven retaining nut on metal-stem designs
Pass or Fail at the Stem
A stem passes if it is straight, clean, dry, and firmly seated with no obvious corrosion or thread damage. It fails if it is loose, bent, cracked, badly corroded, or leaking. Severe corrosion on a metal TPMS stem is a common replacement trigger because the stem can break during inflation or later service.
Tools That Make This Job Easier


Check for Air Leaks Around the Sensor Area
A leak test is one of the most useful inspections you can do without taking the tire apart. Inflate the tire to the correct cold pressure, then spray soapy water on the valve opening, the base of the valve stem, and the area where the stem meets the wheel.
What Bubbling Tells You
- Bubbles at the valve tip usually point to a leaking valve core.
- Bubbles around the base of the stem usually point to a bad stem seal, corrosion, loose retaining nut, or physical damage.
- No bubbles but recurring warning lights may point to a dead sensor battery or a communication issue rather than an air leak.
A leaking valve core is not always the sensor itself, but if the stem is heavily corroded or the hardware is damaged, the safest repair may still be a full TPMS service kit or sensor replacement. Do not keep tightening parts blindly. Over-tightening can crack the stem or distort the seal.
Compare Pressure Reading Accuracy
Use a reliable tire pressure gauge to measure each tire when cold. Write the numbers down. Then compare those readings with what the vehicle display or TPMS scan tool reports, if your vehicle shows individual pressures.
A small difference of 1 to 3 psi may be normal depending on gauge accuracy, temperature, and update timing. A larger mismatch, a reading stuck at one number, or one wheel showing no data can point to a failing sensor.
Pass or Fail on Pressure Reporting
- Pass: TPMS readings update normally and stay close to your manual gauge readings.
- Borderline: One wheel lags behind but updates after driving; monitor it and check for relearn needs.
- Fail: One wheel never reports, shows impossible pressure, or differs wildly from the actual measured pressure.
Use the Warning Light Pattern as a Clue
The way the TPMS light behaves can help you decide whether you are chasing a pressure issue or a damaged sensor. Many vehicles use a solid light for low pressure and a flashing light followed by a solid light for a fault in the TPMS system.
Check your owner’s manual because warning logic varies by make and model. If the light flashes for about a minute every startup, that often means the vehicle cannot communicate properly with at least one sensor. Common causes include a dead internal battery, wrong sensor type, missing relearn after tire service, or physical sensor damage.
Inspect After Recent Tire or Wheel Service
If the problem started right after mounting new tires, swapping wheels, fixing a flat, or refinishing rims, inspect the service area carefully. TPMS sensors can be broken during bead removal, installed with old seals, or left with improperly torqued hardware.
- Missing valve cap or damaged threads after service
- Stem nut not seated evenly against the wheel
- Valve stem orientation different from the other wheels
- A new warning immediately after service even though tire pressures are correct
- Rapid leak beginning the same day as the tire work
If you see any of those signs, contact the shop that did the work before driving much farther. Many tire shops will recheck TPMS hardware or perform a relearn if the issue started after service.
What You Can Inspect with the Wheel Removed
Removing the wheel gives you a much better look at the valve stem, backside of the rim hole, and the general condition of the wheel area around the sensor. You still will not see the full sensor body unless the tire bead is broken, but you can often spot impact clues.
Check the Rim and Stem Relationship
- Look for cracks, gouges, or curb damage near the valve hole.
- Check whether the stem sits squarely in the wheel opening.
- Look for rust buildup or aluminum corrosion around the sealing surface.
- Use an inspection mirror to look behind the stem area for obvious looseness or broken pieces.
If the wheel itself is bent or damaged at the valve area, a new seal alone may not fix the leak. The wheel may need repair or replacement before a new sensor will seal properly.
When an Internal Inspection Is Necessary
Some damage cannot be confirmed from outside the tire. If the valve stem looks acceptable but the sensor will not report, leaks continue from the stem base, or the problem followed a hard impact, the tire may need to be dismounted for internal inspection.
What a Shop Will Look for Inside
- Cracked or broken plastic sensor housing
- Sensor body separated from the valve stem
- Bent metal stem base or damaged retaining hardware
- Seal, grommet, washer, or nut wear
- Evidence the sensor was struck by tire machine tools
- Corrosion where the stem and sensor mate together
An internal inspection is also the only way to confirm many battery-end-of-life issues when scan data is limited. If the battery is dead on a sealed sensor, the usual fix is complete sensor replacement, not battery replacement.
Recommended Tools for This Job


Common Pass or Fail Decisions
Use the inspection results together instead of relying on one clue. A TPMS sensor can look fine but fail electronically, and a stem can leak even if the radio side still works.
Usually Safe to Monitor
- All tire pressures match spec and the warning disappears after adjustment.
- No leaks are present and the stem shows no visible damage.
- The system reports all wheels normally after a short drive or relearn.
Usually Needs Service Soon
- Light corrosion on a metal stem with no active leak yet
- Valve core seepage
- Intermittent sensor communication after recent tire service
- A stem seal area that is dry now but shows staining from prior leakage
Usually Means Replace the Sensor or Hardware
- Bent, cracked, or heavily corroded valve stem
- Persistent bubbling at the stem base
- No sensor communication from one wheel after relearn and pressure confirmation
- Visible impact damage to the wheel area around the stem
- Sensor older than expected battery life and now reporting intermittently or not at all
When to Replace the Sensor Versus the Service Kit
A TPMS service kit usually includes the sealing grommet, washer, retaining nut, valve core, and cap for rebuildable metal-stem sensors. It is commonly used during tire replacement or when minor stem sealing issues appear. If the sensor electronics still work and the body is not damaged, a service kit may be enough.
Replace the full sensor when the housing is cracked, the battery is dead, the sensor will not communicate, the stem is integrated and damaged beyond simple resealing, or corrosion has compromised the structure. If one original sensor battery has failed after many years, the others may not be far behind, so some owners choose to replace a full set during tire replacement.
Mistakes to Avoid During Inspection
- Do not assume every TPMS warning means the sensor is bad; verify actual tire pressure first.
- Do not use pliers on the valve stem or cap unless you are prepared for the stem to break.
- Do not overtighten a loose stem nut without the proper torque spec.
- Do not ignore corrosion on aluminum stems, especially in salt-belt states.
- Do not mount or dismount tires near TPMS sensors without knowing the wheel’s safe tool position.
These mistakes can turn a minor leak or routine service into a broken sensor, a flat tire, or a wheel that has to be dismounted again.
When to Stop DIY and Call a Tire Shop
A DIY inspection is great for finding clues, but there is a limit to what you can confirm without tire equipment. If you find an active leak at the stem base, severe corrosion, a bent metal stem, or a flashing TPMS light that will not clear after setting pressures correctly, the next step should usually be professional tire service.
Ask the shop to scan all sensors, confirm sensor IDs, inspect the valve hardware, and check whether the vehicle needs a TPMS relearn. If a sensor is replaced, make sure the correct frequency and protocol are used for your vehicle.
Key Takeaways
- Always confirm actual cold tire pressure first, because many TPMS warnings are caused by low air rather than a failed sensor.
- Inspect the valve stem closely for bending, cracks, corrosion, loose hardware, and bubbling at the stem base.
- A flashing TPMS light, missing wheel reading, or large mismatch between gauge pressure and reported pressure points more strongly to sensor failure.
- Minor seal or valve core issues may be fixed with TPMS service hardware, but cracked, bent, corroded, or non-communicating sensors usually need replacement.
- If the tire must be dismounted to confirm damage, let a qualified tire shop handle the internal inspection and sensor service.
FAQ
Can I Inspect a TPMS Sensor Without Removing the Tire?
You can inspect the visible valve stem, check for leaks with soapy water, compare pressure readings, and scan for sensor data without removing the tire. However, you usually cannot confirm cracks in the internal sensor body unless the tire is dismounted.
What Does a Flashing TPMS Light Usually Mean?
On many vehicles, a flashing TPMS light followed by a solid light means a system fault rather than simple low pressure. That can mean a dead sensor battery, damaged sensor, wrong sensor, communication problem, or a relearn issue.
How Do I Know if the Leak Is From the Valve Core or the TPMS Sensor Seal?
Spray soapy water on both areas separately. Bubbles at the valve tip point to the valve core. Bubbles where the stem meets the wheel point to the stem seal, retaining hardware, corrosion, or stem damage associated with the sensor assembly.
Can a TPMS Sensor Be Damaged During Tire Replacement?
Yes. Sensors are commonly damaged by improper bead tool position, rough handling, reused hardware, or incorrect torque on the stem nut. If a warning started right after tire service, have the shop recheck that wheel first.
How Long Do TPMS Sensors Usually Last?
Many original TPMS sensors last about 5 to 10 years, depending on battery life, climate, mileage, and corrosion exposure. Once the sealed internal battery dies, the complete sensor usually must be replaced.
Can I Drive with a Damaged TPMS Sensor?
You may be able to drive if the tire is holding air, but you lose reliable pressure monitoring and may miss a real low-tire condition later. If the stem is leaking, bent, or heavily corroded, repair it soon to avoid a flat or stem failure.
Do I Need a Relearn After Replacing a TPMS Sensor?
Often yes. Many vehicles need the new sensor ID learned by the vehicle or a relearn procedure completed after replacement or tire rotation. Some systems self-learn after driving, while others require a scan tool or specific manual sequence.
Need Parts for This Repair?
The right parts and supplies vary by vehicle.
Select your make and model to find compatible parts and accessories for your car.
Exact Fit
Parts that fit your make and model
Quality You Can Trust
Top brands and OEM quality options
Fast Shipping
Get the parts you need, delivered fast