

Note: This article contains affiliate links. If you click on these links and make a purchase, I may earn a small commission at no extra cost to you. This helps support my research and content. Read my full affiliate disclosure here.
What You’ll Need
A quick look at the tools and supplies commonly used for this job.
Tools
Parts & Supplies
- Replacement tire if needed
- Soapy water solution
- Chalk or paint marker
- Valve cap
- Tire bead sealer
- Wire brush or abrasive pad
- Shop towels
This article is part of our Wheels and Tires Maintenance & Repair Guides.
A tire bead leak happens where the tire seals against the wheel rim, and it can cause a slow but frustrating loss of air even when the tread looks fine.
For DIY car owners, the key is to confirm the leak source before paying for a repair or replacing parts that are not the problem. A bead leak can mimic a nail puncture, a bad valve stem, or even a cracked wheel, so a careful diagnosis matters.
This guide walks you through the symptoms, the safest way to inspect the wheel and tire, how to use soapy water to pinpoint the leak, and how to decide whether the tire can be resealed or needs professional service.
What a Tire Bead Leak Is
The tire bead is the reinforced edge of the tire that sits tightly against the wheel rim. When that seal is compromised, compressed air escapes between the tire and the wheel instead of through the tread or valve stem.
Common causes include corrosion on the rim, dirt or old tire lubricant trapped on the bead seat, slight wheel damage, improper mounting, age-related tire hardening, or previous curb impact. On vehicles driven in snowy states, road salt often causes aluminum or steel wheel corrosion that lifts the tire slightly away from the rim.
A bead leak is usually a slow leak, but it can become faster in cold weather, after hitting potholes, or when the tire pressure drops enough that the bead no longer seals evenly.
Symptoms That Point to a Bead Leak
Before testing, look at the pattern of the air loss. A bead leak has some clues that set it apart from other tire problems.
- One tire repeatedly loses pressure over several days or weeks while the others stay stable.
- The tire checks out with no obvious nail, screw, or tread puncture.
- The leak seems worse after temperature swings or after the car sits.
- You see corrosion, white oxidation, or rust where the tire meets the rim.
- The tire was recently mounted, rotated, or repaired and started leaking afterward.
These symptoms do not prove the bead is leaking, but they make it more likely. You still need to rule out the easier and more common leak points first.
Safety Before You Start
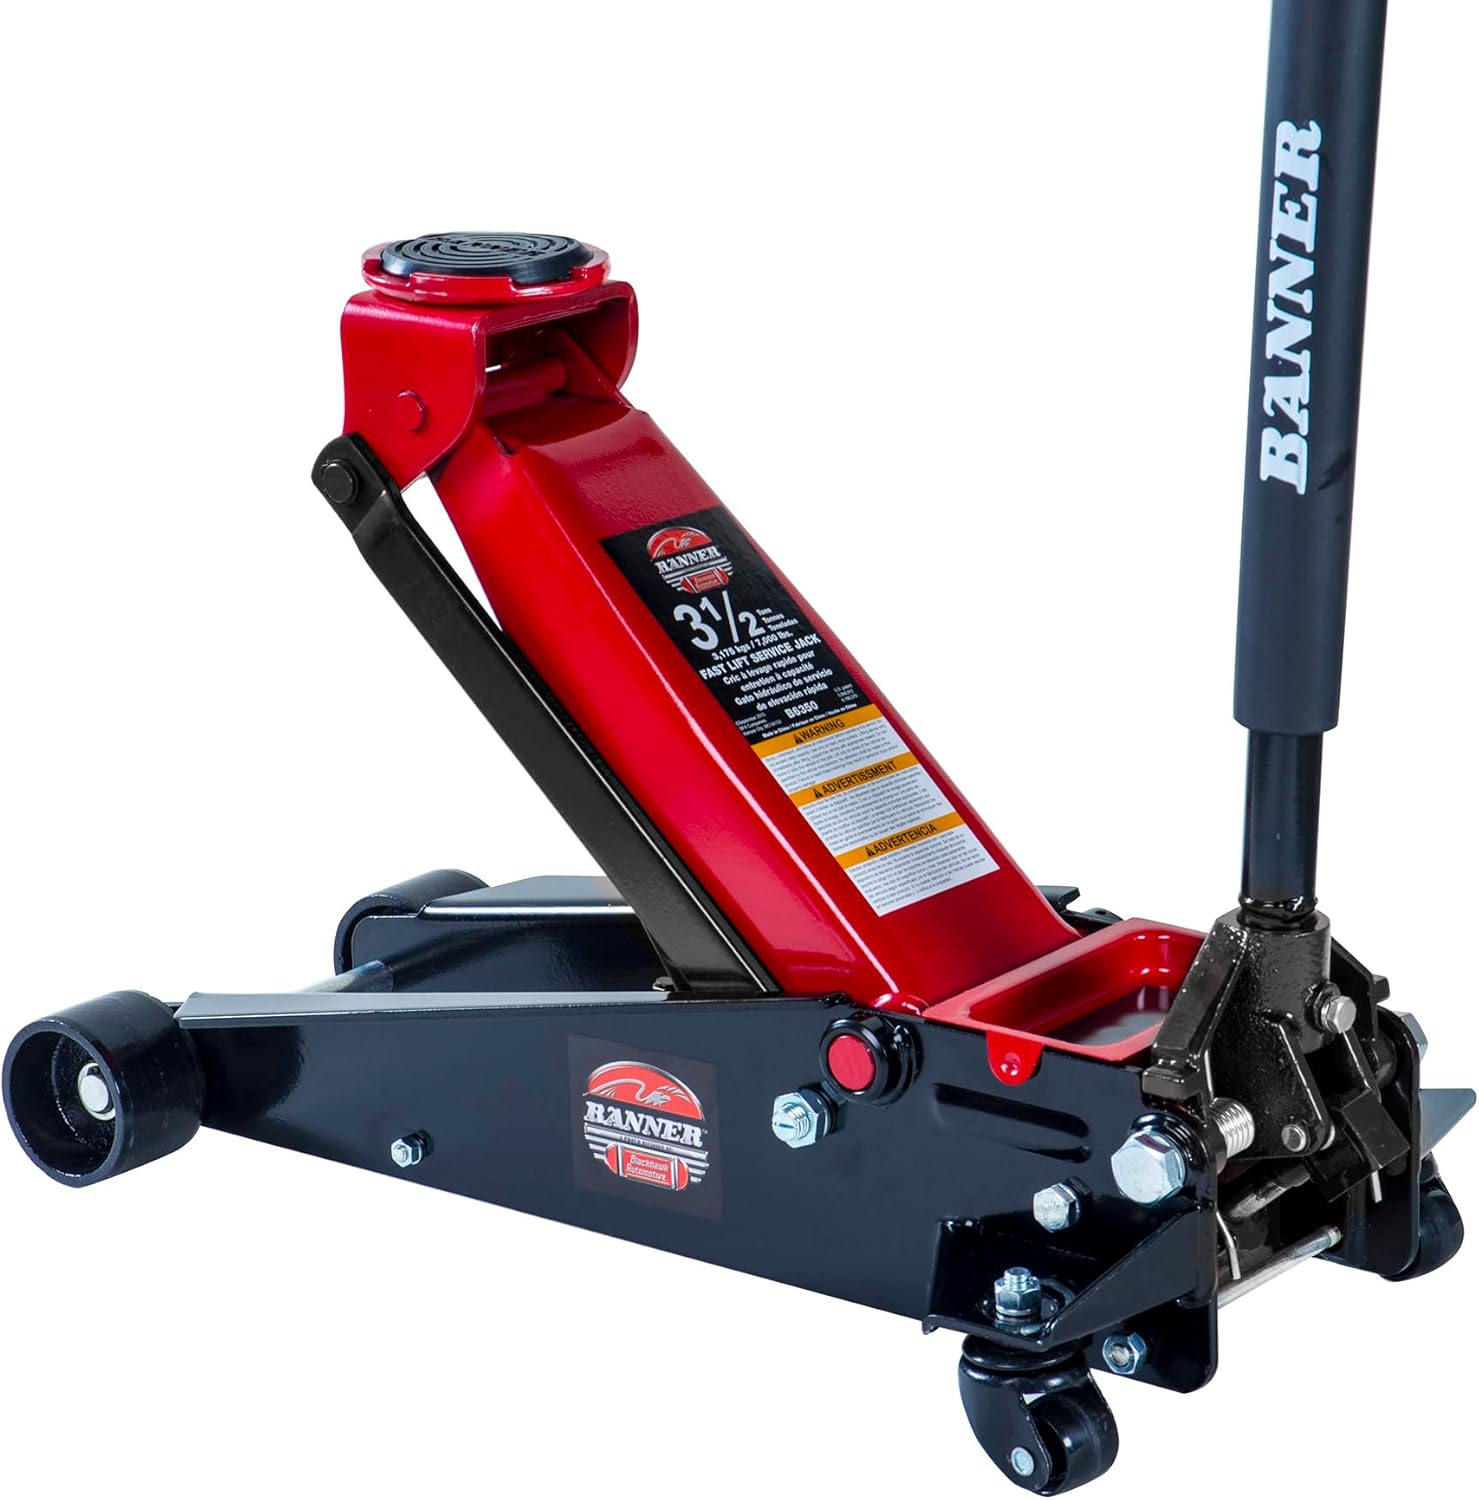
Do the inspection on a flat, solid surface. Set the parking brake, chock the wheels that stay on the ground, and never rely on a jack alone if you lift the vehicle. Use jack stands if the wheel needs to come off.
If the tire is extremely low, the sidewall is visibly damaged, or the bead appears partially unseated, do not drive on it to test further. Inflate it only enough to inspect safely, or have it handled by a tire shop.
Also avoid putting your face close to the bead area while inflating. A damaged wheel or tire can fail suddenly under pressure.
Tools and Materials That Help
You do not need specialty equipment to confirm most bead leaks. A few basic tools make the job easier and safer.
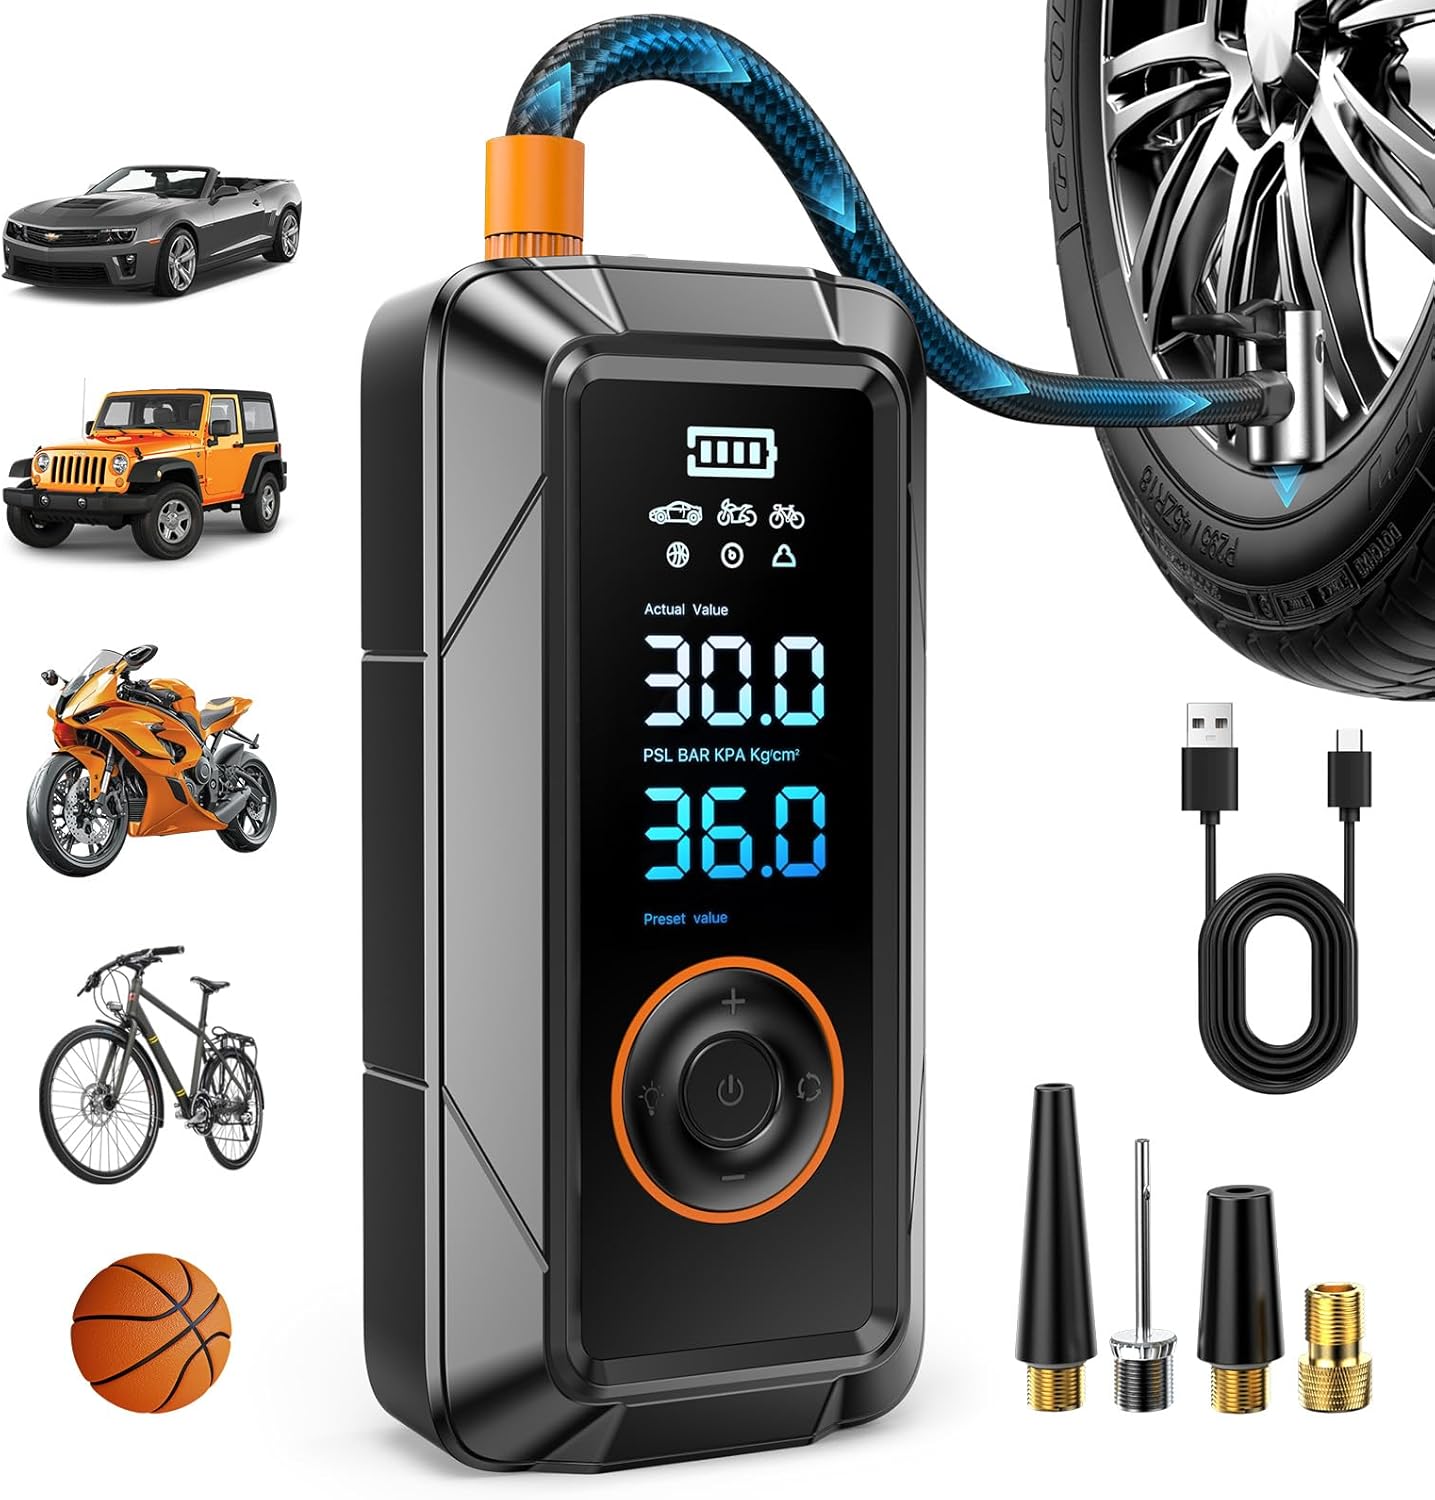
- A tire pressure gauge to verify pressure before and after testing.
- An air source to refill the tire to normal operating pressure.
- A spray bottle with water and dish soap to reveal escaping air bubbles.
- A flashlight for inspecting the bead seat and inner barrel area.
- Chalk or a paint marker to mark the exact leak location.
If the first inspection does not reveal the source, removing the wheel gives you much better access to the inner bead, which is often where a slow leak hides.
Rule Out Other Leak Sources First
Check the Valve Stem and Valve Core
Spray soapy water around the valve stem base and inside the valve opening. If bubbles form there, the problem is not the bead. A leaking valve core or cracked stem is very common and easier to fix.
Inspect the Tread and Shoulder
Look closely for nails, screws, staples, or cuts in the tread. Spray suspicious spots with soapy water. Also inspect the tire shoulder near the edge of the tread, since some punctures sit just outside the main contact patch.
Look for Wheel Damage
A bent rim can leak at the bead, but the real cause is the wheel, not contamination. Look for flat spots, gouges, curb rash that reaches the sealing area, or cracks in the rim. If you find a crack, stop driving on the wheel.
Consider TPMS Service Points
If your vehicle has a tire pressure sensor, the sealing grommet or valve hardware can leak too. Bubbling at the sensor valve assembly may get mistaken for a bead leak if you only glance at the area.
Tools That Make This Job Easier


How to Test for a Tire Bead Leak
The most reliable driveway test is a controlled soap-bubble check with the tire inflated to the correct pressure listed on the driver’s door sticker.
Start with the Tire Installed on the Vehicle
Park so you can access the outer face of the wheel. Inflate the tire to spec, then spray a generous ring of soapy water where the tire meets the rim. Work around the entire circumference slowly.
Watch for a cluster of small bubbles that continue to grow or reform. A few random foam spots from the spray are normal. A true leak produces active bubbling in the same place.
Rotate the Wheel and Repeat
Move the vehicle slightly or rotate the lifted wheel so you can inspect the full outer bead. Mark any suspect spot with chalk. If no leak shows on the outer bead, that does not rule the bead out yet, because many leaks occur on the inner side.
Remove the Wheel for a Full Inspection
If needed, loosen the lug nuts slightly, raise the vehicle safely, support it with jack stands, and remove the wheel. Lay it flat or stand it securely. Now spray the inner bead area just as carefully as the outer bead.
The inner bead often collects corrosion and moisture because it is harder to clean and inspect. If bubbling appears there, you have strong evidence of a bead leak.
Test Around the Entire Circumference
A bead leak may happen at one short section or at several points around the rim. Multiple bubbling areas usually point to corrosion or a rough sealing surface rather than a single impact point.
How to Interpret What You Find
Small, Steady Bubbles From One Short Section
This usually suggests localized corrosion, dirt on the bead seat, or a slight imperfection in the tire-to-rim seal. Many of these cases can be corrected by demounting the tire, cleaning the wheel, and resealing the bead.
Bubbles at Several Spots Around the Bead
This points more strongly to widespread rim corrosion, old hardened tire bead rubber, or poor prior installation. The wheel and tire both need closer inspection once separated.
No Bubbles at the Bead, but the Tire Still Loses Air
Recheck the valve stem, valve core, tread, and the inside of the wheel. Some leaks only show when the tire is wet enough, rotated into a certain position, or tested in a water tank at a tire shop.
Visible Wheel Corrosion or Flaking Metal
Corrosion buildup where the bead seats is one of the most common bead leak causes. On aluminum wheels, white powdery oxidation is typical. On steel wheels, rust scale can lift the tire away from the rim. This condition often requires the tire to be dismounted and the sealing area cleaned or refinished.
Bent Rim or Cracked Wheel
If the rim is bent at the sealing area, cleaning alone usually will not solve it. A cracked wheel should be replaced immediately. A bent wheel may sometimes be repaired by a qualified wheel shop, but replacement is often the safest choice.
Recommended Tools for This Job


Can You Fix It Yourself or Is It a Tire Shop Job
Diagnosing a bead leak is realistic for most DIY owners. Permanently repairing one is often a different story because the tire usually must be demounted from the wheel.
- DIY-friendly: confirming the leak, checking pressure loss over time, inspecting for corrosion, and removing the wheel for closer access.
- Usually shop-level: breaking the bead, cleaning the rim seat properly, applying bead sealer, remounting the tire, and rebalancing the wheel.
- Replacement territory: cracked wheels, severe rim corrosion, sidewall damage near the bead, or aged tires with hardened or damaged bead areas.
Aerosol sealants are not the right solution for a bead leak unless you are dealing with a short-term roadside emergency. They can contaminate the tire, complicate proper repair, and may not seal a corroded bead seat at all.
Common Root Causes Behind a Confirmed Bead Leak
Once the leak is confirmed, the next step is understanding why it formed. That helps you choose the correct repair and reduce the chance it comes back.
- Corrosion on the wheel bead seat from salt, moisture, or long-term neglect.
- Dirt, sand, or old mounting paste trapped between the tire bead and rim.
- Curb or pothole impact that slightly bends the rim flange or bead seat.
- Improper tire mounting or a tire that was not seated evenly.
- Aging tire rubber that has lost flexibility and no longer seals well.
If the same wheel keeps leaking across multiple tires, suspect the wheel first. If a newly mounted tire starts leaking on an otherwise decent wheel, installation quality or tire bead condition becomes more likely.
What Repair Usually Solves the Problem
The most common repair is to demount the tire, clean the bead seat thoroughly, inspect the wheel and tire bead, apply bead sealer if appropriate, then remount and rebalance. This is typically inexpensive compared with replacing the tire or wheel.
If the wheel sealing surface is deeply pitted, corroded, or bent, the shop may recommend a wheel repair or replacement. If the tire bead is torn, dry-rotted, or distorted, the tire should be replaced rather than forced back into service.
After the repair, monitor pressure for at least a week with a quality gauge. A good repair should stop the repeat pressure loss entirely or reduce it to normal seasonal variation.
When to Stop Driving and Get Immediate Help
Some slow leaks can wait a day or two for repair, but others should not.
- The tire loses a large amount of pressure overnight or within a few hours.
- The bead looks partially separated from the rim.
- You see sidewall cracking, bulges, cords, or bead damage.
- The wheel is visibly bent or cracked.
- The tire has been driven while severely underinflated.
Driving on a low tire can damage the sidewall internally, even if it later holds air. If that happened, have the tire inspected before continuing normal use.
How to Prevent Future Bead Leaks
Not every bead leak is preventable, but a few habits make them less likely, especially in rust-belt climates.
- Check tire pressure monthly so low pressure does not stress the bead seal.
- Wash wheels regularly in winter to reduce salt buildup and corrosion.
- Avoid curbing the wheel or hitting potholes at speed whenever possible.
- Have tires mounted by a shop that cleans the bead seat and inspects the rim.
- Replace old tires before the bead area hardens and loses flexibility.
Key Takeaways
- Use soapy water at the outer and inner bead to confirm active bubbling before assuming the tire itself is bad.
- Always rule out the valve stem, valve core, tread punctures, and wheel cracks before calling it a bead leak.
- Localized bubbling often means corrosion or contamination at the rim seat, which usually requires demounting the tire for a lasting repair.
- Do not rely on aerosol tire sealant as a permanent fix for a bead leak because it often masks the issue instead of solving it.
- If the wheel is cracked, badly bent, or the tire has bead or sidewall damage, stop driving and replace the damaged part.
FAQ
How Do I Know if My Leak Is From the Bead and Not a Nail?
Spray soapy water on the tread, sidewall, valve stem, and both bead areas. A nail leak will bubble at the puncture site in the tread or shoulder. A bead leak will bubble where the tire meets the rim.
Can a Tire Bead Leak Come and Go?
Yes. Temperature changes, wheel position, and tire pressure can affect how well the bead seals. Some leaks show up more in cold weather or after the vehicle sits for a while.
Can I Drive with a Slow Tire Bead Leak?
Only short-term and only if you keep the tire at proper pressure. Even then, it should be repaired soon. Driving while the tire is low can damage the sidewall and turn a simple seal issue into a tire replacement.
What Usually Causes a Tire Bead Leak on Older Wheels?
The most common cause is corrosion on the wheel where the tire bead seals. Road salt, moisture, and years of tire changes can create pitting or oxidation that prevents an airtight seal.
Can Tire Bead Sealer Fix the Problem Permanently?
Bead sealer can help when the wheel and tire are otherwise serviceable, but it should be used as part of a proper repair after the tire is demounted and the bead seat is cleaned. It is not a magic fix for cracked wheels or damaged tire beads.
Does a Bead Leak Mean I Need a New Tire?
Not always. Many bead leaks are caused by a dirty or corroded wheel and can be fixed without replacing the tire. You usually need a new tire only if the bead is damaged, the tire is old and hardened, or there is sidewall damage.
Why Does My Tire Only Lose Air After Hitting Potholes or Curbs?
Impacts can slightly bend the rim or disturb an already weak bead seal. If the leak started after an impact, inspect the wheel closely for deformation or cracks in addition to testing the bead.
Need Parts for This Repair?
The right parts and supplies vary by vehicle.
Select your make and model to find compatible parts and accessories for your car.
Exact Fit
Parts that fit your make and model
Quality You Can Trust
Top brands and OEM quality options
Fast Shipping
Get the parts you need, delivered fast