

Note: This article contains affiliate links. If you click on these links and make a purchase, I may earn a small commission at no extra cost to you. This helps support my research and content. Read my full affiliate disclosure here.
What You’ll Need
A quick look at the tools and supplies commonly used for this job.
Tools
This article is part of our Fuel System Maintenance & Repair Guides.
A damaged fuel tank is a fire risk and a drivability problem, so diagnosis should focus first on safety, then on confirming exactly where fuel or vapor is escaping.
Many fuel tank complaints start with a gas smell, a wet spot under the rear of the vehicle, or an EVAP check-engine light after the car was scraped, hit road debris, or developed rust underneath. The tricky part is that a bad tank can look a lot like a leaking fuel line, filler neck problem, loose pump seal, or evaporative emissions hose issue.
This guide walks through safe DIY checks you can do at home to determine whether the tank itself is cracked, punctured, rusted through, or damaged at a seam or mounting point. It also helps you decide when the car is unsafe to drive and when the smarter move is professional repair or replacement.
Symptoms That Point to Fuel Tank Damage
Before crawling under the vehicle, pay attention to the pattern of symptoms. A damaged tank usually causes problems that change with fuel level, parking angle, temperature, or how recently you filled up.
- A strong raw-fuel smell near the rear of the vehicle, especially after parking.
- A visible wet spot or drip under the tank area.
- Fuel economy suddenly dropping without another clear cause.
- Fuel leaking only when the tank is full or near full.
- A check-engine light with EVAP-related codes after an impact or rust exposure.
- Difficulty adding fuel because the EVAP system or vent path was damaged along with the tank.
If the odor is strongest near the front of the car or under the hood, the issue is more likely elsewhere in the fuel system. If the smell is concentrated near the filler door or the center-rear underside, the tank, filler neck, vent hoses, or pump module seal move higher on the suspect list.
Safety First Before You Inspect Anything
Gasoline vapors ignite easily. Do not diagnose a suspected fuel leak in an enclosed garage with water heaters, space heaters, extension-light bulbs, cigarettes, or any other ignition source nearby.
- Work outside or in a very well-ventilated area.
- Let the exhaust cool fully before inspecting underneath.
- Wear gloves and safety glasses.
- Never use a drop light with a hot incandescent bulb near fuel.
- Do not spray random chemicals around a wet fuel leak to ‘see what happens.’
- If fuel is actively dripping, do not start the engine unless you must move the vehicle to a safer location.
If you see steady dripping, a puncture, or fuel running down the tank seam, treat the vehicle as unsafe to drive until you know the exact source.
Tools and Setup for a Useful Inspection
You do not need to remove the tank to do a first-pass diagnosis, but you do need enough visibility to separate a tank problem from a hose, sender seal, or filler neck leak.
Best Setup
Park on level ground, set the parking brake, chock the wheels, and raise the vehicle only if the tank area cannot be viewed safely from the side. Support it with jack stands, not just a floor jack.
Helpful Prep
If the underside is coated in road grime, lightly clean the exterior of the suspected area with brake cleaner and rags, then let it dry. A clean surface makes it much easier to tell whether fresh fuel is seeping from the tank body, a seam, or a hose connection.
Common Causes of Fuel Tank Damage
Understanding how tanks usually fail helps you inspect the right areas first.
- Road debris puncture from rocks, scrap metal, or impact with an object in the road.
- Rust-through on older steel tanks, often at seams, straps, or low spots that trap moisture.
- Damage from a curb strike or off-road impact that cracks a plastic tank or distorts a metal one.
- Failure around the fuel pump module opening or lock ring area after prior service.
- Tank strap or shield problems that rub through the tank shell over time.
- Damage near the filler neck or vent connections after collision work or corrosion.
A tank can also appear damaged when the actual leak comes from the tank seal, fuel line quick-connect, EVAP vent hose, or filler hose above the tank. That is why visual confirmation matters.
Tools That Make This Job Easier


Step-by-Step Inspection Procedure
Check for External Signs Before Touching Anything
Look under the vehicle for fresh wetness, staining, or dirt washed clean by leaking fuel. A damaged tank often leaves a shiny damp patch or a darker stain on plastic. On metal tanks, rust bloom and wet streaks around a seam are major clues.
Inspect the Lowest Point of the Tank
Punctures and scrape damage usually show up on the bottom surface. Use a flashlight and inspection mirror to look for gouges, flattened sections, or small holes. Even a tiny puncture can leak significantly when the tank is full or fuel sloshes during turns.
Inspect Seams, Corners, and Molded Joints
Metal tanks commonly fail at seams, while plastic tanks may crack near corners, molded contours, or mounting stress points. If you see dampness starting exactly along a seam rather than running down from above, the tank itself is more likely at fault.
Look Above the Tank as Much as Possible
Fuel can drip down and make the tank look bad even when the real source is above it. Use the mirror to inspect the pump module area, vent hoses, filler hose, and line connections. If the top of the tank is wet, the tank shell may be fine and the leak may be coming from a seal or hose.
Inspect the Filler Neck Area
A cracked filler hose, rusted filler neck, or split vent tube can cause leaks mainly during refueling or when the tank is topped off. If the smell appears only after filling the tank, inspect this area carefully before blaming the tank body.
Check Tank Straps and Shields
A loose or rusted strap can let the tank shift. Over time, rubbing between the tank and shield or strap can wear through the shell. Look for shiny abrasion marks, grooves, or contact points that line up with wetness.
How Fuel Level Changes the Diagnosis
One of the best clues is whether the leak changes with tank level.
- Leaks only when full often point to upper tank cracks, filler neck issues, vent hoses, or pump seals.
- Leaks at any fuel level, especially from the bottom, suggest a puncture, rust hole, or lower shell crack.
- A smell with no liquid leak may indicate EVAP vapor leakage rather than liquid fuel loss.
- A leak that appears on slopes may mean a crack on one side of the tank or a damaged rollover/vent fitting.
If it is safe to do so, note the fuel gauge reading when the smell or leak appears. That information is useful because it helps isolate whether the problem is low on the tank, high on the tank, or at the fill and vent plumbing.
Using Trouble Codes and EVAP Clues
A damaged fuel tank does not always set a code, but EVAP-related leaks often do. Scan the vehicle and note any current or pending codes before clearing anything.
- Small or large EVAP leak codes can appear when the tank, vent line, or top seal leaks vapor.
- Codes that return soon after an impact or bottom-out event make physical damage more likely.
- Refueling problems combined with EVAP codes may point to vent path damage rather than a hole in the tank shell.
- No codes does not rule out a tank leak, especially if the leak is liquid fuel from the bottom.
If you have access to a smoke machine and know how to use it safely on the EVAP system, it can help locate vapor leaks around the tank, pump seal, and vent connections. Do not use improvised pressure sources or shop air directly into the fuel tank.
Recommended Tools for This Job
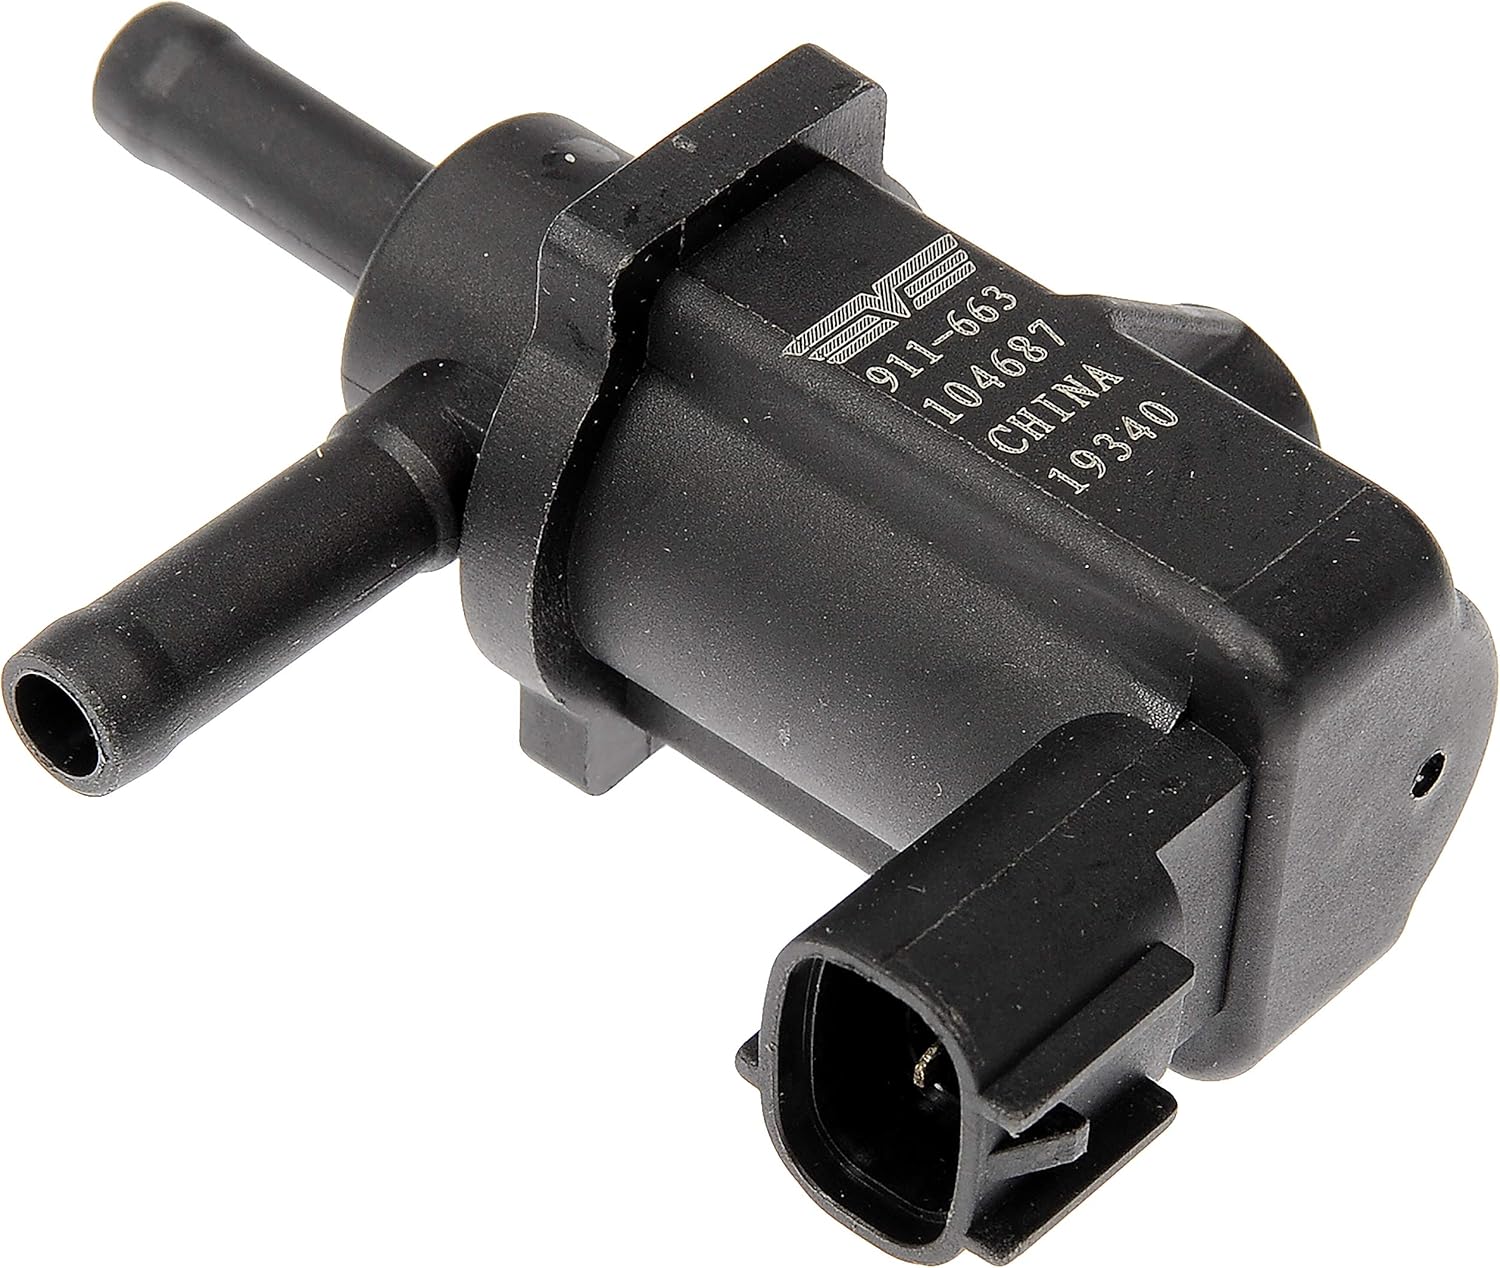


How to Tell a Bad Tank From Other Fuel Leaks
This is the part that saves unnecessary tank replacement. Many owners see fuel on the tank and assume the shell failed when the real issue is above or beside it.
Signs the Tank Itself Is Damaged
- Visible crack, puncture, scrape-through, or rust hole in the tank body.
- Fresh seepage beginning at a seam or directly from the shell surface.
- Damage lines up with an impact mark or rubbing point from a strap or shield.
- Leak persists even after you confirm hoses and fittings above the tank are dry.
Signs the Tank May Not Be the Problem
- Wetness starts at the top of the tank and runs downward.
- Leak happens mainly while filling the tank.
- Fuel smell is present but no liquid fuel is found, suggesting an EVAP vapor leak.
- The tank surface is dry but nearby lines, quick-connects, or filler components are wet.
When the Vehicle Is Unsafe to Drive
Do not drive the vehicle if any of these conditions are present.
- Fuel is actively dripping or pooling under the vehicle.
- The leak is near the exhaust or any hot surface.
- You can smell strong raw fuel inside the cabin or immediately outside the car after shutdown.
- The tank is visibly punctured, badly dented, or hanging due to strap damage.
- The leak worsens when the engine is running or when the tank is filled.
In those cases, the safest plan is towing. A short drive can turn a manageable repair into a fire hazard or leave you stranded with a rapidly dropping fuel level.
What the Results Mean
Likely Damaged Tank
If you find a crack, puncture, rust perforation, or seepage from the tank shell or seam, replacement is usually the proper repair. Patch products are sometimes sold as a temporary idea, but they are rarely a dependable or safe long-term fix on a modern road vehicle.
Likely Top-side Component Leak
If the shell looks intact but the top side is wet, suspect the fuel pump module seal, fuel line connector, vent hose, rollover valve area, or filler hose. This may still require dropping the tank, but the tank itself may not need replacement.
Likely EVAP Vapor Issue
If you have fuel odor and EVAP codes but no liquid leak, inspect vent hoses, the purge/vent system, canister plumbing, and the fuel cap sealing surfaces. Vapor leaks can trigger the same worry as a tank failure, but the repair path is different.
Next Steps After Diagnosis
Once you have narrowed down the source, choose the repair based on confirmed evidence, not guesswork.
- If the tank shell is damaged, plan for tank replacement and inspection of straps, shields, filler hoses, and electrical connections while the tank is out.
- If rust caused the failure, inspect surrounding metal lines and strap mounts because they often deteriorate together.
- If a hose or seal is leaking, replace the failed component and recheck for seepage after refueling.
- If you found impact damage, inspect exhaust routing, EVAP lines, and tank mounting points for hidden secondary damage.
After repair, confirm the fix by checking for fresh odor, wetness, and EVAP codes over the next few drive cycles. A proper repair should leave the underside dry and eliminate raw fuel smell after parking.
Key Takeaways
- A leak that changes with fuel level often helps separate a tank shell problem from a filler, vent, or pump-seal issue.
- If fuel is actively dripping or pooling, stop driving and tow the vehicle instead of risking ignition near the exhaust.
- Clean the tank exterior before judging the source, because fuel from hoses or the pump seal often runs down and mimics tank failure.
- Visible punctures, cracks, seam seepage, or rust holes usually mean the tank itself needs replacement rather than a temporary patch.
- EVAP codes and gas smell without liquid fuel often point to vapor leaks around the tank, cap, or vent system instead of a hole in the tank body.
FAQ
Can I Drive with a Damaged Fuel Tank?
If the tank is actively leaking, visibly punctured, or producing a strong raw-fuel smell, it is not safe to drive. The safest option is towing. Even a small leak can worsen with sloshing, heat, or vibration.
How Do I Know if the Fuel Tank Is Leaking and Not a Fuel Line?
A tank leak usually starts at the shell, seam, or a clearly damaged area on the tank. A line leak often appears as wet tubing or dripping from a connection point, then runs onto the tank or nearby parts.
Why Does Fuel Only Leak After I Fill the Tank?
That pattern often points to an upper-tank crack, bad pump module seal, filler neck hose problem, or vent hose issue. A lower tank puncture usually leaks regardless of fill level.
Will a Damaged Fuel Tank Trigger a Check-engine Light?
It can, especially if the damage causes an EVAP vapor leak. However, a liquid fuel leak from the bottom of the tank may not always set a code, so visual inspection is still essential.
Can a Plastic Fuel Tank Be Repaired?
Some specialty repairs exist, but for most DIY situations a cracked or punctured tank is best handled by replacement. The risk of a failed patch and continuing vapor leakage is usually not worth it.
What Does Rust on a Fuel Tank Mean?
Surface rust alone does not confirm a leak, but deep scaling, damp rust streaks, and flaking metal at seams or strap contact points are strong warning signs that the tank may be thinning or perforated.
What Should I Inspect if the Tank Looks Wet on Top?
Check the fuel pump module seal, quick-connect fittings, vent hoses, rollover valve area, and filler hose. Wetness on top commonly means the tank body is not the real source.
Need Parts for This Repair?
The right parts and supplies vary by vehicle.
Select your make and model to find compatible parts and accessories for your car.
Exact Fit
Parts that fit your make and model
Quality You Can Trust
Top brands and OEM quality options
Fast Shipping
Get the parts you need, delivered fast