

Note: This article contains affiliate links. If you click on these links and make a purchase, I may earn a small commission at no extra cost to you. This helps support my research and content. Read my full affiliate disclosure here.
Repair Snapshot
Use a pro if the balancer is seized, your engine has very limited front-end access, or the job requires special timing cover or radiator removal. Professional help is also smart if you do not have a balancer puller/installer and a reliable torque procedure for your engine.
This article is part of our Engine Maintenance & Repair Guides.
Replacing a harmonic balancer is usually a straightforward front-engine repair, but it has a few high-stakes details: safe access, proper removal, and correct installation depth and torque.
The harmonic balancer, also called the crankshaft damper, absorbs engine vibration and helps protect the crankshaft from damaging torsional shock. When the rubber isolator separates, the outer ring can wobble, squeal, throw the belt out of line, or even damage the crank sensor or timing cover.
On many vehicles, the job means removing the serpentine belt, loosening a very tight crankshaft bolt, pulling the balancer off with the correct tool, and pressing the new one on evenly. The exact torque spec and access steps vary by engine, so always compare this guide with a repair manual or factory service information for your vehicle.
Before You Start
Confirm the harmonic balancer is actually the problem before tearing into the front of the engine. A failing balancer often causes visible wobble at idle, belt chirping, unexplained vibration, a separated rubber ring, or accessory belt misalignment. Some engines may also set a crankshaft position sensor code if the reluctor relationship changes.
- Park on a level surface, set the parking brake, and chock the wheels.
- Disconnect the negative battery cable before working near the crank pulley or starter area.
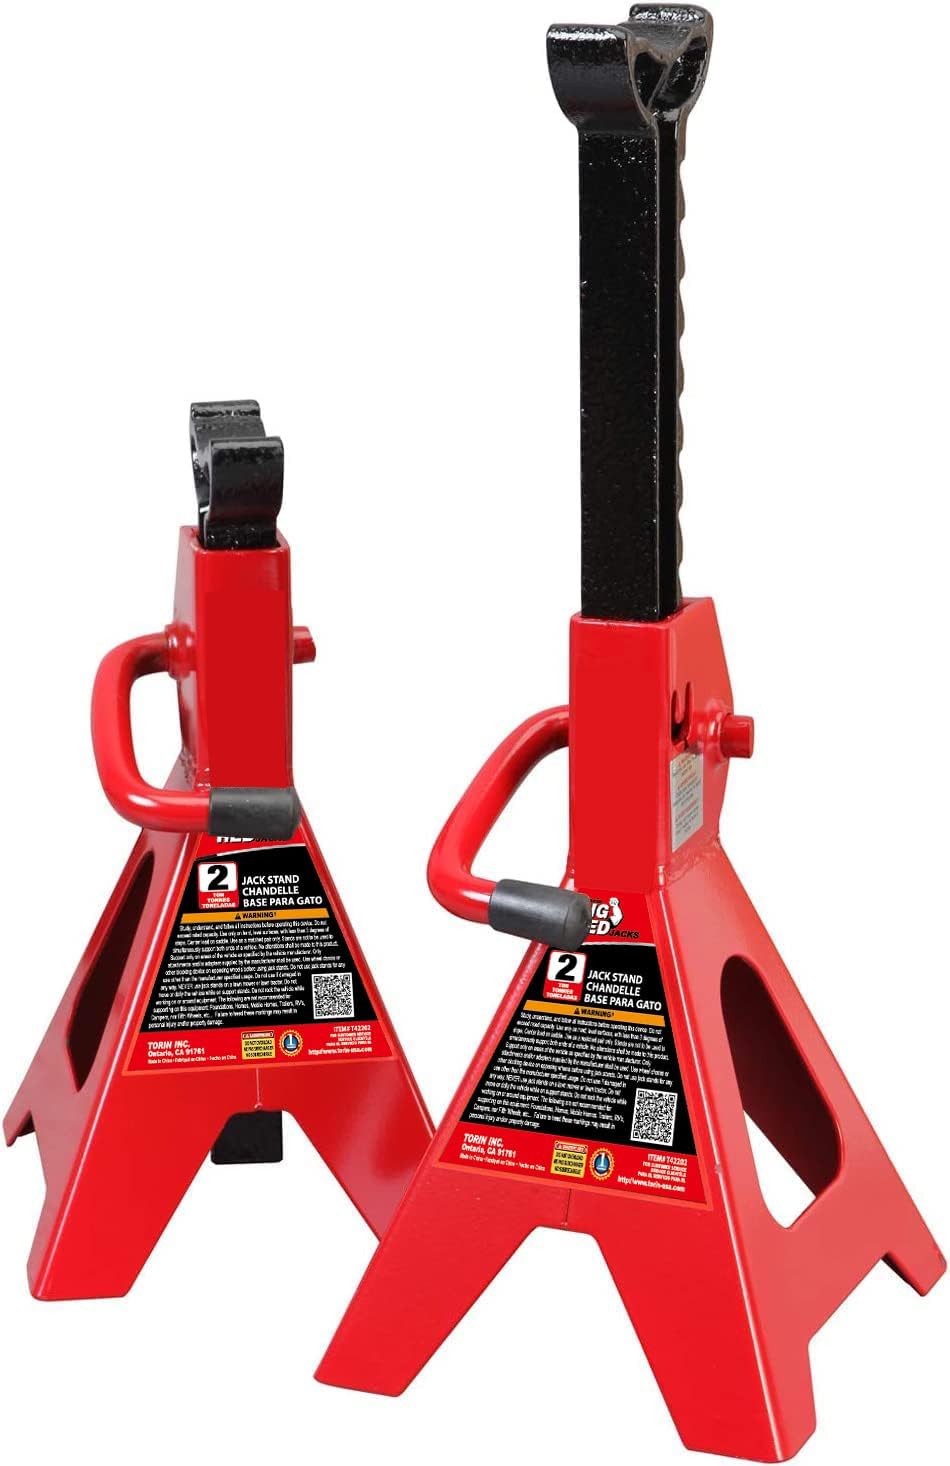
- If access requires raising the vehicle, support it securely with jack stands under approved lift points.
- Take a photo of the belt routing before removal.
- Check whether your engine uses a torque-to-yield crank bolt that must be replaced.
On some transverse engines, you may need to remove a splash shield, passenger-side wheel, or inner fender liner for access. On trucks and rear-wheel-drive vehicles, you may work mostly from the front. If the radiator or cooling fan sits close to the pulley, protect the fins and shroud while using long tools.
What the Harmonic Balancer Does and Why It Fails
The balancer mounts to the front of the crankshaft. Its hub connects to the crank, while an outer ring and rubber damper absorb twisting pulses created every time the engine fires. That damping effect helps reduce vibration, protects the crankshaft, and keeps belt-driven accessories running smoothly.
Most failures happen when the rubber isolator ages, cracks, or separates from heat, oil contamination, or mileage. The outer ring may shift forward, rotate out of position, or wobble. In severe cases, the belt can walk off the pulley grooves or the ring can contact nearby components.
A bad balancer can sometimes be confused with an accessory pulley bearing, belt tensioner problem, or bent pulley. If the engine is running, watch the balancer carefully from a safe distance. If the outer ring visibly oscillates while the center hub stays true, the balancer is likely done.
Removal Procedure
Gain Access to the Front of the Engine
Remove any plastic engine covers, intake ducting, splash shields, or fan shrouds that block access. If needed, raise the vehicle and remove the right-front wheel and fender liner. Keep fasteners organized because access hardware varies widely by vehicle.
Relieve Belt Tension and Remove the Serpentine Belt
Use the belt tensioner with the correct wrench, ratchet, or serpentine belt tool and slip the belt off one pulley. Remove the belt from the harmonic balancer pulley and inspect it. If it is cracked, glazed, oil-soaked, or stretched, replace it now rather than reusing it.
Loosen the Crankshaft Bolt
This is often the hardest part of the job. The crank bolt may be extremely tight and may also have thread locker from the factory. Use a proper crankshaft holding tool if the service manual calls for one. On some engines, you can lock the flexplate or flywheel, while others require a holding fixture on the balancer itself. Avoid jamming screwdrivers into pulleys or starter teeth unless a trusted service method specifically allows it.
Use a breaker bar and the correct impact-rated or standard socket. If access and manufacturer guidance allow, an impact wrench can remove the bolt quickly, but many DIYers still need a way to keep the engine from turning. Once loose, remove the bolt and washer and set them aside only if they are reusable.
Pull the Harmonic Balancer Off the Crankshaft
Do not pry behind the balancer or hammer it off. Thread the correct puller bolts into the balancer hub and use a harmonic balancer puller to draw it off the crankshaft snout evenly. Make sure the bolts engage enough threads and are the correct length so they do not damage components behind the balancer.
As the balancer comes off, watch for a woodruff key, alignment feature, or reluctor relationship, depending on engine design. Some balancers slide off easily once the initial grip breaks loose; others fight all the way. If it binds badly, stop and verify you are pulling from the hub area, not from the outer ring.
Tools That Make This Job Easier


Inspection Before Installation
With the old balancer removed, inspect everything you can now reach. A new balancer installed over a damaged crank snout or leaking front seal may not last long.
- Check the crankshaft snout for burrs, grooves, rust, or damaged threads.
- Inspect the keyway and key for wear, deformation, or looseness.
- Look at the front main seal for active oil leakage.
- Inspect the timing cover and crank sensor area for rubbing marks.
- Compare the old and new balancers for diameter, offset, keyway position, and pulley grooves.
Clean the crank snout and balancer bore with brake cleaner and a lint-free rag. Light surface corrosion can be cleaned carefully, but deep grooves or obvious crank damage may require more than a simple balancer replacement. If the front crank seal is leaking and easily accessible with the balancer off, this is usually the best time to replace it.
Installation Procedure
Start the New Balancer Correctly
Align the keyway or indexing feature and start the new balancer onto the crankshaft by hand. It should begin straight. If it immediately cocks to one side, remove it and realign it. For many engines, a light film of clean engine oil on the crank snout or seal surface is acceptable, but follow your vehicle’s service information. Some manufacturers call for dry installation on certain surfaces.
Use an Installer Tool, Not the Crank Bolt, to Press It On
The safest method is a harmonic balancer installer tool that threads into the crankshaft and presses the balancer on evenly. This prevents thread damage and reduces the risk of forcing the balancer on crooked. Do not hammer the balancer into place, and do not assume the crank bolt is meant to draw it fully on unless the service information specifically says that is acceptable.
Continue pressing the balancer on until it seats fully at the specified depth. On many engines, you will feel the installer effort change once the hub seats. Compare the installed position with your old balancer photos or service data if you are unsure.
Install and Torque the Crank Bolt
Install the crank bolt and washer using the exact manufacturer procedure. This may require a new bolt, a specific lubricant under the bolt head, thread locker on the threads, or a torque-plus-angle method. There is no universal torque spec for harmonic balancer bolts. Some are simply torqued in lb-ft, while others are tightened to a base torque and then turned an additional number of degrees.
Hold the crankshaft with the proper tool and torque the bolt with a calibrated torque wrench. If the engine uses torque-to-yield hardware and you reuse the old bolt, it may loosen later or clamp incorrectly. That can destroy the new balancer or damage the crankshaft.
Recommended Tools for This Job


Reassembly and Final Checks
Reinstall the serpentine belt using your belt routing diagram or photo. Make sure every rib is fully seated in every pulley groove before releasing the tensioner. Reinstall any removed covers, shrouds, shields, liners, and the wheel if it was removed.
Reconnect the battery and inspect the area one more time. Verify no tools are left in the engine bay, the belt is centered on the balancer pulley, and no wiring or hoses are pinched near the crank pulley.
- Start the engine and watch the balancer at idle.
- Listen for chirping, scraping, or knocking from the front of the engine.
- Check that the belt tracks smoothly with no side-to-side movement.
- Look for oil leakage at the front main seal area.
- Test-drive the vehicle and recheck the bolt area and belt alignment afterward if accessible.
A properly installed balancer should rotate true with no wobble. If the engine still vibrates, do not assume the new part is defective right away. Recheck installation depth, keyway engagement, belt alignment, and whether another accessory pulley or engine mount is causing the vibration.
Common Mistakes to Avoid
Most harmonic balancer problems after replacement come from installation mistakes rather than bad parts. Taking your time here matters more than rushing through removal.
- Pulling on the outer ring instead of the hub and ruining the old balancer before diagnosis is complete.
- Using a three-jaw puller where the manufacturer expects a threaded balancer puller.
- Hammering the new balancer on and damaging the thrust surfaces, crank threads, or internal bond.
- Reusing a one-time-use crank bolt.
- Guessing at torque specs instead of using service information.
- Ignoring a worn belt, leaking front seal, or damaged keyway while everything is apart.
If the crank bolt torque procedure seems unclear, stop and get the exact factory or professional service specification. The correct clamping force is critical on this repair.
When the Job Gets More Complicated
Some vehicles turn a basic balancer replacement into a larger front-engine project. Tight engine bays, stuck crank bolts, rust, or integrated trigger wheels can add a lot of time. A few engines also require front seal protectors, specific alignment tools, or extra clearance by moving the radiator fan or even supporting the engine to remove a mount bracket.
If the balancer has spun on the crank, the keyway is damaged, or the hub refuses to seat fully, do not force it. Those issues can point to crankshaft damage, incorrect parts, or a distorted hub. At that point, professional diagnosis is cheaper than damaging the engine nose or stripping the crank threads.
Key Takeaways
- Use a proper balancer puller and installer tool instead of prying, hammering, or forcing the part on with the bolt.
- Always verify the crank bolt torque procedure for your exact engine, especially if it uses a torque-to-yield bolt.
- Inspect the crank snout, keyway, front seal, and belt while the balancer is off so you do not repeat the job.
- If the balancer will not come off or seat straight, stop and correct the cause before damaging the crankshaft.
- A new balancer should run perfectly true with no wobble, belt walk, or front-engine vibration.
FAQ
Can I Replace a Harmonic Balancer Without a Puller?
Usually no. Most balancers need a dedicated puller that threads into the hub. Trying to pry or hammer it off can damage the balancer, timing cover, crankshaft, or front seal.
Can I Install a Harmonic Balancer by Tightening the Crank Bolt?
Not as a general rule. Many engines require an installer tool to press the balancer on squarely. Using only the crank bolt can strip threads, under-seat the balancer, or damage the new part unless the manufacturer specifically allows that method.
Do I Need to Replace the Crankshaft Bolt?
Often yes. Many modern engines use a torque-to-yield crank bolt that should not be reused. Check service information for your exact engine before reassembly.
What Are the Signs of a Bad Harmonic Balancer?
Common signs include visible pulley wobble, engine vibration, belt chirp, belt misalignment, a separated rubber ring, or a pulley that appears to walk forward or backward as the engine runs.
Should I Replace the Serpentine Belt at the Same Time?
If the belt shows cracks, glazing, frayed edges, oil contamination, or age-related wear, yes. Since the belt has to come off anyway, replacement is often cheap insurance.
Do I Need to Replace the Front Crankshaft Seal Too?
Only if it is leaking, damaged, or easy to access while the balancer is off. Many DIYers replace it proactively if there is any sign of seepage because labor overlap is high.
Why Is My Engine Still Vibrating After Replacing the Harmonic Balancer?
Possible causes include incorrect installation depth, an improperly torqued crank bolt, a damaged keyway, belt misalignment, a bad accessory pulley, or unrelated issues like worn engine mounts.
Is Harmonic Balancer Replacement the Same on Every Engine?
No. Access, bolt torque, holding methods, and installation procedures vary a lot by engine design. Always verify the exact procedure and specifications for your vehicle before starting.
Need Parts for This Repair?
The right parts and supplies vary by vehicle.
Select your make and model to find compatible parts and accessories for your car.
Exact Fit
Parts that fit your make and model
Quality You Can Trust
Top brands and OEM quality options
Fast Shipping
Get the parts you need, delivered fast