

Note: This article contains affiliate links. If you click on these links and make a purchase, I may earn a small commission at no extra cost to you. This helps support my research and content. Read my full affiliate disclosure here.
Repair Snapshot
Use a mechanic if the switch is hard to access, the brake pedal bracket is damaged, or electrical testing shows wiring, fuse, BCM, or interlock problems instead of a bad switch.
This article is part of our Electrical System Maintenance & Repair Guides.
Replacing a brake light switch is one of those small repairs that can solve several annoying and important problems at once. A failed switch can leave your brake lights stuck on, keep them from turning on at all, prevent the shifter from coming out of Park, or disable cruise control.
On most vehicles, the brake light switch is mounted near the top of the brake pedal under the dashboard. That usually makes the job more awkward than difficult. With a good light, the right replacement part, and a careful approach to switch adjustment, many DIY owners can handle this repair in under an hour.
This guide covers how the switch works, how to confirm it is actually the problem, how to remove the old switch, and how to install and test the new one so the brake lights and pedal operation work correctly.
What the Brake Light Switch Does
The brake light switch is usually a plunger-style or twist-lock electrical switch that changes state when you press or release the brake pedal. When the pedal moves, the switch sends a signal to the brake lights and, on many vehicles, to other systems that monitor brake application.
Depending on the vehicle, that same switch or switch assembly may also affect the shift interlock, cruise control cancel function, ABS or stability control logic, push-button start behavior, and electronic brake system inputs. That is why a bad brake light switch can cause symptoms beyond just the rear brake lamps.
- Brake lights stay on all the time.
- Brake lights do not come on when you press the pedal.
- The shifter will not move out of Park.
- Cruise control will not set or will cancel unexpectedly.
- A brake switch-related warning code or message appears.
Confirm the Switch Is the Problem
Before replacing anything, make sure you are not chasing a blown fuse, damaged bulb socket, wiring fault, or pedal bracket issue. A little diagnosis can save time and prevent installing a good part into a bad circuit.
Quick Checks Before Removal
- Check whether both brake lights fail or only one side. One side often points to a bulb, socket, or wiring issue rather than the switch.
- Look for a blown brake light fuse in the owner’s manual or fuse box diagram.
- Verify the brake pedal fully returns to its stop. A weak return spring, floor mat interference, or damaged pedal bumper can keep the switch from working normally.
- Inspect the pedal stopper pad if your vehicle uses one. If the small plastic pad falls out, the switch may not contact the pedal correctly and the lights may stay on.
- Scan for body or brake switch codes if you have a scan tool and the vehicle has electronic systems tied to the switch.
Simple Electrical Test
With the connector plugged in, a test light or multimeter can help confirm switch operation. Many switches have battery voltage on one terminal at all times or with the key on, and then send power out on another terminal when the pedal is pressed. Some newer vehicles use multiple circuits inside one switch, so always compare your readings to a wiring diagram if available.
If power enters the switch but does not leave it when the pedal moves, the switch is likely faulty. If there is no power at the switch at all, diagnose the fuse, wiring, or control module before replacing the switch.
Preparation and Safety
You will usually work under the driver-side dash with your head near metal brackets and wiring, so comfort and visibility matter. Move the driver’s seat all the way back, set the parking brake, and make sure the vehicle is parked on a level surface.
- Wear safety glasses because dirt and trim debris can fall from under the dash.
- Disconnect the negative battery cable if the service information recommends it, especially on vehicles with sensitive electronics or airbag-related lower dash panels nearby.
- Do not press the brake pedal aggressively while the switch is removed unless you know the pedal linkage and wiring have enough clearance.
- Keep track of clips, screws, and any pedal bushings or spacers removed during access.
Some vehicles allow direct access to the switch with no panel removal. Others require a hush panel, lower kick panel, or knee bolster to come off first. Use a trim tool and the correct screwdriver or socket to avoid breaking clips.
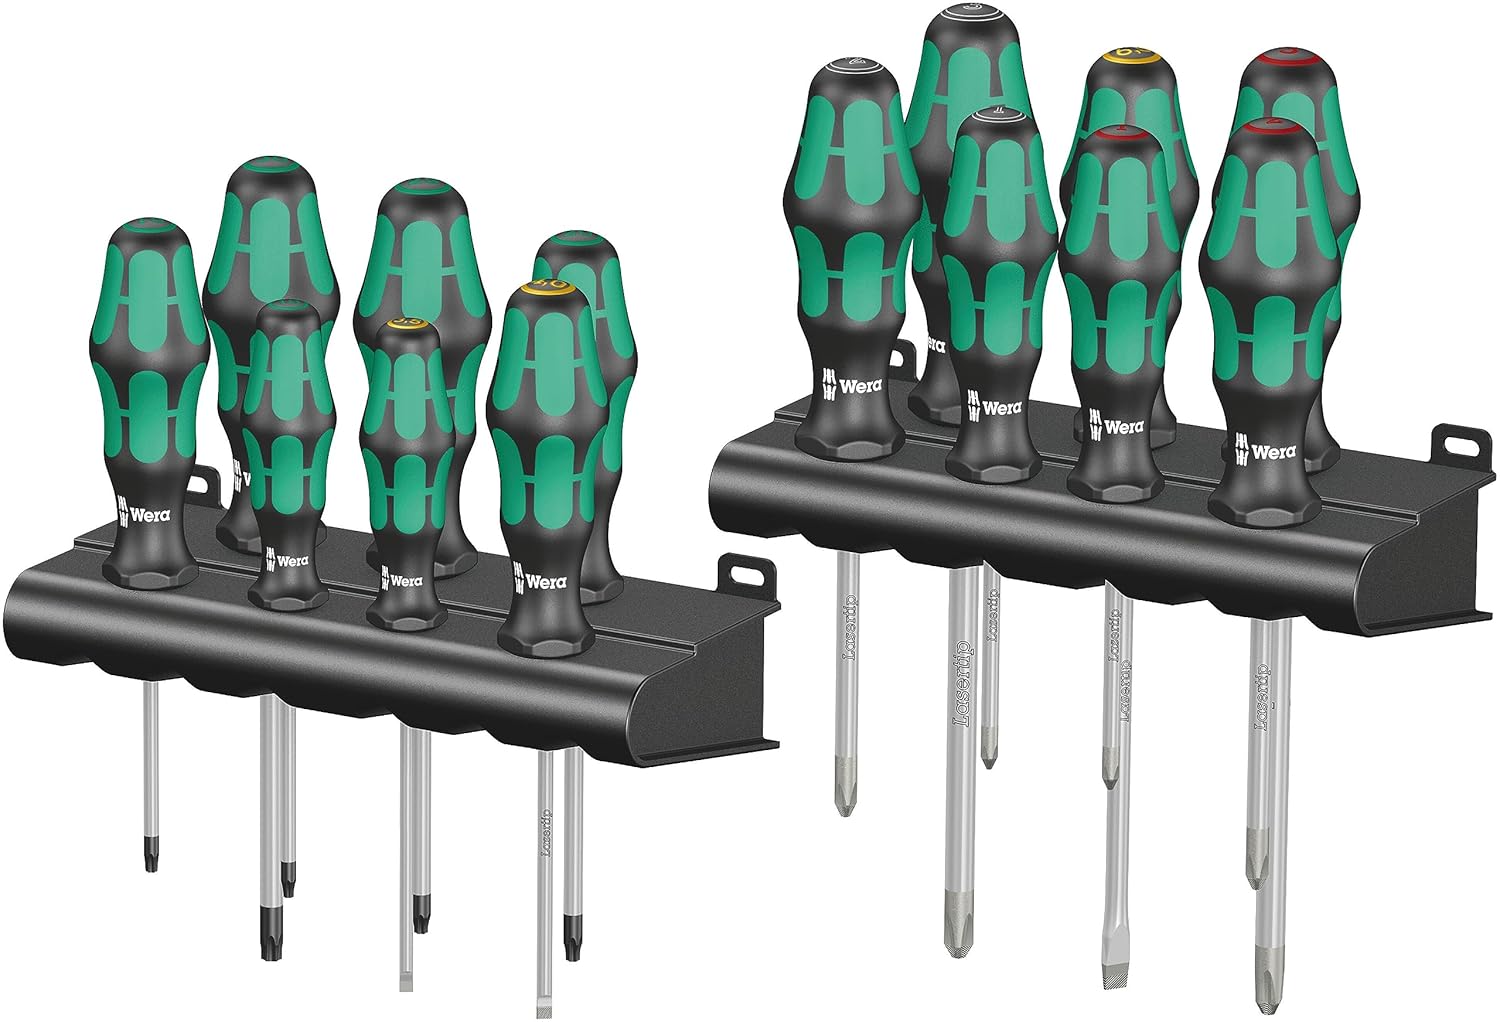
Tools That Make This Job Easier


How to Remove the Old Brake Light Switch
Access the Switch
Locate the switch near the top of the brake pedal arm. Follow the pedal upward to the bracket under the dash. The switch will typically contact the pedal arm directly or sit against a pedal stopper when the pedal is released.
Use your work light and take a photo before touching anything. That reference image helps you confirm the orientation of the connector, retaining clip, and switch body during reassembly.
Disconnect the Electrical Connector
Press the lock tab and unplug the connector. If the connector is stubborn, do not yank on the wires. Wiggle the plug body while pressing the tab. A small pick or needle-nose pliers can help release a tight locking tab, but be gentle to avoid cracking the connector.
Remove the Switch From the Bracket
Most brake light switches are held in one of three ways: a twist-lock body, a retaining clip and pin, or a threaded body with a locknut. Inspect yours carefully before forcing it.
- For a twist-lock design, rotate the switch body about a quarter turn and slide it out of the bracket.
- For a clip-and-pin design, remove the retaining clip, slide out the pin if needed, and free the switch from the pedal bracket.
- For a threaded design, loosen the locknut, unthread the switch, and note the installed depth so you have a starting point for adjustment.
Pay attention to any pedal bushings, spacers, washers, or rubber stoppers. If one falls out or is already broken, replace it or the new switch may not adjust correctly.
Install the New Brake Light Switch
Compare the new switch to the old one before installation. The connector shape, plunger length, mounting tabs, and terminal count should match. Even small differences can cause poor fitment or incorrect operation.
Understand Self-adjusting Vs. Manually Adjusted Switches
Many modern brake light switches are self-adjusting. On these, the plunger resets during installation and final pedal movement sets the correct clearance. Others require you to thread the switch in or out until the pedal just depresses the plunger enough to turn the brake lights off when the pedal is released.
If your replacement came with instructions, follow them exactly. Installing a self-adjusting switch like a manual one, or vice versa, can leave the brake lights on or prevent them from illuminating soon enough.
Install the Switch Body
Position the switch in the bracket with the brake pedal in its fully released position unless the service procedure says otherwise. Insert, twist-lock, clip, or thread the switch into place exactly as the original was mounted.
For a threaded switch, start with the same approximate depth as the old part, then fine-tune adjustment. The goal is for the plunger to be depressed when the pedal is at rest and to release immediately as you begin pressing the pedal.
Reconnect the Connector
Plug the connector in until the lock clicks. If desired, apply a tiny amount of dielectric grease to the seal area only, not packed into the terminals unless specified by the connector design.
Adjust the Switch Correctly
Proper adjustment is the most important part of this job. A switch that is too far in may keep the lights off even when you press the pedal. A switch that is too far out may leave the lights on all the time or drain the battery overnight.
General Adjustment Target
With the pedal released, the brake lights should be off. As soon as you press the pedal slightly, the lights should come on. There should be no need to mash the pedal deeply before the lights activate.
- If the lights stay on with the pedal released, move the switch so the plunger is pressed slightly more at rest.
- If the lights do not come on until the pedal is far down, move the switch so it releases sooner.
- If the lights never come on, confirm connector seating, fuse power, and correct switch part number before over-adjusting.
- If your vehicle uses a pedal stopper pad, make sure it is present and intact or the switch can never be adjusted properly.
On self-adjusting switches, do not repeatedly force the plunger by hand unless the instructions say to do so. Some designs lock after setting and can be damaged by improper resetting.
Recommended Tools for This Job


Test the Repair
Before reinstalling trim panels, verify the switch works in every way your vehicle uses it. This saves you from crawling back under the dash if further adjustment is needed.
Functional Checks
- Turn the ignition on if required by your vehicle.
- Have a helper watch the rear brake lights, or back up near a wall or garage door to see the reflection.
- Release the brake pedal fully and confirm the brake lights are off.
- Press the pedal lightly and verify the brake lights come on immediately.
- Check that the shifter releases from Park normally if your vehicle uses a brake-pedal interlock.
- Test cruise control operation during a safe road test if that symptom existed before.
- If you disconnected the battery, reset clock, radio presets, or window auto-up features as needed.
If the lights now work correctly but remain dim, intermittent, or only one side operates, you likely still have a bulb, socket, ground, or wiring problem unrelated to the switch itself.
Common Mistakes to Avoid
- Replacing the switch without checking the brake light fuse or pedal stopper first.
- Installing the wrong switch style when multiple versions exist for the same model year.
- Forcing a twist-lock switch the wrong direction and breaking the mounting tabs.
- Losing small pedal clips, bushings, or washers during removal.
- Skipping adjustment and assuming every new switch is preset correctly.
- Reinstalling lower dash trim before fully testing brake lights and shifter operation.
Another common mistake is overlooking battery drain symptoms. If the brake lights stayed on due to a bad switch, the battery may already be weak from repeated discharge. If the vehicle cranks slowly after the repair, test and charge the battery rather than assuming the new switch failed.
When the Problem Is Not the Switch
If a new brake light switch does not fix the issue, step back and check the rest of the circuit. Brake light systems are simple on older vehicles but can be tied into multiple modules on newer ones.
- Blown fuse or poor fuse box connection
- Broken brake pedal stopper or misaligned pedal bracket
- Damaged connector, corroded terminals, or broken wiring near the pedal
- Failed rear bulb socket or lamp circuit board
- Bad ground at the tail lamp assembly
- Body control module or shift interlock fault on newer vehicles
If you have power into and out of the switch but the brake lights still do not work, trace the circuit toward the rear lamps. If the brake lights work but the shifter still will not leave Park, the problem may be in the interlock solenoid or related control circuit instead.
Should You DIY This Repair?
For many vehicles, replacing a brake light switch is a worthwhile DIY job because the part is inexpensive and the repair does not involve opening the brake hydraulic system. The awkward under-dash access is usually the hardest part.
You should consider professional help if the switch is buried behind complex lower dash trim, if the vehicle has an unusual calibration procedure, or if diagnosis points to electronic control issues rather than a simple failed switch. A shop can also confirm whether a brake pedal stopper, fuse problem, or module fault is the real cause.
Key Takeaways
- Confirm fuse power, pedal stopper condition, and rear lamp operation before blaming the brake light switch.
- Match the new switch exactly to the old one and follow the correct install method for self-adjusting or threaded designs.
- Adjust the switch so the brake lights are off at rest and come on with slight pedal movement.
- Test brake lights, shift interlock, and cruise control before reinstalling lower dash trim.
- If power passes through the new switch but the problem remains, diagnose wiring, sockets, grounds, or control modules next.
FAQ
How Do I Know if My Brake Light Switch Is Bad?
Common signs include brake lights that stay on, brake lights that do not turn on, a shifter stuck in Park, or cruise control that will not work. Confirm power at the switch and inspect the pedal stopper before replacing it.
Can I Drive with a Bad Brake Light Switch?
It is not a good idea. If the brake lights do not work, drivers behind you may not know you are stopping. If the lights stay on, the battery can drain and the vehicle may not be legally roadworthy.
Do I Need to Bleed the Brakes After Replacing a Brake Light Switch?
No. The brake light switch is an electrical component mounted at the pedal, so this repair does not open the hydraulic brake system and does not require bleeding.
Why Are My Brake Lights Still on After Replacing the Switch?
The new switch may be misadjusted, the brake pedal stopper pad may be missing, the pedal may not be returning fully, or the replacement part may be incorrect. Recheck switch position and pedal contact points first.
Why Won’t My Car Shift Out of Park Even After Changing the Brake Switch?
The shift interlock system may have a separate issue such as a blown fuse, failed interlock solenoid, damaged wiring, or a control module problem. Make sure the brake lights now work correctly, then continue diagnosis on the interlock circuit.
Is a Brake Light Switch Hard to Replace?
Usually it is more awkward than difficult. Access under the dash can be cramped, but on many vehicles the actual removal and installation are straightforward once you can reach the switch.
Do All Brake Light Switches Need Adjustment?
No. Some are self-adjusting and some are manually adjusted. Always follow the instructions for your exact replacement part and vehicle, because incorrect setup can cause immediate repeat problems.
Need Parts for This Repair?
The right parts and supplies vary by vehicle.
Select your make and model to find compatible parts and accessories for your car.
Exact Fit
Parts that fit your make and model
Quality You Can Trust
Top brands and OEM quality options
Fast Shipping
Get the parts you need, delivered fast