

Note: This article contains affiliate links. If you click on these links and make a purchase, I may earn a small commission at no extra cost to you. This helps support my research and content. Read my full affiliate disclosure here.
Repair Snapshot
Use a pro if the headliner must be fully removed, the sunroof glass is jammed off-track, or the new motor needs module programming or complex calibration. A mechanic is also the safer choice if water leaks or broken track cables are part of the problem.
This article is part of our Body and Exterior Maintenance & Repair Guides.
Replacing a sunroof motor is usually manageable for a careful DIYer, but the job gets tricky because access is tight and the motor must be installed in the correct position. If you rush the removal or force the mechanism, you can damage the headliner, tracks, or glass alignment.
On many vehicles, the sunroof motor sits above the headliner near the front overhead console, though some models place it farther back or under a trim panel in the roof opening. The exact fasteners and reset procedure vary by make and model, so treat your factory service information as the final authority for torque specs, indexing marks, and initialization steps.
This guide walks through the general process: confirming the motor is actually bad, gaining access without ruining interior trim, swapping the motor, re-timing the mechanism, and testing the sunroof before everything goes back together.
Before You Start
A bad sunroof motor is only one possible cause of a stuck or erratic sunroof. Before tearing into the roof, make sure the problem is not a blown fuse, failed switch, weak battery, dirty tracks, broken cable, or a sunroof control module issue.
Common Signs the Motor May Be Faulty
- The sunroof switch clicks or lights up, but the glass does not move.
- You hear the motor hum or grind briefly, then it stops.
- The roof moves only in one direction or stalls partway.
- The sunroof works intermittently after hitting bumps or changing temperature.
- The motor housing is hot, noisy, or has obvious water intrusion.
Quick Checks Before Replacing Parts
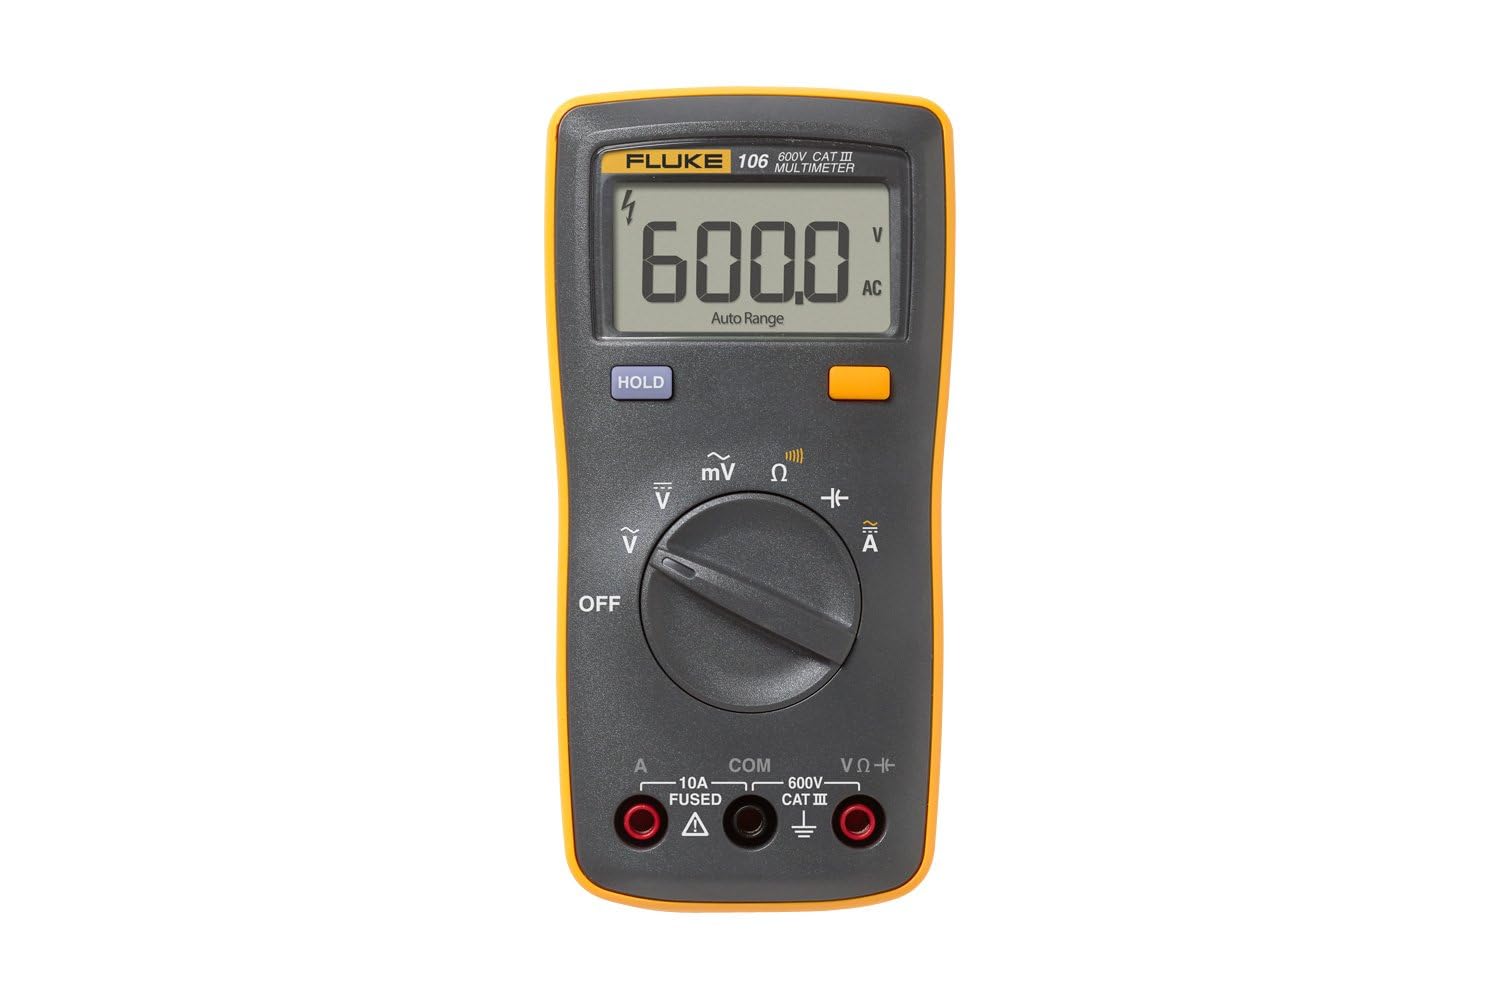
Check the sunroof fuse and any related comfort or body control fuses first. Verify battery voltage is healthy, because low system voltage can make a good motor act weak. If accessible, inspect the sunroof tracks for debris, bent components, or dried grease causing mechanical drag. Also confirm the switch and connector have power and ground. A multimeter or test light can save you from replacing an expensive motor that is not the real problem.
If the glass is physically crooked, jammed, or has popped out of sync with one side higher than the other, the issue may be deeper in the track assembly or drive cables. In that case, motor replacement alone may not fix it.
Safety and Vehicle Preparation
You will be working around interior trim, electrical connectors, and possibly side-curtain airbag areas near the roof rails. Protect the cabin and avoid accidental airbag or electrical issues by preparing carefully.
- Park on a level surface and set the parking brake.
- Move the front seats back for better access.
- Disconnect the negative battery cable before unplugging the motor or removing overhead electronics.
- Wear safety glasses because dirt and clip fragments often fall from the headliner area.
- Use trim tools instead of metal screwdrivers whenever possible to avoid marks and broken panels.
If your sunroof is stuck open, cover the roof opening from above if rain is possible. Painter’s tape can also be used to mark the glass position or hold small trim pieces together during disassembly.
How to Access the Sunroof Motor
On many vehicles, the motor is reached by removing the overhead console, map light assembly, or a small trim panel at the front of the headliner. On others, you may need to lower part of the headliner by loosening sun visors, grab handles, A-pillar trim, or weatherstripping. Work slowly here because headliners crease easily and replacement clips are often needed.
Typical Access Steps
- Remove the dome light lens or overhead console covers to expose hidden screws.
- Remove screws with the correct bit and gently release trim clips with a trim tool.
- Disconnect any light, switch, microphone, or garage-door opener connectors.
- If needed, remove sun visors, visor clips, and grab handles to lower the front edge of the headliner.
- Pull down only as much of the headliner as necessary to reach the motor.
Do not sharply bend the headliner board. Support it with one hand or a clean padded prop while you work. If your vehicle has airbags tucked behind pillar trim, avoid probing or forcing tools deep into those areas.
Tools That Make This Job Easier


Confirm the Motor Is Getting Power
Before removing the old motor, verify the connector is supplying power and ground when the switch is pressed. This is the best way to separate a failed motor from a wiring or switch problem.
Basic Electrical Check
Reconnect the battery temporarily if needed for testing, keeping fingers away from the mechanism. Back-probe the connector using a wiring diagram for your vehicle. Depending on design, you may see battery voltage change polarity for open and close commands, or you may see a constant feed with control signals handled by a module. If proper power and ground are present but the motor does not respond, replacement is justified.
If no power is present, stop and diagnose the circuit before buying parts. Check the switch, fuse, relay, body control module output, and any known harness break points near the headliner.
Remove the Old Sunroof Motor
The motor usually bolts to the sunroof cassette with small screws or bolts. Some designs also use locating pins or a gear engagement pattern that needs to stay aligned. Take pictures before you remove anything so you can compare the new motor orientation during installation.
Motor Removal Steps
- Make sure the battery is disconnected again before unplugging the motor.
- Unplug the electrical connector and inspect it for corrosion, heat damage, or bent terminals.
- Mark the current motor position and gear orientation if visible.
- Remove the mounting screws or bolts while supporting the motor with your free hand.
- Pull the motor straight down or away from the cassette without twisting the gear unnecessarily.
If the motor seems stuck, double-check for a hidden fastener instead of prying hard. A motor that resists removal may still be engaged under load from a jammed mechanism. If the sunroof is bound up, you may need to manually relieve tension using the service procedure for your vehicle.
What to Inspect While the Motor Is Out
- Worn or stripped drive gear teeth
- Water stains or rust around the motor and cassette
- Debris or hardened grease in the tracks
- Loose cassette fasteners or cracked mounting points
- Frayed or broken drive cables
If you find stripped cables or damaged track parts, replacing the motor alone will not restore proper operation. At that point, the repair becomes much larger and may require removing the full headliner and sunroof cassette.
Install and Time the New Motor
This is the most important part of the job. Many sunroof systems require the motor and roof mechanism to be installed in matching positions. If the new motor is not indexed correctly, the sunroof may stop early, tilt when it should slide, bind, or overtravel.
Match the Mechanism Position
Compare the old and new motors side by side. If the replacement motor has a different gear position, you may need to manually rotate it to the service position specified by the manufacturer. Some motors have alignment marks, a neutral setting, or a manual hex drive for indexing. Others require the sunroof panel itself to be fully closed before the motor is installed.
Never force the gear to mesh by tightening the bolts down against resistance. The motor should seat flush when the gear timing is correct. If it does not, back up and recheck the position.
Installation Steps
- Set the sunroof mechanism to the required position, usually fully closed, unless your service information says otherwise.
- Align the new motor gear with the cassette drive gear or coupling.
- Install the mounting bolts or screws by hand first to avoid cross-threading.
- Tighten the fasteners evenly and torque them to specification if a spec is provided.
- Reconnect the electrical connector and apply a small amount of dielectric grease to the terminals if appropriate.
Sunroof motor fasteners are usually small, so overtightening is a real risk. If you do not have an exact torque spec, tighten them snugly and evenly with a small hand tool rather than a large ratchet.
Recommended Tools for This Job


Initialize, Reset, or Calibrate the Sunroof
Many late-model vehicles require a relearn after the battery is disconnected or the motor is replaced. Without it, the auto-open, auto-close, anti-pinch, or tilt functions may not work correctly.
Typical Reset Process
Reconnect the battery and turn the ignition to the accessory or run position. A common procedure is to hold the sunroof switch in the tilt-up or close position for several seconds after the roof reaches the stop, then continue holding while the roof cycles through a calibration routine. Some vehicles require several hold-and-release steps, while others need a scan tool command.
Because this step varies widely, use your repair manual or factory procedure for the exact sequence. If the roof moves the wrong way, stops halfway, or reverses unexpectedly, stop and recheck timing before forcing repeated cycles.
Test Operation Before Reassembly
Do not reinstall the entire interior trim until you know the sunroof works correctly. Testing now saves a lot of frustration if the motor needs to come back out for re-indexing.
- Run the sunroof through full open, full close, and tilt cycles.
- Listen for clicking, grinding, or popping noises.
- Verify both sides of the glass move evenly and sit flush when closed.
- Check one-touch and anti-pinch functions if equipped.
- Inspect the weatherstrip seating and confirm the panel does not bind.
If the roof closes but sits too high or too low, the glass may need adjustment at the panel mounting points rather than at the motor itself. If movement is uneven side to side, the tracks or cables are likely out of sync.
Optional Maintenance While Access Is Open
Wipe debris from the tracks and inspect drain openings if visible, but do not flood the system with grease. Use only the lubricant type recommended for your sunroof, because the wrong grease can attract dirt or thicken in cold weather.
Reinstall the Headliner Trim and Console
Once the sunroof passes testing, reinstall the interior parts in the reverse order of removal. Take your time lining up clips and electrical connectors so you do not create rattles or broken mounting tabs.
- Raise the headliner gently into place.
- Reconnect overhead console, map light, and visor wiring as needed.
- Install visors, grab handles, trim covers, and weatherstripping.
- Press trim clips straight in rather than at an angle.
- Clean fingerprints from the headliner and glass before final inspection.
If any clips broke during removal, replace them now. Loose roof trim can squeak, buzz, or sag over time.
Torque Notes, Adjustment Tips, and When the Repair Changes Direction
Sunroof motor repairs do not usually involve high-torque fasteners, but they do demand correct alignment. Always use the vehicle-specific torque spec for motor screws, visor fasteners, and any glass adjustment bolts. Over-tightening small roof hardware can strip threads in the cassette or crack plastic housings.
If your vehicle requires removing the sunroof glass to correct alignment, mark the original bolt locations before loosening anything. Small changes in glass position can affect wind noise, seal compression, and water management. After any glass adjustment, test flush height from both sides and pour a small amount of water around the perimeter to confirm it drains properly into the system rather than entering the cabin.
Stop the DIY repair and reevaluate if you see broken cable guides, a twisted track, major rust, or water-damaged electronics. Those issues often turn a simple motor replacement into a cassette rebuild or full assembly replacement.
Key Takeaways
- Verify power, ground, fuses, and switch operation before replacing the sunroof motor.
- Lower the headliner carefully and avoid bending it, because cosmetic damage happens easily.
- Install the new motor only after the mechanism and gear position are correctly indexed.
- Run the sunroof through a reset or calibration procedure before reinstalling all trim.
- If the roof is crooked, jammed, or leaking, expect track or cable repairs beyond the motor itself.
FAQ
How Do I Know if My Sunroof Motor Is Bad or if the Switch Is the Problem?
Check for power and ground at the motor connector while operating the switch. If the connector receives the correct signals but the motor does not run, the motor is likely faulty. If no power reaches the motor, diagnose the switch, fuse, wiring, or module first.
Can I Replace a Sunroof Motor Without Removing the Whole Headliner?
Often, yes. Many vehicles allow access by removing the overhead console and lowering only the front portion of the headliner. Some designs, however, require much more trim removal or even full headliner removal.
Do I Need to Remove the Sunroof Glass to Replace the Motor?
Usually not. Most sunroof motors can be replaced from inside the cabin once the headliner or console area is opened up. Glass removal is more commonly needed for track repairs or panel alignment, not the motor itself.
Why Does the New Sunroof Motor Run but the Roof Still Will Not Move Correctly?
The most common causes are incorrect motor timing, a jammed track, stripped drive cables, or a required relearn procedure that was skipped. If the roof moves unevenly or binds, inspect the mechanical side of the system closely.
Does a New Sunroof Motor Need Programming?
Some vehicles only need a manual initialization procedure, while others may require a scan tool or body module calibration. Check the service information for your exact model before buying the part and starting the repair.
Can I Manually Close the Sunroof if the Motor Has Failed?
Many vehicles include a manual closing method using a hex key, Torx drive, or emergency crank point at the motor. The exact procedure varies, and using the wrong method can damage the mechanism, so follow your owner’s manual or service manual.
How Much Does a Sunroof Motor Usually Cost?
A replacement motor commonly runs about $120 to $450 for the part, depending on the vehicle and whether the motor is sold separately from electronics or track components. Luxury and panoramic roof systems can cost much more.
Need Parts for This Repair?
The right parts and supplies vary by vehicle.
Select your make and model to find compatible parts and accessories for your car.
Exact Fit
Parts that fit your make and model
Quality You Can Trust
Top brands and OEM quality options
Fast Shipping
Get the parts you need, delivered fast