

Note: This article contains affiliate links. If you click on these links and make a purchase, I may earn a small commission at no extra cost to you. This helps support my research and content. Read my full affiliate disclosure here.
What You’ll Need
A quick look at the tools and supplies commonly used for this job.
Tools
Parts & Supplies
- Microfiber towels
- Soft detailing brush
- Cotton swabs or foam swabs
- Shop vacuum with crevice attachment
- Mild interior-safe cleaner or warm soapy water
- Silicone-based sunroof track lubricant approved by the vehicle manufacturer
- Compressed air
- Clean water for drain testing
This article is part of our Body and Exterior Maintenance & Repair Guides.
Inspecting and cleaning sunroof tracks is one of the simplest ways to prevent water leaks, sticking glass, grinding noises, and premature wear in the sunroof assembly. Dirt, leaf debris, old grease, and clogged drains can make a sunroof slow down or stop sealing properly even when the motor is still working.
For most DIY car owners, this job is more about careful inspection and gentle cleaning than major disassembly. The goal is to remove contamination, check for damage, confirm the drains are flowing, and use only the right amount of lubricant in the right places.
A clean sunroof track should let the glass move smoothly, sit flush when closed, and channel water into the drains instead of into the headliner. If you know what normal wear looks like and what counts as a warning sign, you can catch small problems before they become expensive repairs.
What the Sunroof Tracks and Drains Do
Sunroof tracks guide the glass panel and the sliding or lifting hardware as the sunroof opens, closes, and vents. Most systems also use seals, guide shoes, wind deflectors, and drain channels around the perimeter of the opening. Even when the glass seal looks tight, many factory sunroofs are designed to manage a small amount of water by routing it into corner drains and down tubes that exit below the vehicle.
That means a sunroof can leak into the cabin for more than one reason. The obvious cause is a torn seal or broken track component, but one of the most common causes is simple debris buildup. Leaves, dust, pollen, and hardened grease can block water flow, force the glass out of alignment, or make the mechanism bind during operation.
Before you start cleaning, it helps to think of the system as three separate areas to inspect: the visible tracks, the drain troughs and drain holes, and the moving hardware that raises and slides the glass. A problem in any one of those areas can show up as noise, slow movement, or wet headliner stains.
Signs Your Sunroof Tracks Need Inspection
You do not need to wait for a major leak to inspect the tracks. Regular checks are a good idea if the car is parked outside, driven under trees, or exposed to dust and pollen. Any of the symptoms below suggest it is time to inspect and clean the sunroof area.
- The sunroof opens or closes more slowly than it used to.
- You hear scraping, popping, clicking, or grinding while it moves.
- The glass sits unevenly or does not close flush with the roof.
- Water drips from the headliner, visor area, or A-pillars after rain or a car wash.
- You see dirt, leaf fragments, or sludge in the sunroof channel.
- The sunroof reverses direction, stops partway, or needs repeated switch input.
- There is wind noise even though the sunroof appears fully closed.
If the sunroof is severely jammed, tilted crookedly, or making loud cracking noises, stop using it until you inspect it. Continuing to force the motor can strip gears, break guide parts, or crack the glass.
Safety and Preparation Before You Begin
Park the vehicle on level ground and switch the ignition to the position required for sunroof operation. If your sunroof has an auto-open or auto-close feature, keep your hands clear of pinch points while testing movement. Wear gloves and safety glasses, especially if you are using compressed air or cleaning out decayed debris.
Open the sunroof to the vent position first, then slide it open as needed to expose different parts of the track. On some vehicles, the vent position gives the best look at the rear lifter arms and seal seating. On others, the slide-open position gives better access to the track channels and drain corners.
Avoid metal picks, screwdrivers, and aggressive scraping inside the track unless the service procedure specifically calls for it. Many guides and sliders are plastic, painted, or coated, and they can be damaged easily. Also avoid petroleum grease unless your service manual specifically approves it, because the wrong lubricant can attract dirt, swell rubber, or make the mechanism sluggish in cold weather.
How to Inspect the Sunroof Tracks Step by Step
Start with a Visual Inspection
Use a flashlight to inspect both side tracks, the front and rear corners, and the perimeter trough around the opening. Look for leaves, pine needles, sand, heavy dust, bug residue, hardened grease, and standing water. A little dust is normal. Thick grime, greenish sludge, or packed organic debris is not.
Check whether debris is sitting only on top of the visible surfaces or packed down into the channels where the sliders run. Surface dirt is easy to clean. Compacted debris deep in the track often explains sticking or noisy operation.
Inspect the Seal and Glass Fit
Look at the weatherstrip around the glass panel. You are checking for tears, flattening, hardening, gaps, or sections that have pulled loose. The seal does not have to look brand new, but it should sit evenly and make consistent contact when the panel is closed.
Close the sunroof and inspect the panel height from outside the vehicle. The front and rear edges should sit close to flush with the roof according to the vehicle design. If one corner is obviously higher or lower, the tracks, lift arms, or alignment may need more than cleaning.
Check Moving Parts for Wear or Damage
With the sunroof partly open, inspect any visible guide shoes, arms, wind deflector hinges, and cable-driven sliders. Look for cracked plastic, bent metal pieces, missing fasteners, frayed deflector springs, or signs that one side is moving differently from the other.
Healthy moving parts usually show a light film of lubricant and smooth travel marks. Warning signs include white plastic dust, shaved plastic pieces, metal filings, rusty streaks, and gouges in the track. Those signs suggest component wear, not just dirt.
Inspect the Drain Areas
Most sunroofs have drain holes in the front corners and often in the rear corners too, though rear access may be limited. These holes typically sit in the trough around the opening. If you see dirty water, algae-like buildup, or leaves gathered at the drain entry, clean that area carefully before testing flow.
A drain hole should be open and able to accept water freely. If the area around it stays full of water or the hole is packed with debris, the drain is restricted and needs attention.
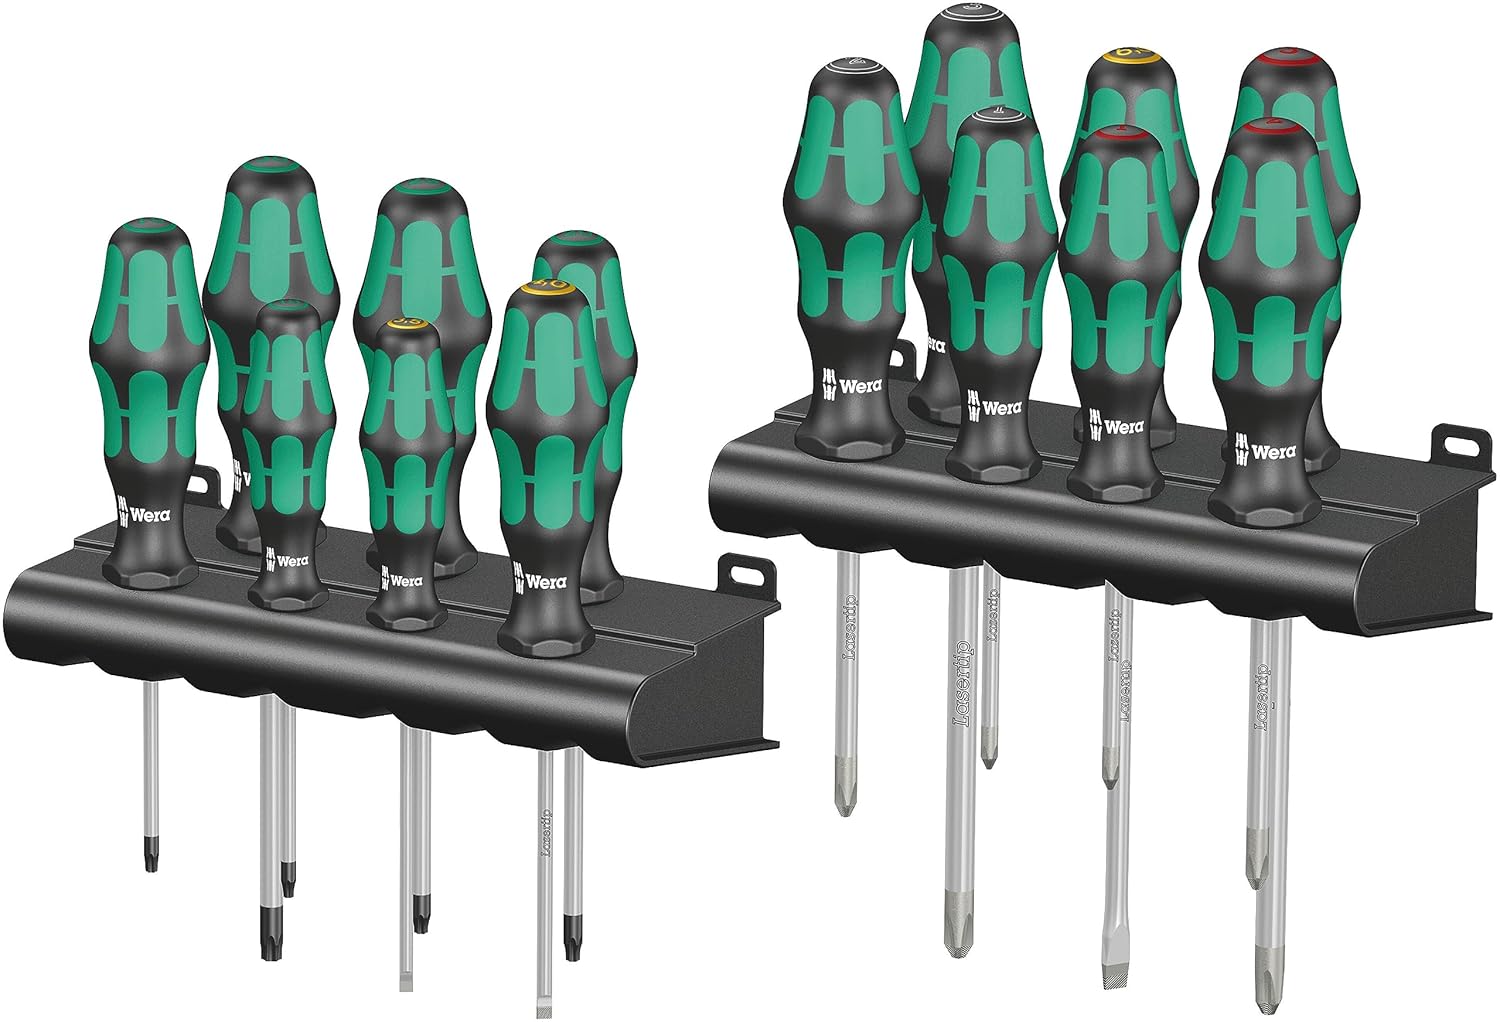
Tools That Make This Job Easier


How to Clean Sunroof Tracks Without Causing Damage
Remove Loose Debris First
Begin with the least aggressive method. Use a vacuum with a crevice attachment to remove dry leaves, dust, and grit from the visible channels and trough. A soft detailing brush helps loosen debris so the vacuum can pick it up instead of pushing it deeper into the track.
Do not flood the track with cleaner at this stage. Wetting compacted debris can turn it into mud and make the cleanup harder.
Wipe the Tracks and Channel Surfaces
After vacuuming, wrap a microfiber towel around your finger or a plastic trim tool and wipe the accessible surfaces. For tight spots, use cotton swabs or foam swabs with a small amount of mild cleaner or warm soapy water. The goal is to remove old residue, not soak the mechanism.
Pay special attention to sticky patches of old grease mixed with dirt. That buildup often forms near the front corners, along the slider path, and around the wind deflector. Wipe until the surface is clean enough to inspect, but avoid scrubbing so hard that you remove factory-applied lubricant from buried cable areas you cannot properly relubricate.
Clean the Drain Troughs and Drain Openings
Once the visible tracks are clean, clean the trough surrounding the opening and the drain hole entrances. Use the vacuum and brush first, then wipe away remaining film. If the drain opening itself is dirty, use a soft swab to clean around the entrance.
Be careful not to jam a hard tool down the drain. Sunroof drain tubes can disconnect, split, or puncture if poked aggressively. If you use compressed air, use low pressure and short bursts from a distance, because high pressure can blow a tube off its fitting inside the pillar.
How to Test Sunroof Drains
Drain testing is one of the most important parts of the inspection because the tracks can look clean while the tubes remain partially clogged. The safest basic test is to slowly pour a small amount of clean water into one drain corner at a time and watch whether it disappears quickly.
If the drain is working, water should flow through and exit underneath the vehicle, usually behind a front wheel well, near a rocker area, or toward the rear depending on the design. Check your owner’s manual or service information if you are unsure where the exits are.
A pass result is steady, prompt drainage with no water backing up in the channel and no water appearing inside the cabin. A fail result is slow drainage, standing water, overflow into the track area, or moisture showing at the headliner, pillar trim, or grab handles.
If a drain is restricted, you can try cleaning the entry point again and repeating the test. If it still drains slowly, the clog may be farther down the tube. In that case, a flexible, non-sharp line can sometimes help, but if you feel resistance or are unsure of the tube routing, it is smarter to stop than risk disconnecting the hose inside the vehicle.
When and How to Lubricate the Tracks
Not every visible part of a sunroof track needs lubrication, and adding too much can create new problems by attracting dust and causing sludge buildup. Always follow the vehicle manufacturer’s recommendation when available. Many sunroof systems call for a specific silicone-based or specialty grease on certain sliding points only.
If lubrication is appropriate, apply a very light amount to the slider contact areas or other specified points after the tracks are clean and dry. Then cycle the sunroof through vent, open, and close functions to distribute it. Wipe away any excess that squeezes out onto the visible channel.
Do not spray random lubricants across the entire opening, onto the glass seal, or down the drain holes. That can contaminate the headliner, soften rubber, and trap more dirt. If the mechanism only works when heavily soaked with lubricant, there is likely a wear or alignment problem that cleaning alone will not solve.
Recommended Tools for This Job



Pass or Fail Criteria After Cleaning
After cleaning and any approved lubrication, cycle the sunroof several times and judge the results. A simple before-and-after comparison helps you decide whether the issue was basic maintenance or something that needs repair.
- Pass: The glass moves smoothly with normal speed and without binding.
- Pass: The panel closes fully and sits even with the roof opening.
- Pass: Drain water flows quickly out of the vehicle with no cabin leaks.
- Pass: Minor noise is reduced and there are no new clicking or popping sounds.
- Fail: The sunroof still stalls, reverses, or requires assistance by hand.
- Fail: One side moves ahead of the other or the panel tilts unevenly.
- Fail: Water still pools in the channel or reaches the headliner.
- Fail: You find cracked guides, damaged cables, bent arms, or loose glass mounting hardware.
A sunroof that passes these checks usually just needed maintenance. A sunroof that fails one or more of them likely has a mechanical issue such as worn guides, damaged cables, motor timing problems, bad alignment, or disconnected drain tubing.
Common Mistakes to Avoid
Many sunroof problems get worse because of well-meaning cleaning attempts. The most common mistake is using the wrong lubricant. Heavy grease, general-purpose sprays, and sticky protectants can collect grit and eventually slow the mechanism more than before.
Another mistake is forcing the glass when it binds. If the panel is cocked sideways or stops abruptly, do not keep pressing the switch. That can damage the motor or strip internal parts. Also avoid blasting high-pressure air down the drains, because that can separate a drain hose inside the pillar and create an even harder-to-find leak.
Finally, do not assume the weatherstrip alone is supposed to keep all water out. Many owners replace seals when the real issue is a clogged drain or dirty track channel. Always inspect drainage first before blaming the seal.
When Cleaning Is Not Enough
Cleaning solves contamination problems, but it does not fix broken hardware. If the sunroof still misbehaves after a proper inspection and cleaning, the next step is repair diagnosis. Broken guide blocks, stretched cables, worn lift arms, weak motors, and lost calibration can all cause symptoms similar to dirty tracks.
You should plan for deeper diagnosis or professional help if the sunroof glass sits low on one side, the motor runs but the panel barely moves, the deflector is bent, the panel rattles over bumps, or water leaks continue after the drains have been confirmed open. Those issues usually require trim removal, alignment procedures, or component replacement.
Interior water damage is another reason to act quickly. Wet headliners, stained pillars, moldy odors, or damp carpet can lead to electrical issues and corrosion if ignored. A minor drain clog is easy to correct; long-term water intrusion is not.
Maintenance Interval and Prevention Tips
For most daily drivers, a visual sunroof track inspection two or three times a year is enough. If the car is parked outside under trees, driven on dusty roads, or exposed to heavy pollen, check it more often. Fall and spring are good times to inspect because leaves and seasonal debris are common clog sources.
A quick preventive routine works well: open the sunroof, vacuum out visible debris, wipe the channel, and confirm the drain corners are clean. You do not need to relubricate every time. In fact, cleaning away excess grime is often more useful than adding more lubricant.
- Keep the roof area clean if the vehicle is parked beneath trees.
- Do not ignore slow operation or occasional sticking, because those symptoms usually worsen.
- Test drain flow before rainy seasons or after the vehicle sits for a long period.
- Use only manufacturer-approved lubricant on specified sliding points.
- Address interior moisture right away so trim, electronics, and carpet do not suffer secondary damage.
Key Takeaways
- Clean loose debris from the tracks and drain troughs first, then wipe residue gently instead of flooding the area with cleaner or lubricant.
- A good inspection checks track contamination, seal condition, panel alignment, moving hardware wear, and drain flow rather than focusing on only one area.
- If water does not drain quickly out of the vehicle or appears at the headliner, the sunroof system has failed inspection even if the glass still moves.
- Use only a light amount of manufacturer-approved lubricant on the proper contact points because excess grease often causes future binding.
- Stop using the sunroof and plan repairs if you find cracked guides, uneven panel movement, loud popping, or repeated leaks after cleaning.
FAQ
How Often Should I Clean My Sunroof Tracks?
For most vehicles, inspect and lightly clean the tracks two or three times per year. If the car is parked outside under trees or in dusty conditions, check them more often.
Can Clogged Sunroof Tracks Cause Interior Leaks?
Yes. Debris in the track area often blocks the drain troughs or drain holes, causing water to back up and spill into the headliner, pillars, or cabin.
What Lubricant Should I Use on Sunroof Tracks?
Use only the lubricant type approved by your vehicle manufacturer, typically a silicone-based or specialty sunroof lubricant for specific sliding points. Avoid heavy grease and random spray lubricants unless the service information allows them.
Is It Safe to Use Compressed Air to Clear Sunroof Drains?
Only with caution. Use low pressure and short bursts, because high pressure can blow a drain tube off its fitting inside the vehicle and create a hidden leak.
Why Does My Sunroof Still Stick After I Clean the Tracks?
If cleaning does not help, the problem may be worn guides, damaged cables, misalignment, motor timing issues, or broken lift hardware. At that point, the sunroof likely needs repair rather than maintenance.
Should a Sunroof Seal Keep All Water Out?
Not always. Many factory sunroof systems are designed so that small amounts of water can enter the perimeter channel and then drain away through dedicated tubes.
Can I Pour Water Into the Sunroof Channel to Test Drains?
Yes, but use a small amount of clean water and test one corner at a time. The water should drain promptly underneath the vehicle without backing up or wetting the interior.
When Should I Stop and Get Professional Help?
Get help if the panel sits crooked, the mechanism makes loud cracking or grinding sounds, the drains stay blocked, the glass will not close flush, or leaks continue after proper cleaning and drain testing.
Need Parts for This Repair?
The right parts and supplies vary by vehicle.
Select your make and model to find compatible parts and accessories for your car.
Exact Fit
Parts that fit your make and model
Quality You Can Trust
Top brands and OEM quality options
Fast Shipping
Get the parts you need, delivered fast