

Note: This article contains affiliate links. If you click on these links and make a purchase, I may earn a small commission at no extra cost to you. This helps support my research and content. Read my full affiliate disclosure here.
What You’ll Need
A quick look at the tools and supplies commonly used for this job.
Tools
Parts & Supplies
- Replacement sunroof switch
- Electrical contact cleaner
- Dielectric grease
- Replacement fuse
This article is part of our Electrical System Maintenance & Repair Guides.
Testing a sunroof switch is one of the fastest ways to narrow down why a sunroof will not open, close, tilt, or respond at all. If the glass does nothing when you press the button, the switch may be faulty, but the real cause could also be a blown fuse, poor power supply, bad ground, damaged wiring, or a failed motor.
The good news is that most DIY car owners can do a basic sunroof switch diagnosis with a multimeter, a test light, and careful trim removal. You do not need to remove the entire sunroof assembly just to find out whether the switch is sending the right signal.
This guide walks you through what to inspect, how to access the switch safely, what pass or fail results look like, and when the problem points to the switch versus another part of the circuit.
How the Sunroof Switch Circuit Works
On most vehicles, the sunroof switch is a low-current control that tells a sunroof motor or control module what to do. Pressing the switch may send battery voltage, ground, or a changing resistance signal depending on the design. That means a switch can look physically fine yet still fail electrically.
A typical system includes a fuse, ignition or retained accessory power feed, the switch, wiring, a ground path, and the sunroof motor or module. Some systems also have anti-pinch logic, position memory, or a one-touch open feature. If any one of those pieces fails, the sunroof may act dead or operate only in one direction.
Before condemning the switch, remember this key point: a bad switch usually causes no response, intermittent response, or operation in only one function, but a jammed track or failing motor can create similar symptoms.
Symptoms That Make the Switch Worth Testing
Test the switch if you notice any of the following signs. These clues do not prove the switch is bad, but they make switch testing a smart early step.
- The sunroof does nothing in any position when you press the switch.
- The sunroof opens but will not close, or closes but will not tilt.
- The switch works only if you press unusually hard or wiggle it.
- The overhead console buttons feel sticky, loose, or contaminated.
- You hear no motor noise even though the fuse is good.
- The sunroof works intermittently, especially after hot weather or moisture exposure.
Safety and Setup Before You Start
Park on level ground, set the parking brake, and switch the ignition off before removing trim. Wear safety glasses when prying on the overhead console because clips can release suddenly, and small debris can fall from the headliner area.
If your vehicle has side curtain airbags routed near the roofline, avoid probing or disturbing yellow airbag connectors. Most sunroof switch access involves the overhead console rather than the A-pillars or roof rail trim, which helps reduce risk, but you should still work carefully.
For live voltage tests, the ignition may need to be in ACC or ON depending on the vehicle. Use your owner’s manual or wiring diagram if available, since some sunroof circuits are powered only with the key on while others work during retained accessory power.
Access the Switch Without Damaging Trim
Remove the Overhead Console Carefully
Most sunroof switches are built into the overhead console near the map lights. Use a trim removal tool rather than a screwdriver whenever possible to avoid gouging plastic or creasing the headliner. Some consoles pop down with clips, while others hide screws behind sunglass holders or light lenses.
Disconnect Only What You Need
Once the console is loose, locate the sunroof switch connector. If the switch is part of a larger panel, do not tug on the harness. Support the console with one hand and disconnect the connector by releasing the locking tab.
Inspect Before Testing
Look for spilled soda, corrosion, greenish terminal buildup, overheated plastic, bent pins, or a connector that does not lock securely. A contaminated switch can fail even when the internal contacts are still mechanically clicking.
Start with the Basic Checks First
Check the Fuse
Before testing the switch itself, confirm the sunroof fuse is intact. Use the fuse panel diagram in the owner’s manual or fuse box cover. A blown fuse is an automatic fail for the circuit and can make a good switch look bad.
If the replacement fuse blows again right away, stop switch testing and look for a short to ground, seized motor, or damaged wiring. Repeated fuse failure usually means the switch is not the only issue.
Listen for Motor Activity
With the ignition in the correct position, press the switch while listening at the roof opening. If you hear the motor click or hum but the glass does not move, the switch may be working and the problem may be mechanical or motor related.
Compare All Switch Functions
If your switch has open, close, and tilt functions, test each one. A switch that works in one direction but not another often has worn internal contacts rather than a total loss of power.
Tools That Make This Job Easier


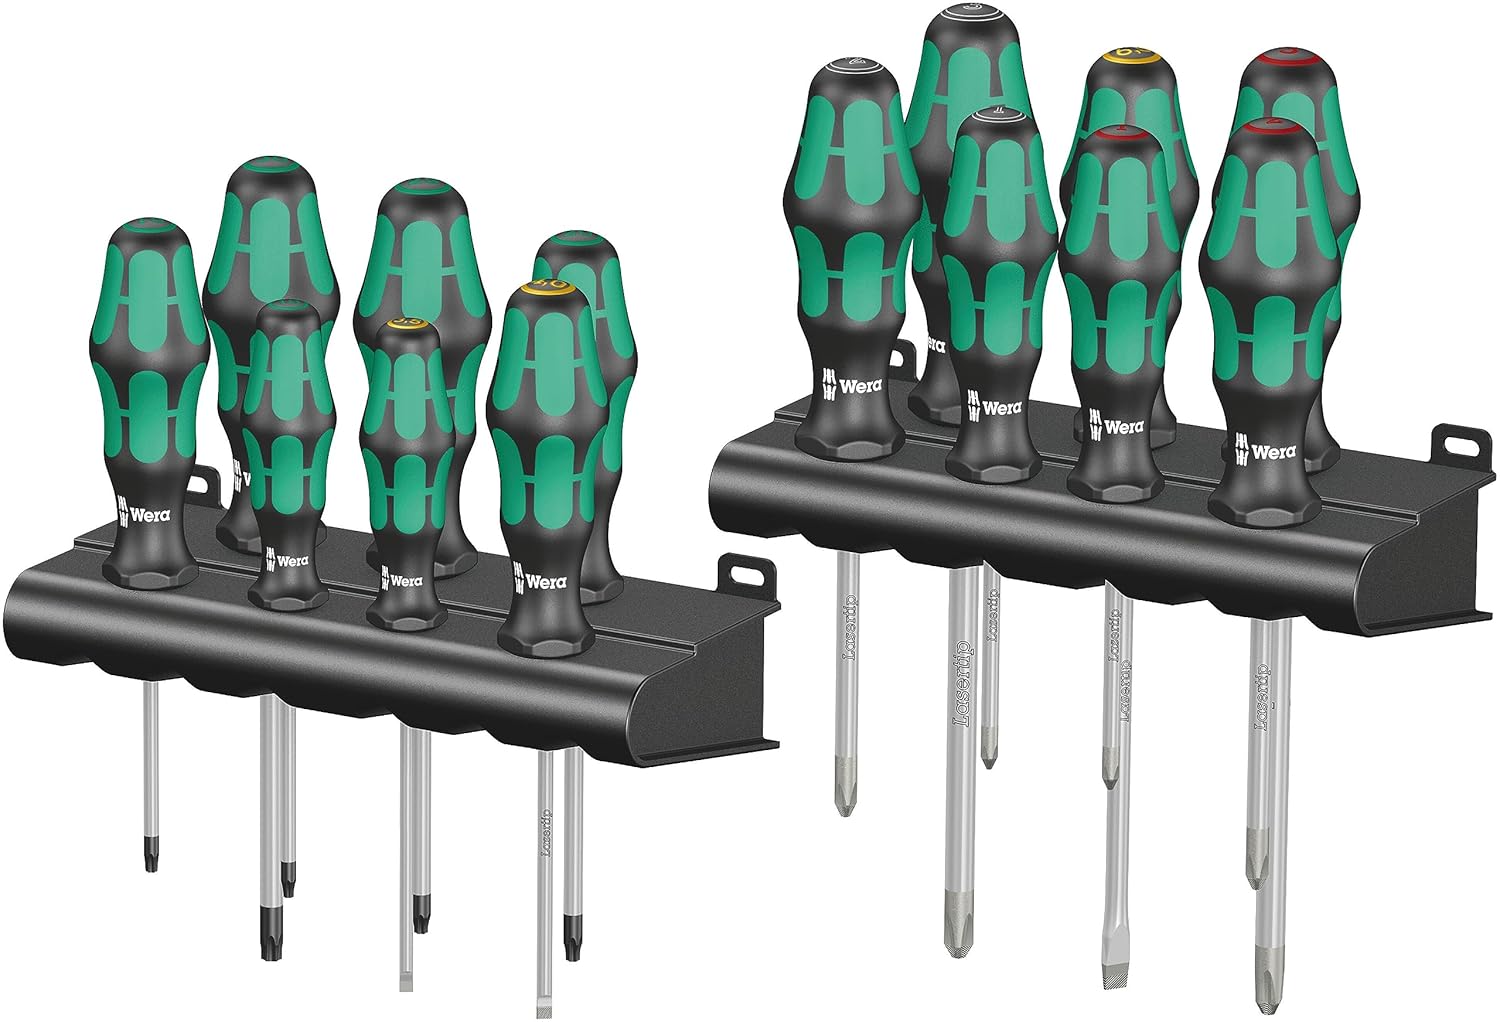
How to Test for Power and Ground at the Switch
This is the most important live-circuit check. If power or ground is missing at the switch, replacing the switch will not fix the problem.
Identify the Power Feed Terminal
Use a wiring diagram if available. If not, inspect the connector and test carefully. Set your multimeter to DC volts. Connect the black meter lead to a known good ground, then probe the switch connector power feed terminal with the red lead.
With the ignition in the correct position, you should usually see about battery voltage, typically around 12 volts. A reading near zero means the switch is not being fed power. That points to a blown fuse, faulty relay, broken wire, or ignition power issue rather than a failed switch.
Verify the Ground Side
If the switch uses a direct ground, move the meter red lead to battery positive and probe the suspected ground terminal with the black lead. You should again see battery voltage or very close to it. If you do not, the ground path may be open or high resistance.
A poor ground can cause intermittent operation, weak response, or functions that work only sometimes. If power and ground both pass, the switch itself becomes a more likely suspect.
Pass or Fail Cues
- Pass: steady battery voltage at the power feed and a confirmed good ground path.
- Fail: no power at the feed terminal with the key in the correct position.
- Fail: weak or unstable voltage that drops sharply when the switch is pressed.
- Fail: no confirmed ground or a ground that works only intermittently.
How to Test the Switch Contacts with Continuity
A continuity test is the best way to check whether the switch changes state when pressed. This test is done with the connector unplugged and the circuit not powered.
Remove Power Before Testing
Turn the ignition off and unplug the switch connector. If you are unsure about residual power or module sensitivity, disconnect the negative battery cable before handling the switch terminals.
Set the Multimeter to Continuity or Ohms
Touch the meter leads together first to confirm the meter reacts as expected. Then place the leads across the two switch terminals for one function, such as open. With the switch at rest, you may see open circuit or a very high resistance. When you press the switch to that function, the reading should change decisively.
On a simple switch, pressed contacts often show near-zero ohms or continuity beep. On more complex switches, a wiring diagram may reveal different terminal pairs for open, close, and tilt.
Test Every Function Separately
Repeat the test for each command. If one direction changes to continuity and another does not, the switch is partially failed. If none of the button positions produce the expected change, the switch is likely defective internally.
What Counts as a Bad Result
- No continuity change when the button is pressed.
- Very high resistance across a contact that should close fully.
- Erratic readings when the switch is held steady.
- Continuity present all the time, suggesting contacts are shorted internally.
How to Test Whether the Switch Is Sending an Output Signal
If the switch has power and ground and passes basic continuity checks, the next step is confirming that it sends a usable output to the motor or control module when pressed.
Back-probe the Output Wire
Reconnect the connector, keep the switch accessible, and back-probe the output terminal while the system is powered. Press the switch in one direction and watch for a clear voltage change. Depending on the vehicle, the output may switch from 0 to 12 volts, from 12 to 0 volts, or toggle between two signal states.
If the output signal never changes even though power and ground are present, the switch is very likely bad. If the output changes normally but the sunroof still does nothing, the fault is probably downstream in the wiring, module, or motor.
Use Caution with Module-controlled Systems
Some newer vehicles use multiplexed or low-voltage signal circuits at the switch. In those cases, a wiring diagram matters more than ever because expected readings may not be a full 12 volts. If you see changing voltage but do not know the exact spec, compare button positions and look for a repeatable pattern.
Recommended Tools for This Job


How to Tell if the Problem Is the Switch or Something Else
The best diagnosis comes from separating the circuit into sections. A switch should only be blamed after the supply side and at least one downstream check make sense.
- If there is no power at the switch, the switch is not the primary fault.
- If there is no ground at the switch, repair the ground circuit first.
- If power and ground are good but continuity does not change when pressed, the switch has failed.
- If the switch output changes correctly but the motor stays silent, suspect wiring, a control module, or the motor.
- If the motor runs but the glass does not move, suspect a mechanical issue such as cables, guides, or a jammed track.
Intermittent operation deserves extra caution. A switch may fail only when warm, when pressed from one side, or after moisture gets into the overhead console. If your readings jump around while lightly moving the connector, the issue may be terminal tension or a broken wire near the connector rather than the switch body itself.
Common Wear and Damage to Inspect
There are no universal wear-thickness limits for a sunroof switch like there are for brake pads, so inspection depends on function and condition. These are the most common fail cues.
- Sticky button movement from spilled drinks, dust, or interior detailing residue.
- Loose or collapsed tactile feel compared with other buttons in the console.
- Burned or discolored terminals from heat and resistance.
- Corrosion from water leaks around the roof opening or windshield area.
- Broken retaining tabs that let the switch move instead of fully actuating.
If the vehicle has a history of sunroof drain leaks, inspect the switch connector extra closely. Moisture intrusion can corrode the low-current contacts long before it causes obvious damage elsewhere.
When to Replace the Switch
Replace the sunroof switch when testing shows it has power, ground, and a clean connector but the contacts or output do not respond correctly. Also replace it if the switch is physically damaged, badly contaminated, or consistently intermittent after cleaning.
A light cleaning with electrical contact cleaner may restore operation if grime or oxidation is minor, but do not count on cleaning to fix worn internal contacts. If the switch fails continuity or signal tests more than once, replacement is usually the more reliable repair.
After replacing the switch, some vehicles may require a sunroof initialization or relearn procedure. If the glass moves incorrectly, stops short, or loses auto-open or auto-close features, check the service information for the reset sequence.
Mistakes to Avoid During Diagnosis
- Do not replace the switch before checking the fuse and power feed.
- Do not force trim panels down with metal tools if hidden screws may still be installed.
- Do not test continuity on a live powered circuit.
- Do not assume motor failure if you have not confirmed switch output first.
- Do not ignore signs of water intrusion in the overhead console or headliner.
Key Takeaways
- Check the fuse, power feed, and ground before blaming the sunroof switch.
- A good switch should show a clear continuity or resistance change when each button position is pressed.
- If the switch has power and ground but no output change, the switch is likely bad.
- If the switch output changes correctly, look next at the wiring, module, motor, or sunroof mechanism.
- Water intrusion and dirty contacts are common causes of intermittent sunroof switch problems.
FAQ
Can a Bad Sunroof Switch Cause the Roof to Stop in One Direction Only?
Yes. Many sunroof switches have separate internal contacts for open, close, and tilt functions. If one set of contacts wears out, the roof may still work in one direction while failing in another.
How Do I Know Whether the Problem Is the Switch or the Sunroof Motor?
If the switch has good power and ground and sends a proper output signal when pressed, the motor or downstream wiring becomes more likely. If the switch never changes continuity or output, the switch is the stronger suspect.
Can I Test a Sunroof Switch Without Removing It Completely?
Usually yes. You can often lower the overhead console, expose the connector, and back-probe or unplug the switch without removing the full sunroof assembly. Just support the trim so you do not strain the harness.
What Voltage Should I See at a Sunroof Switch?
On many vehicles, you should see about battery voltage at the power feed with the key in ACC or ON, but some systems are module-controlled and may use different signal values. A wiring diagram gives the most accurate expected reading.
Will Cleaning the Switch Fix It?
Sometimes. Electrical contact cleaner can help if the issue is light contamination or minor oxidation. It will not reliably repair worn internal contacts, broken springs, or heat-damaged terminals.
Why Does My Sunroof Switch Work Only Sometimes in Hot Weather?
Heat can aggravate worn plastic, weak internal springs, poor solder joints, or marginal connector contact. Intermittent operation in hot weather is a common sign that the switch or its connector is failing.
Do I Need to Disconnect the Battery to Test the Switch?
You do not need to disconnect the battery for live voltage checks, but you should have the ignition off and the switch unplugged for continuity testing. Disconnecting the negative battery cable is a good safety step if you are unsure about the circuit.
Need Parts for This Repair?
The right parts and supplies vary by vehicle.
Select your make and model to find compatible parts and accessories for your car.
Exact Fit
Parts that fit your make and model
Quality You Can Trust
Top brands and OEM quality options
Fast Shipping
Get the parts you need, delivered fast